

- Thread starter
- #1
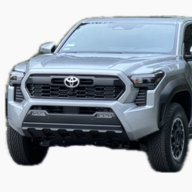
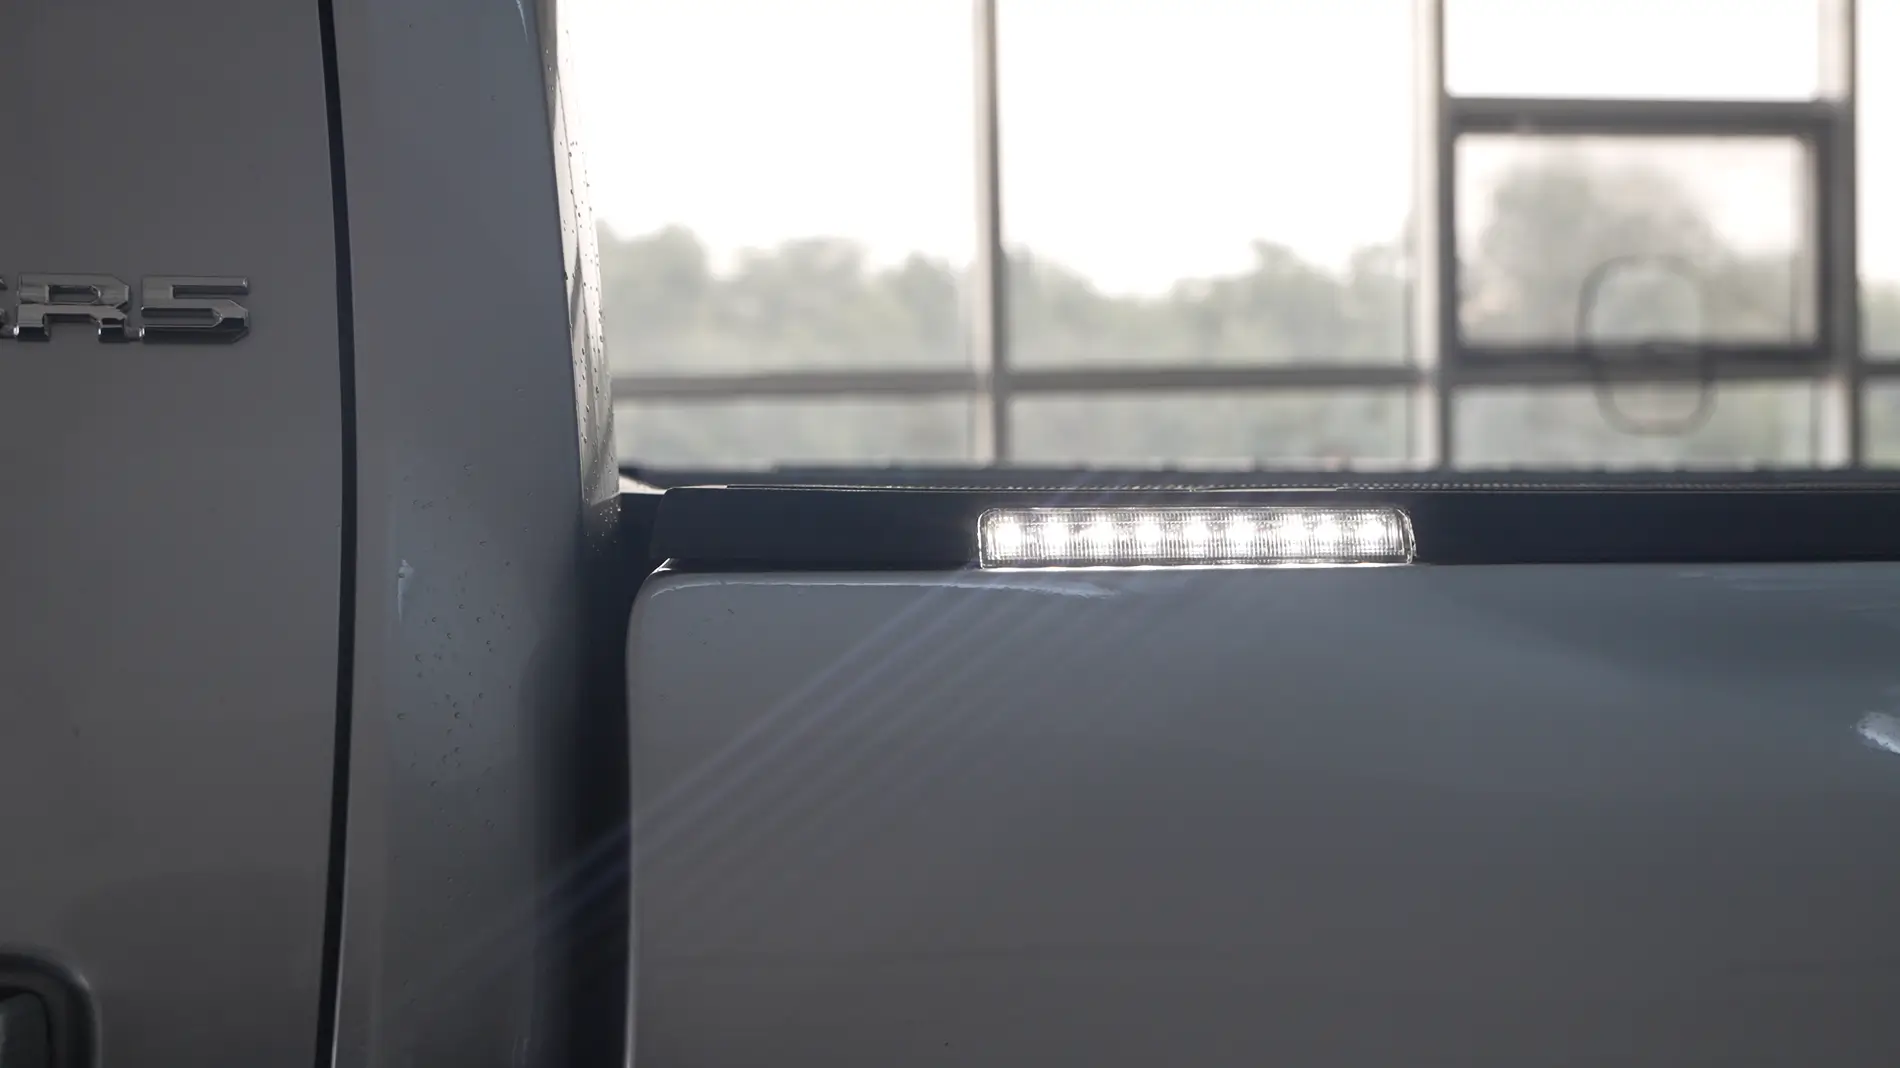
We recently went through the process of adding bed scene lights to a base-model Tacoma that didn’t come with factory ones. I wanted to share a quick breakdown of how the install went.
I’ve put together a few photos and basic steps below in case anyone is working on a similar project. Hope this helps!
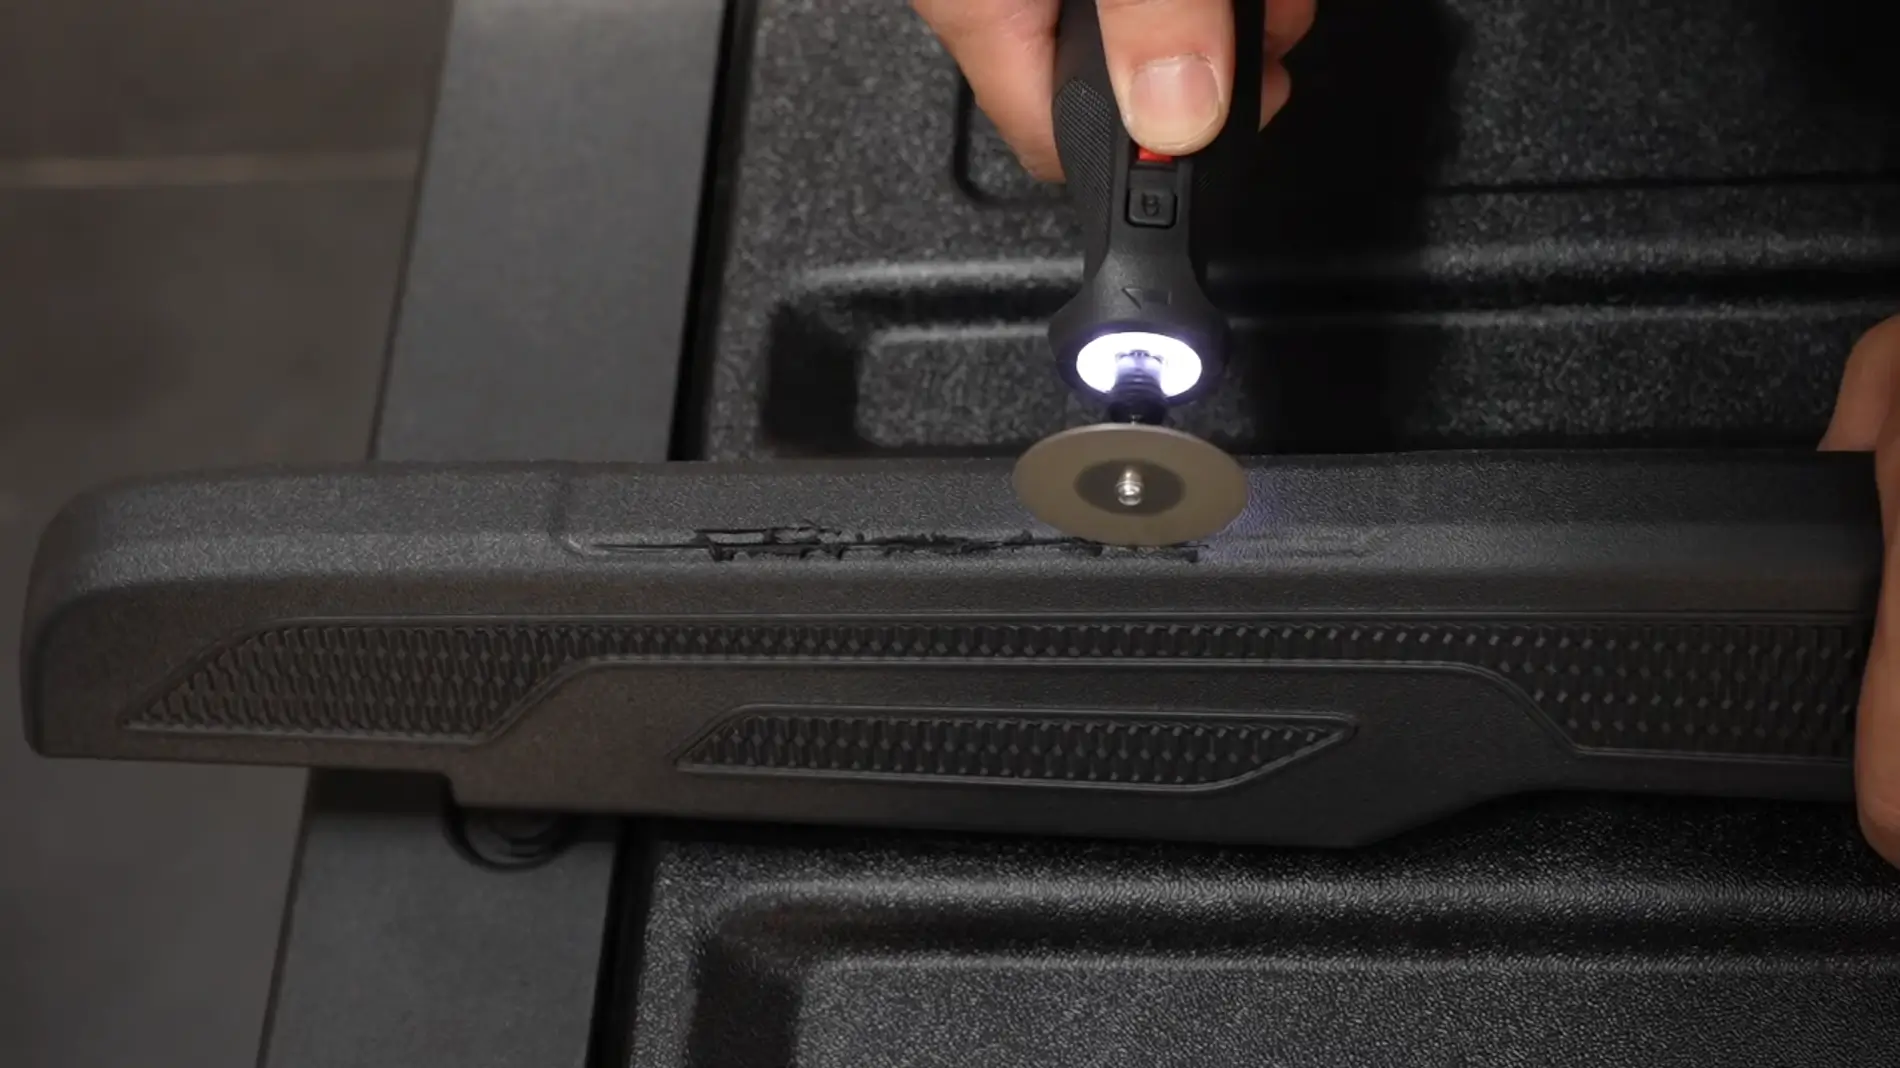
First, pop off the bed rail cap. Use a rotary tool (like a Dremel) with a cutting wheel, and carefully cut out the openings along the factory-molded guide lines.

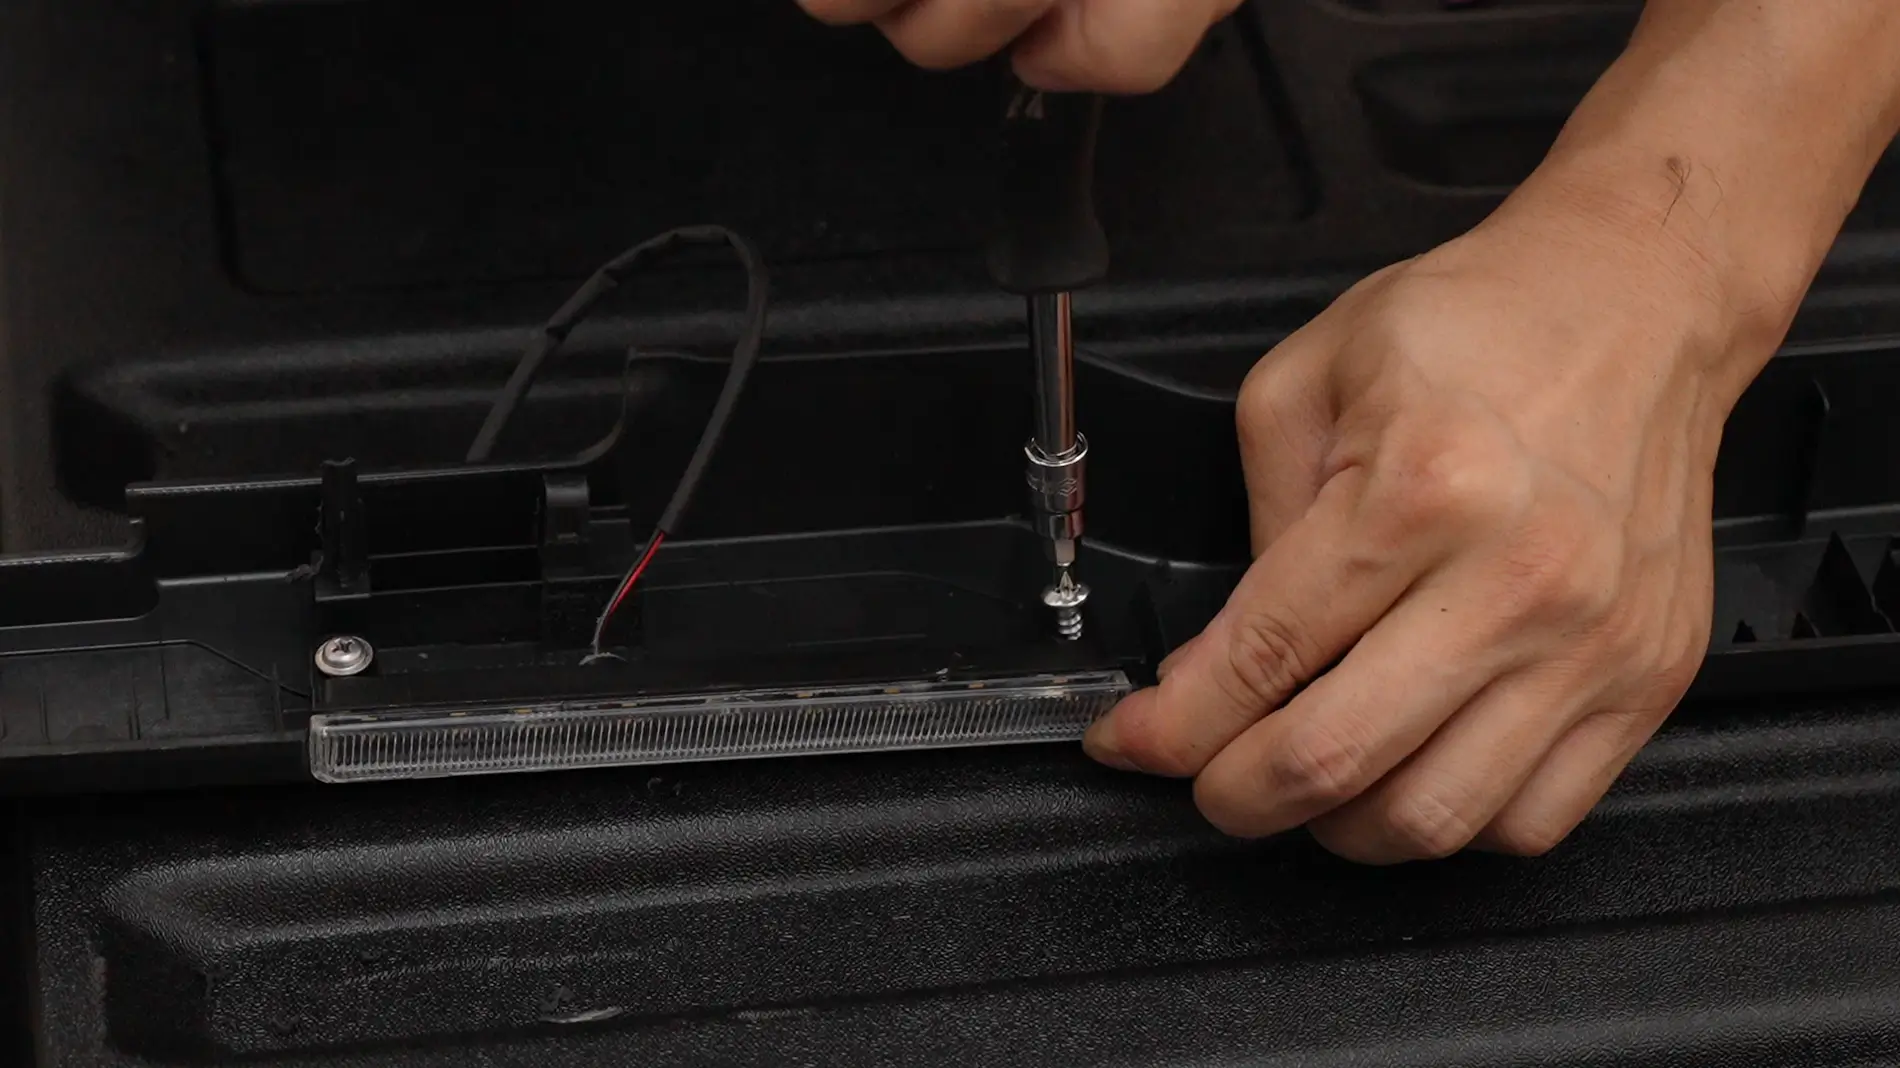
Next, insert the scene lights into the cutouts you just made, and secure them using the factory mounting holes on the back.
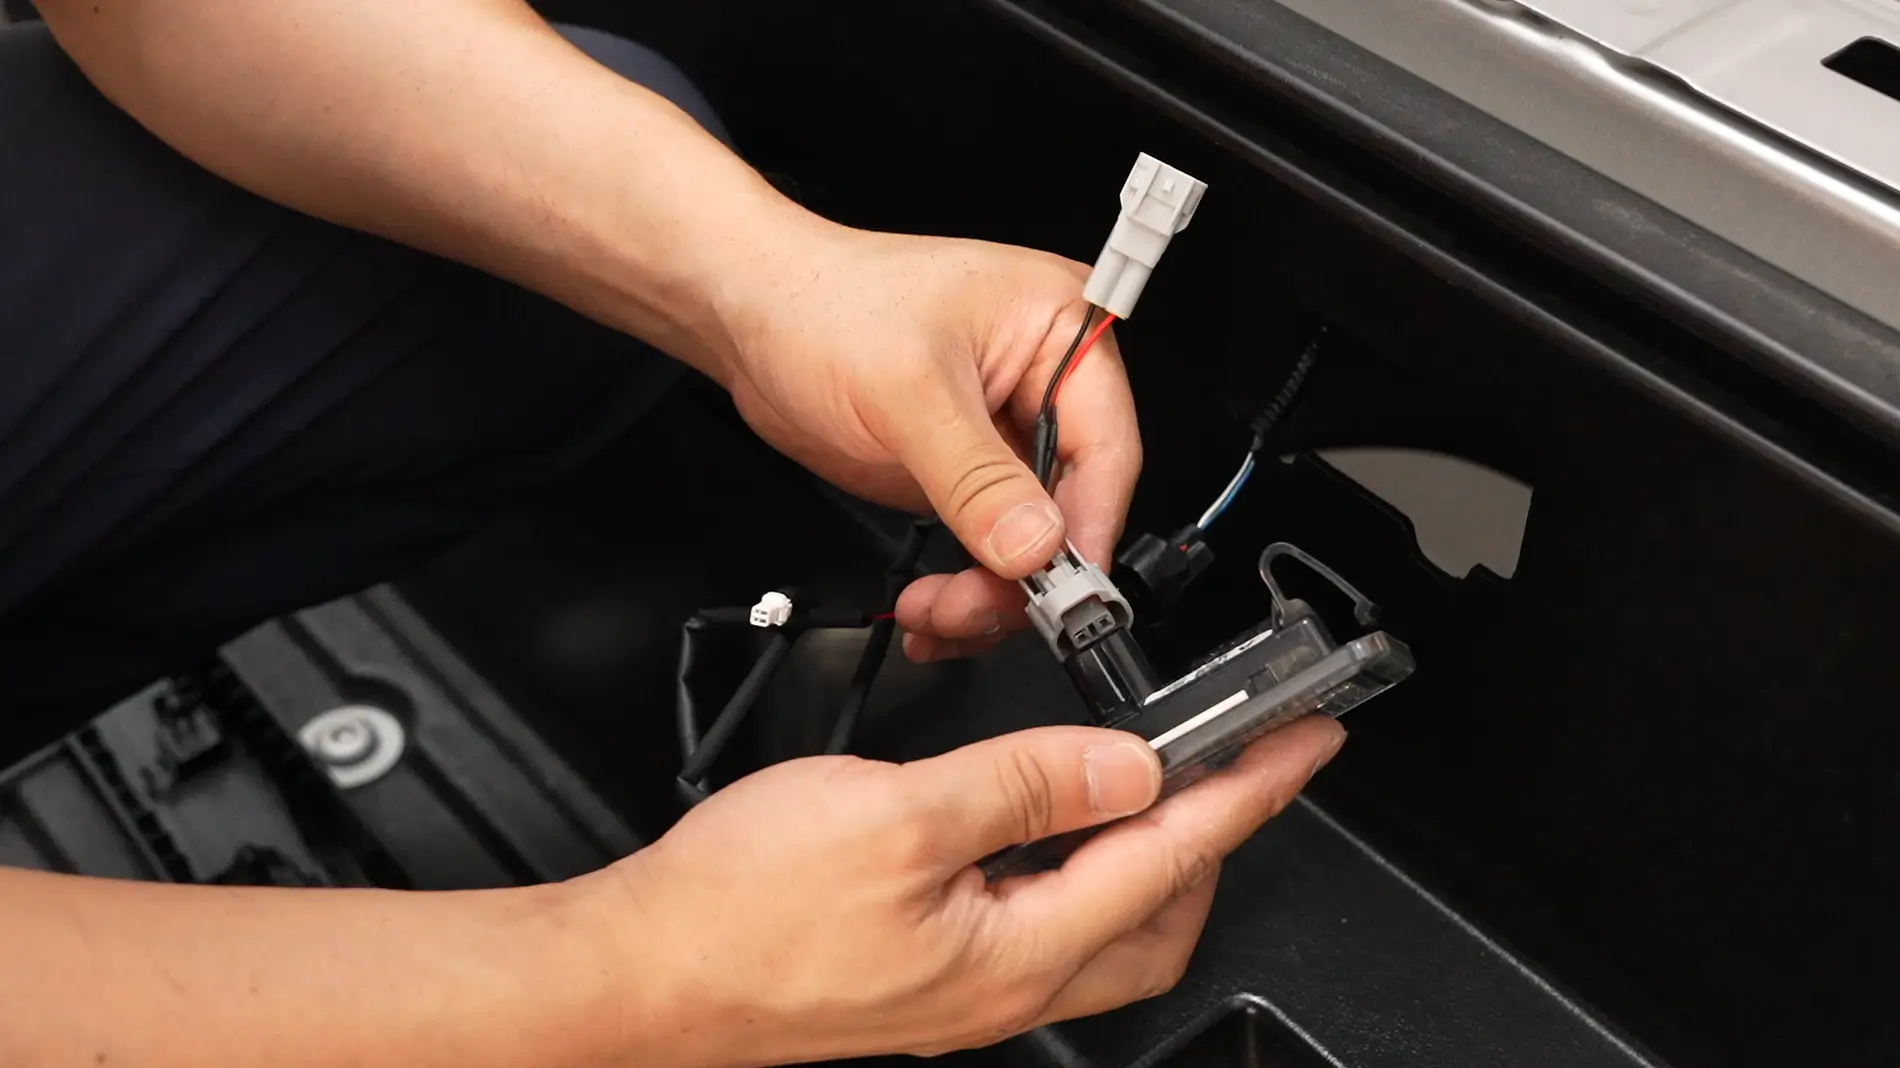
Moving on to the wiring. Remove the factory side light and unplug it. Then, use the splitter harness to connect the factory plug, the side light, and the new scene lights.
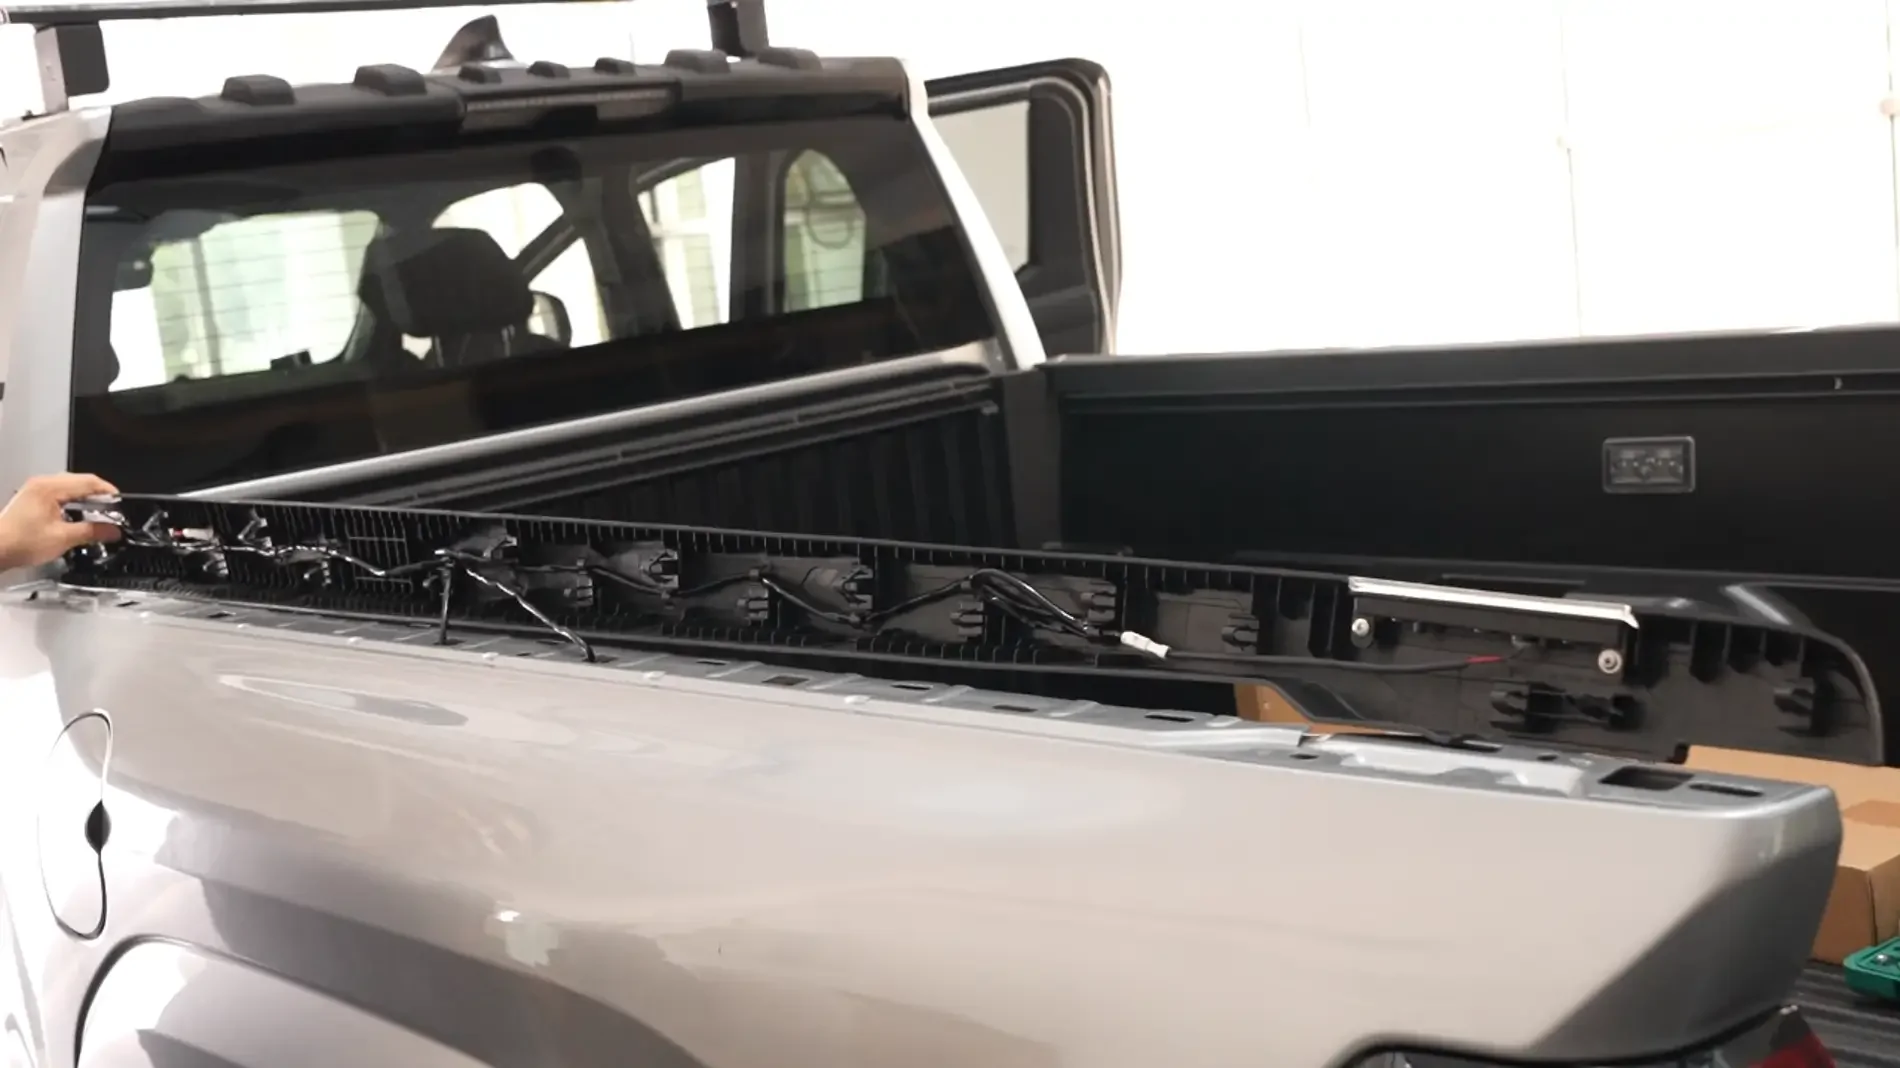
To keep things looking clean, route the wire under the bed rail cap and secure it in the clips.
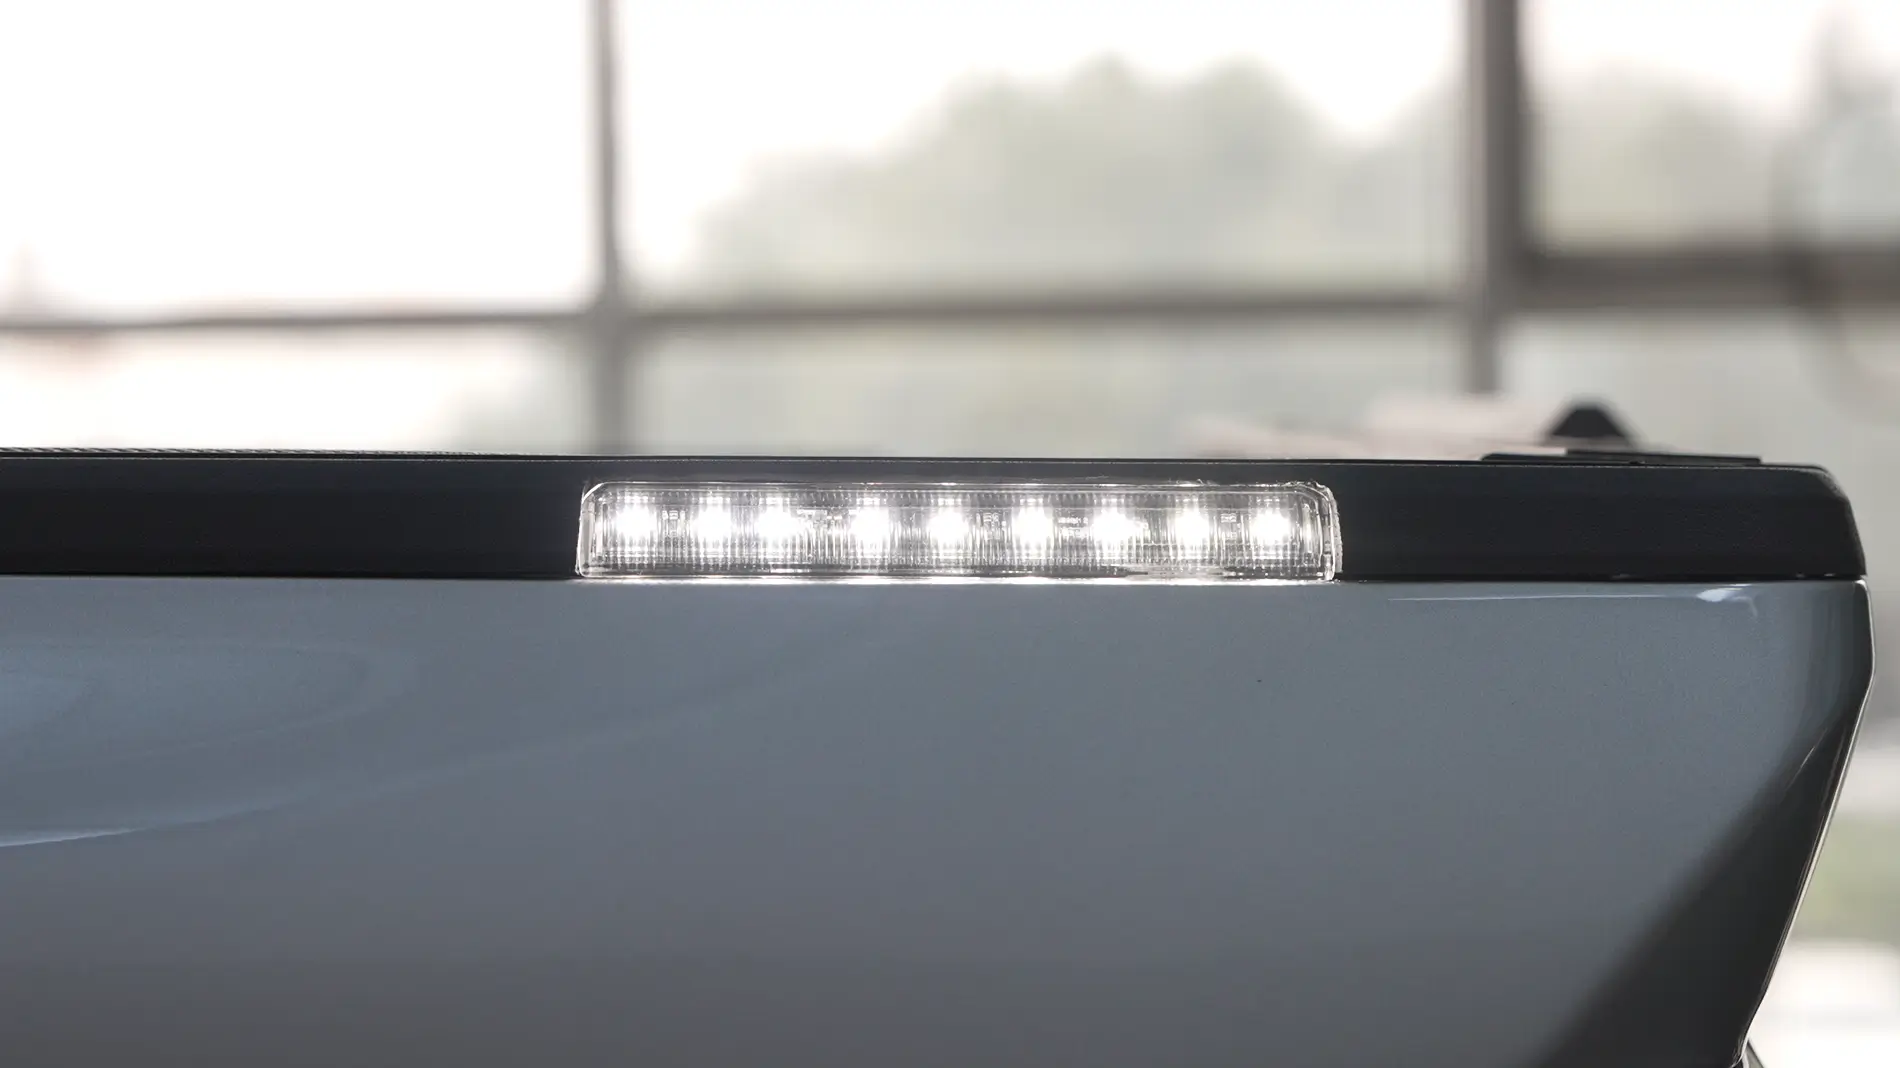
Finally, snap the bed rail cap back into place to complete the installation.
I’ve put together a few photos and basic steps below in case anyone is working on a similar project. Hope this helps!
First, pop off the bed rail cap. Use a rotary tool (like a Dremel) with a cutting wheel, and carefully cut out the openings along the factory-molded guide lines.
Next, insert the scene lights into the cutouts you just made, and secure them using the factory mounting holes on the back.
Moving on to the wiring. Remove the factory side light and unplug it. Then, use the splitter harness to connect the factory plug, the side light, and the new scene lights.
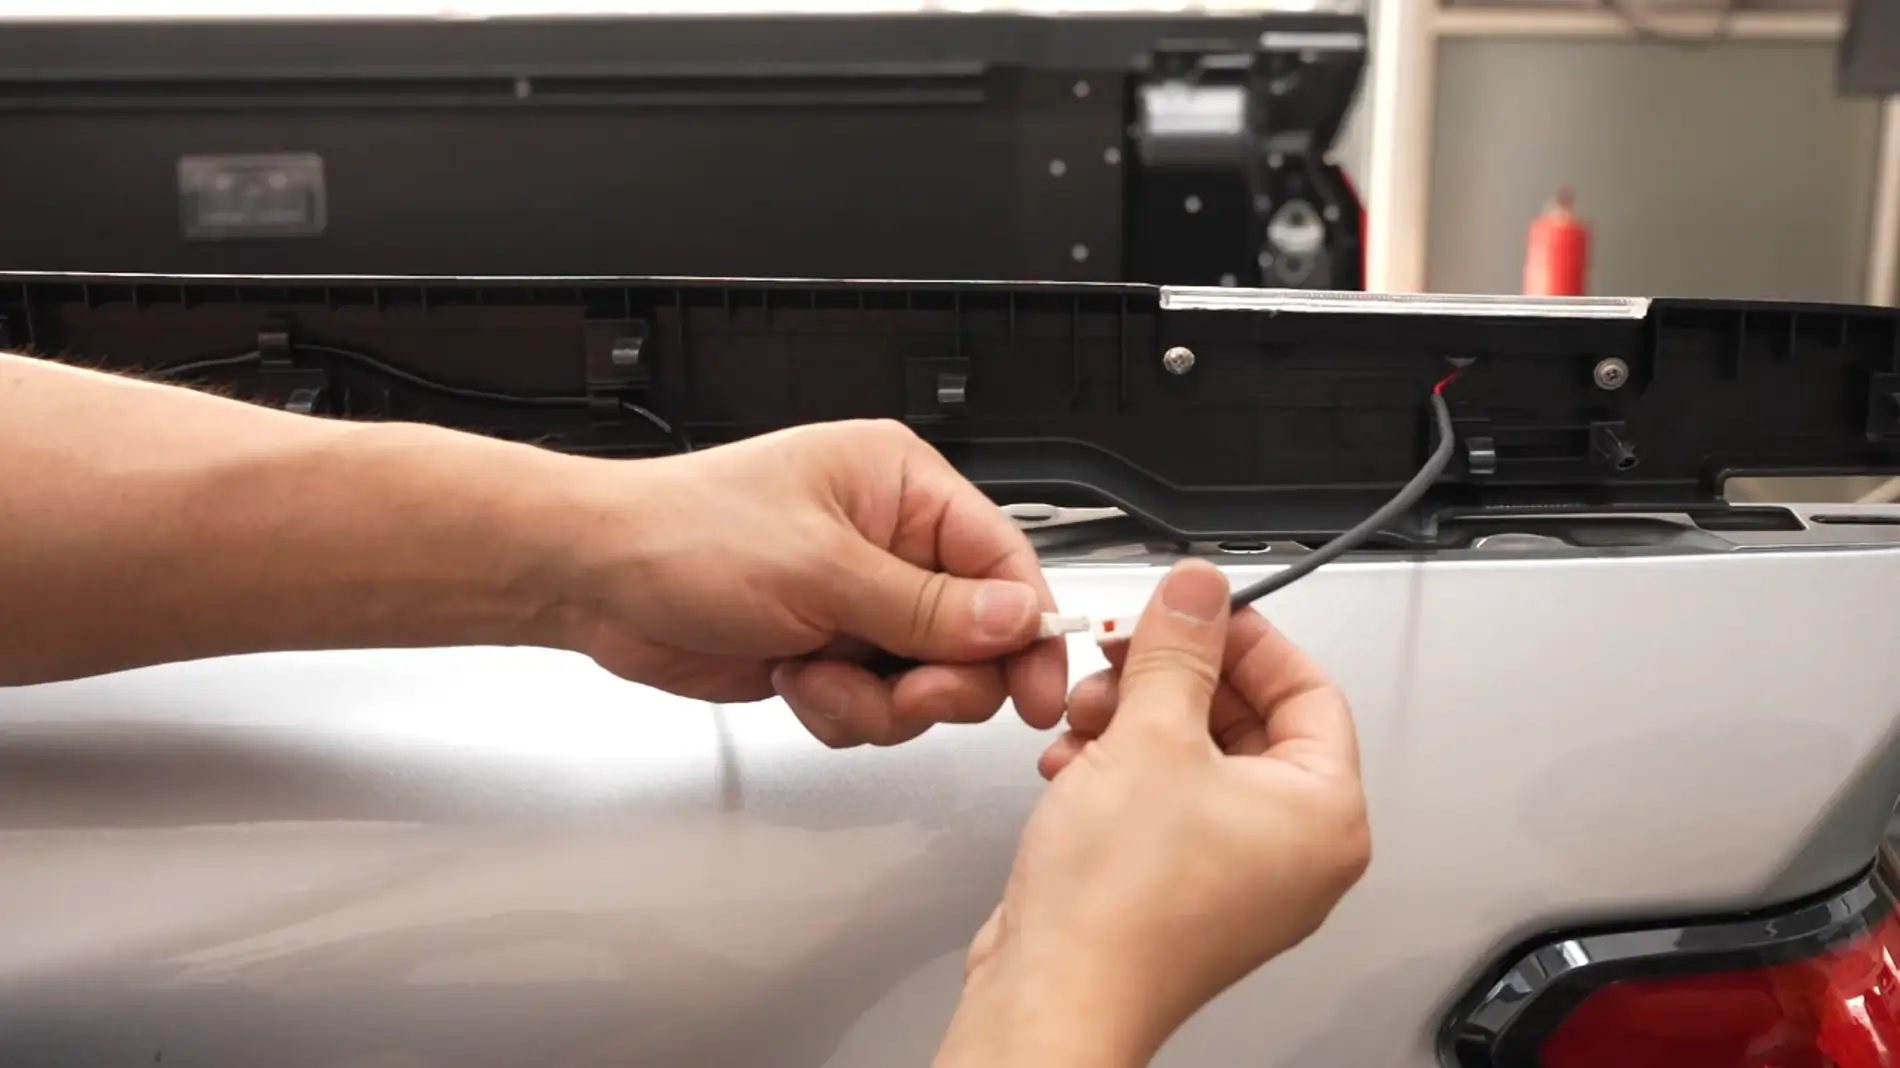
To keep things looking clean, route the wire under the bed rail cap and secure it in the clips.
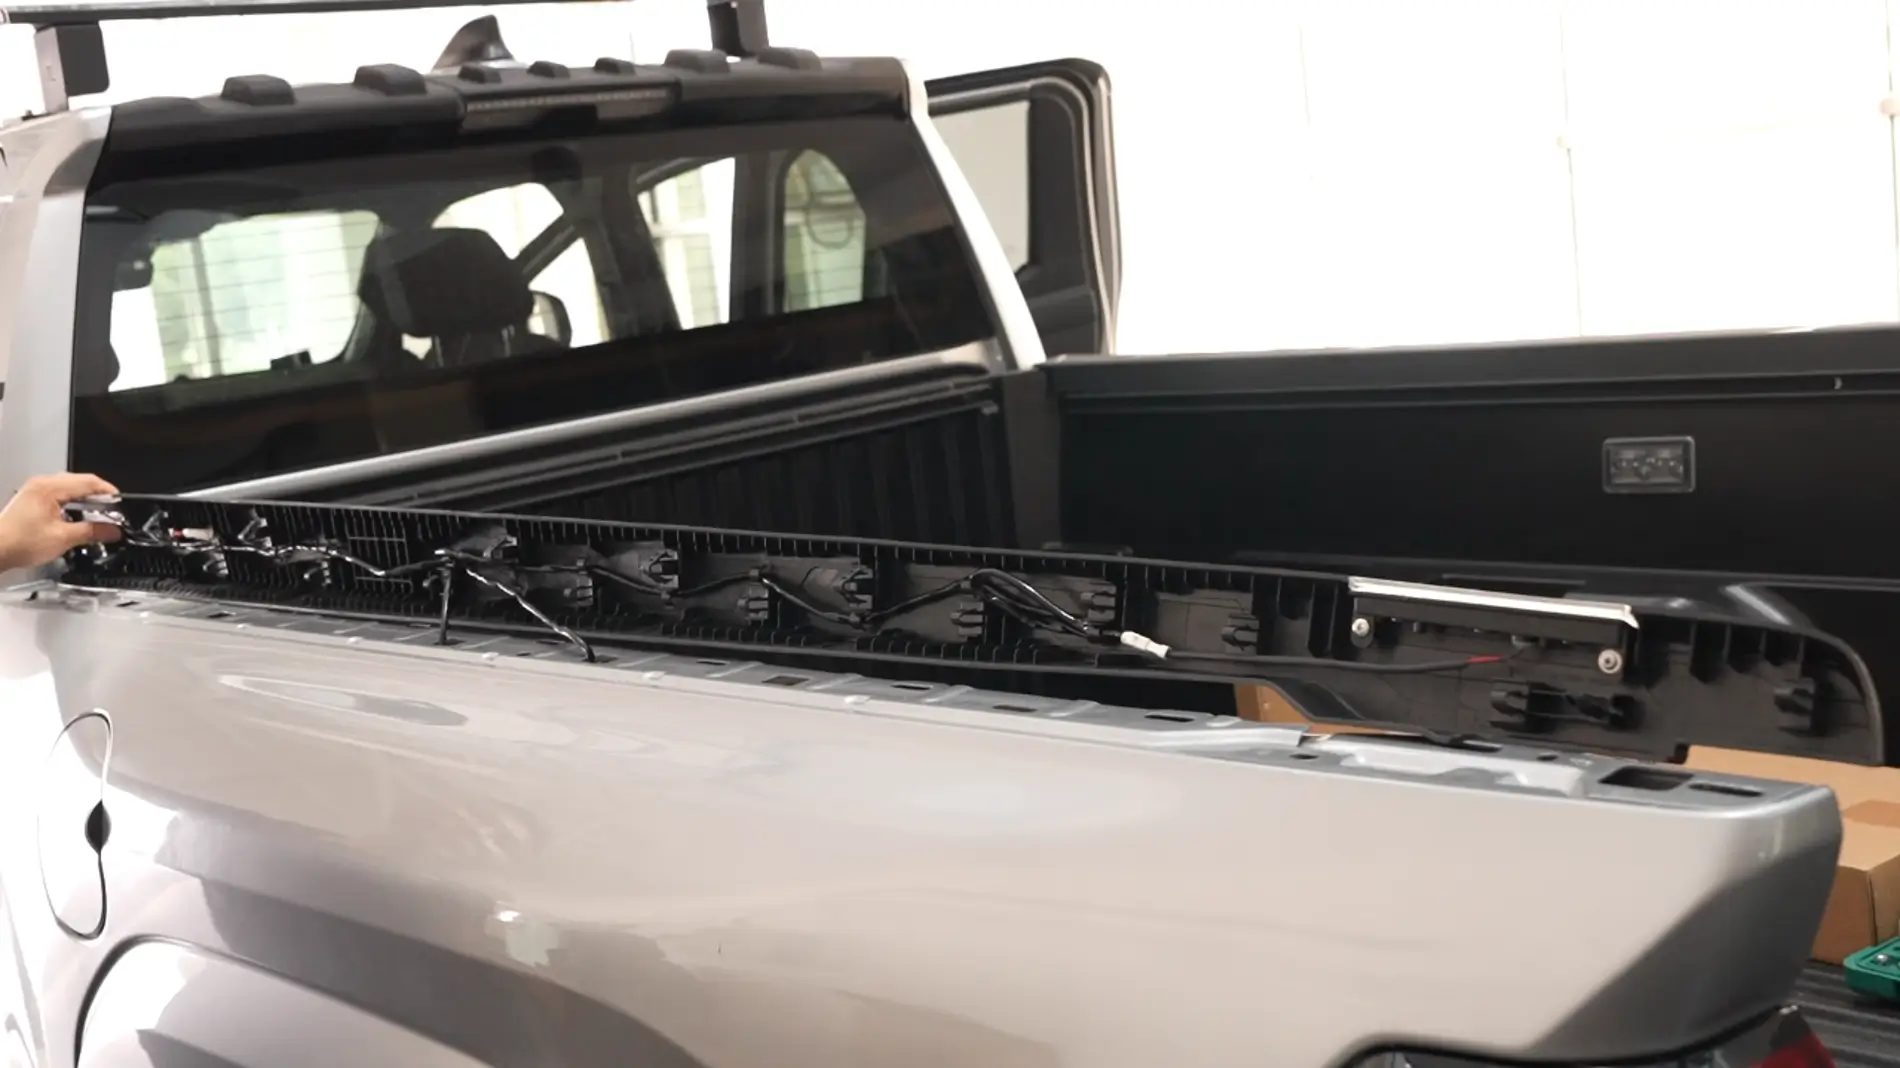
Finally, snap the bed rail cap back into place to complete the installation.
Sponsored