
- First Name
- Rodrigo
- Joined
- Jun 30, 2025
- Threads
- 6
- Messages
- 33
- Reaction score
- 68
- Location
- Los Angeles
- Vehicle(s)
- TRD Off Road H
- Thread starter
- #1
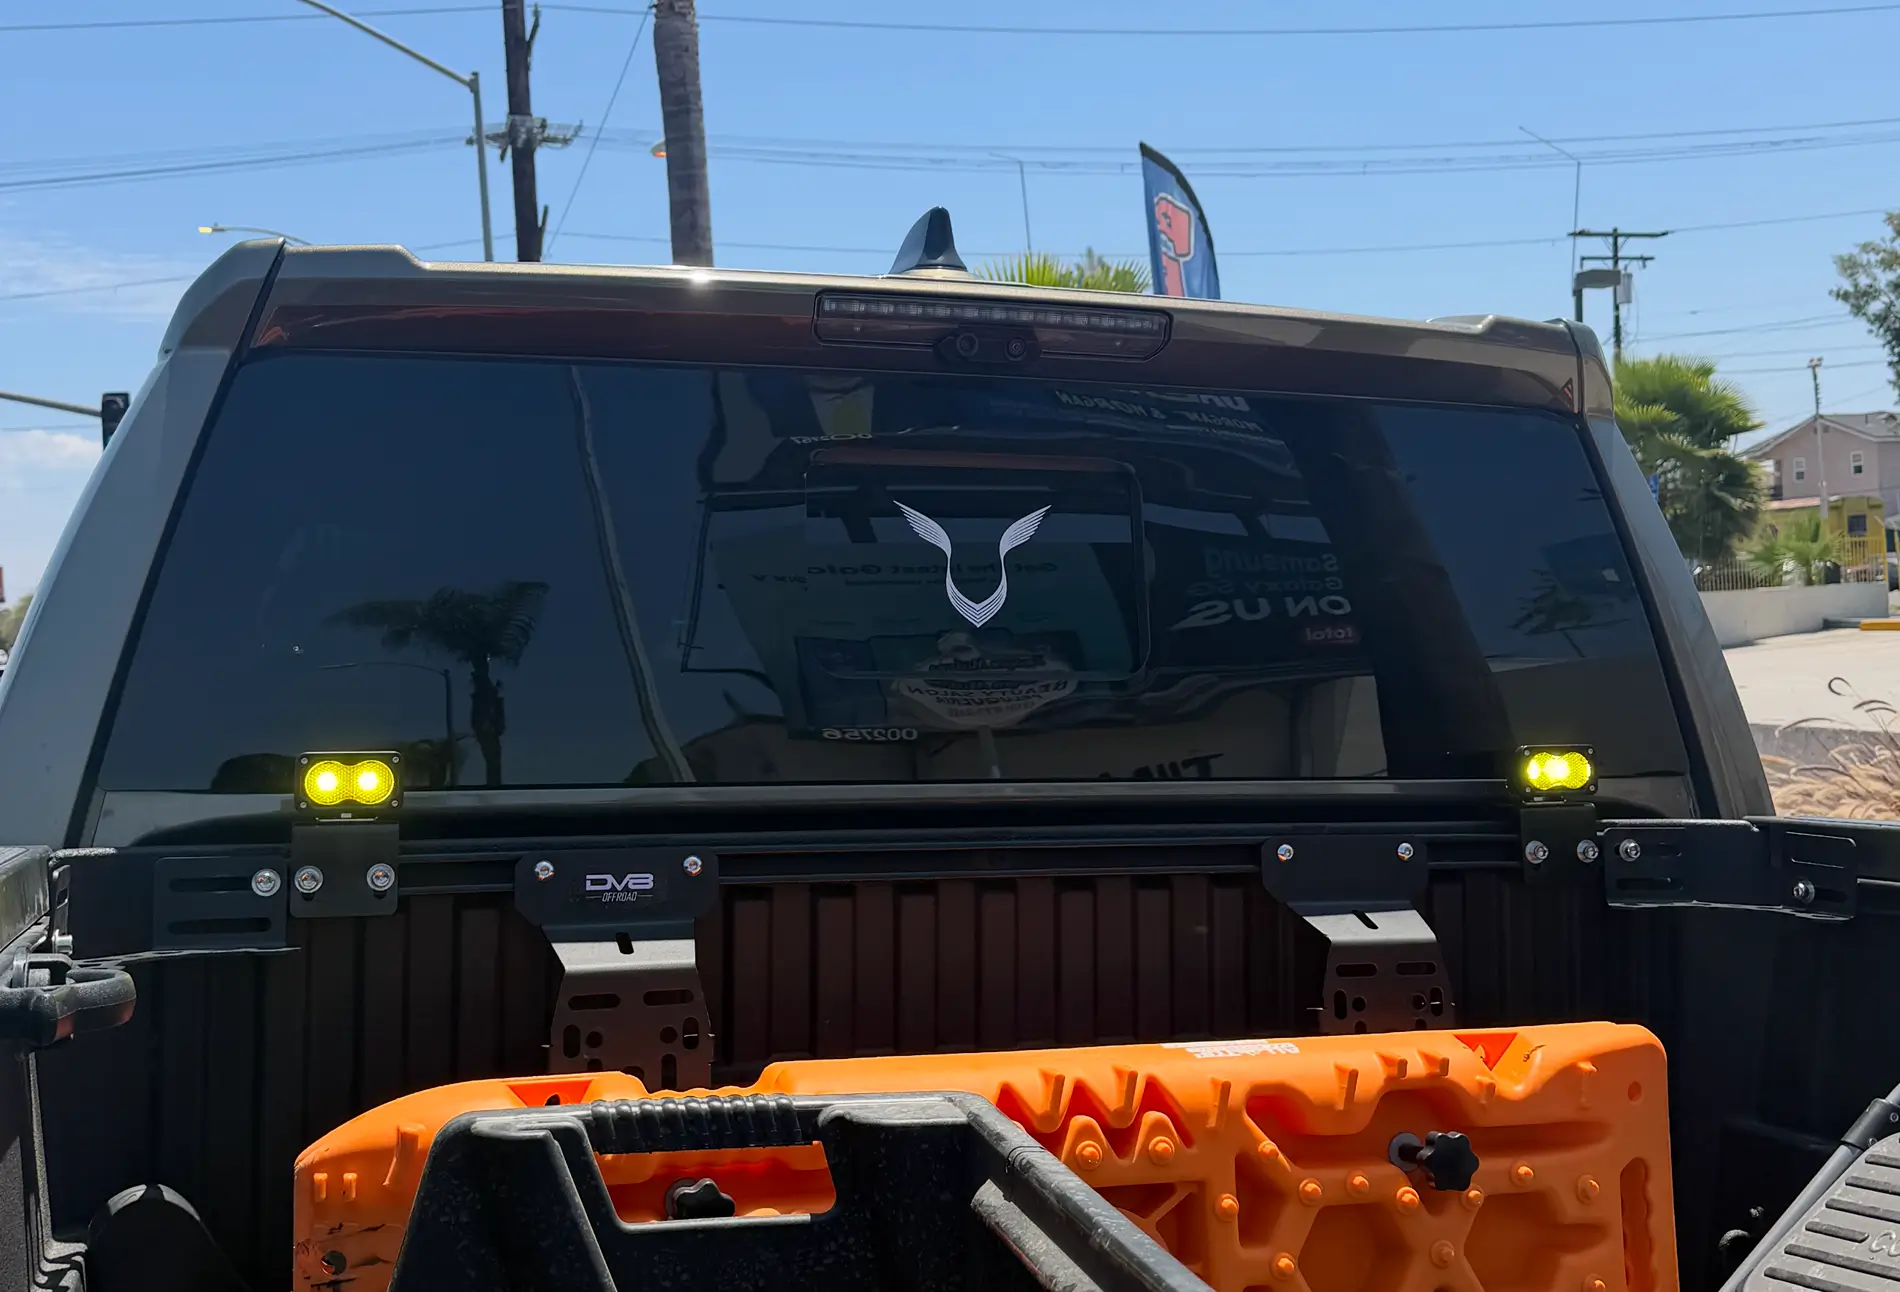
Hello everyone in this amazing forum! Super excited to finally share something I've been cooking up this past week.
I've wanted chase lights on the back of my truck for a while now, but everything out there had problems. Cali Raised's pretty much the only name in the game, and respect for that, but their stuff is either ugly as hell, not very functional, or there's just barely any options to pick from. So I grabbed a piece of paper, fired up an LLM to help with the CAD, and got to work.
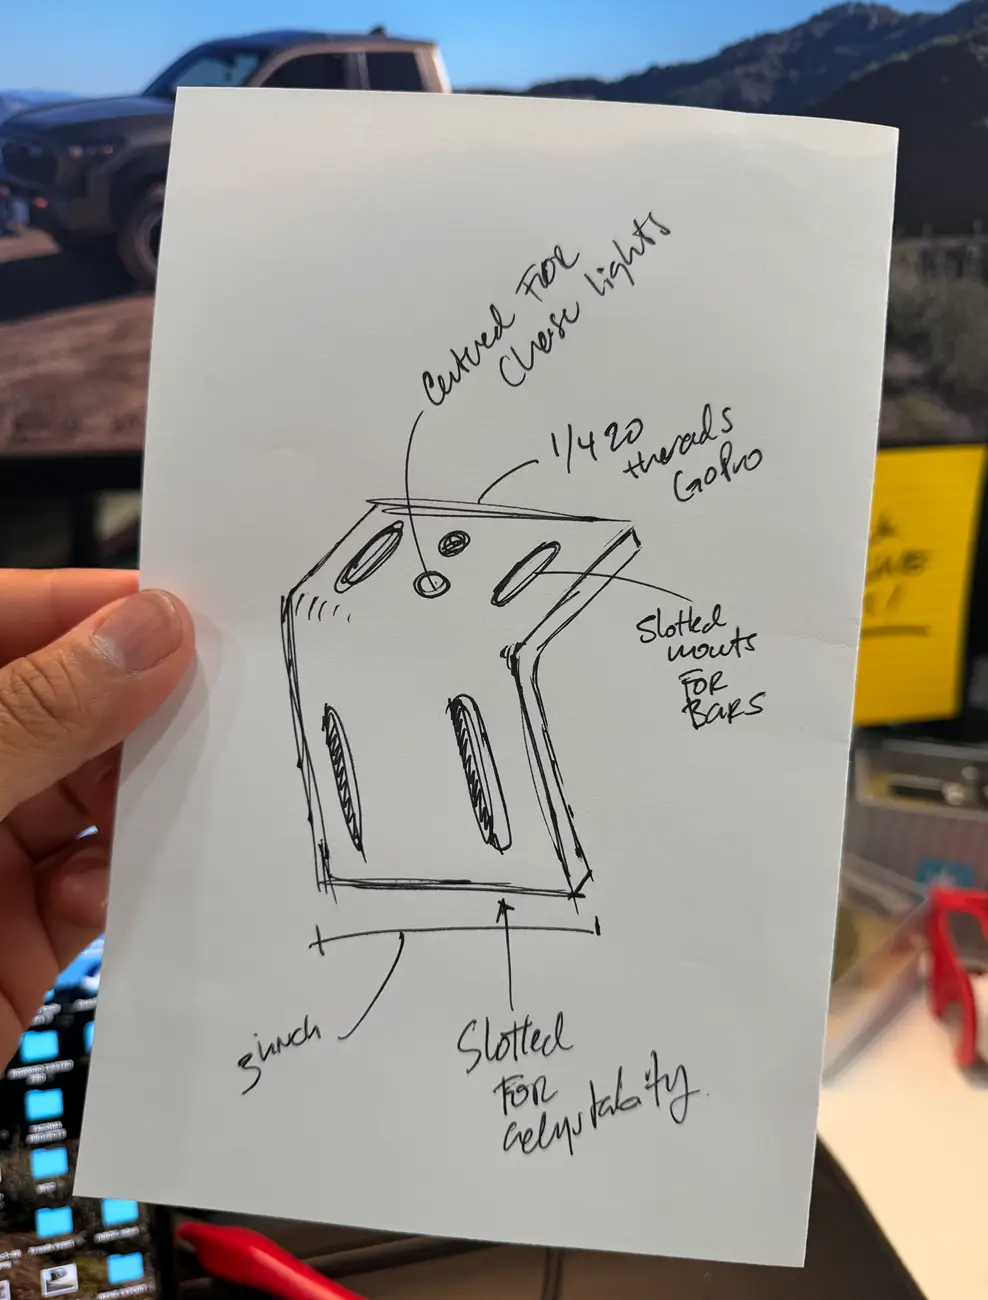
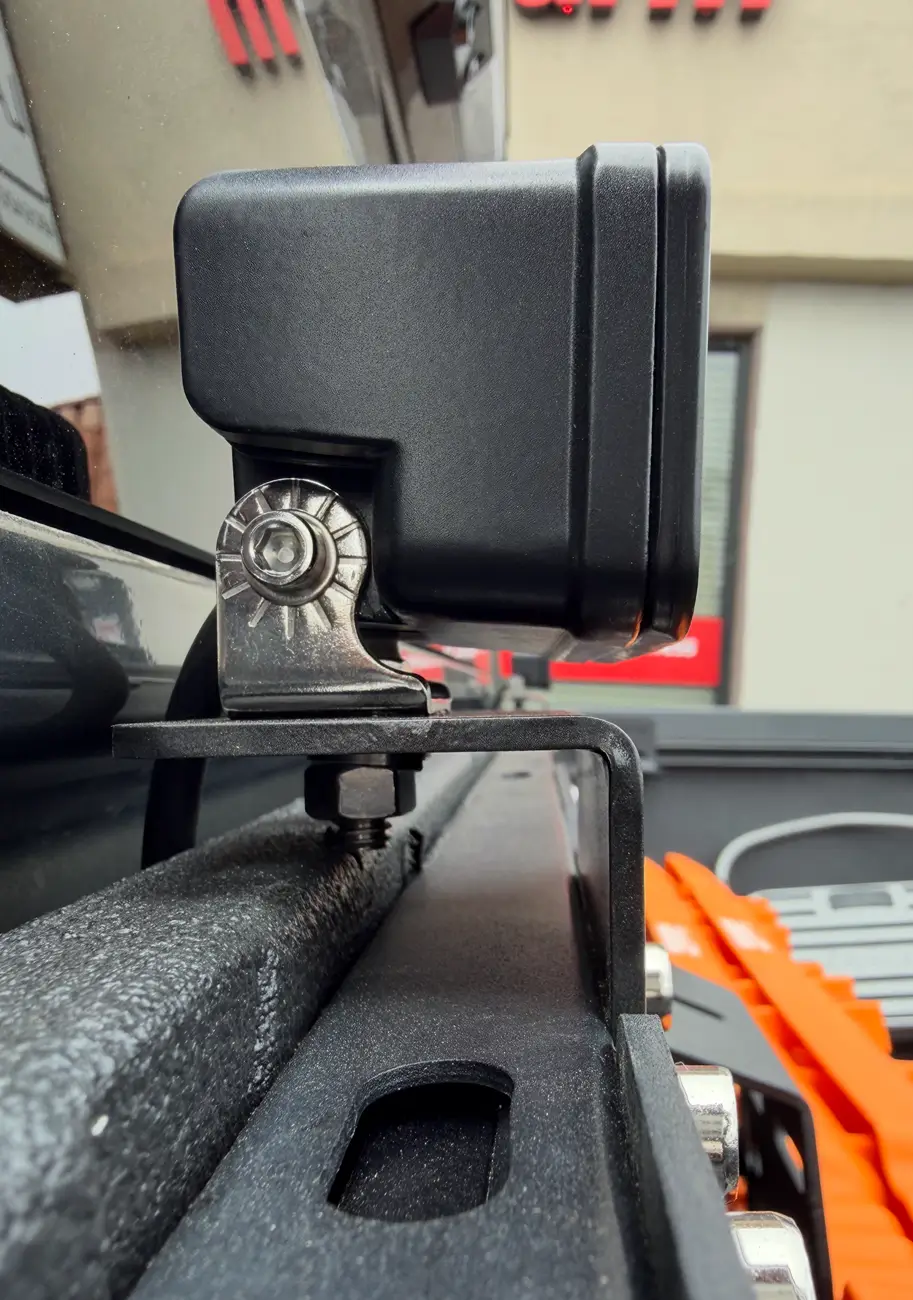
I wanted this mount to do more than just hold a light. I'm always trying to squeeze as much function as I can out of anything I build, so I gave myself three goals: adjustability (move it up or down with a couple bolts, no drama), the ability to run different setups (side slots for a full light bar, or end holes for a whip antenna if that's more your thing), and a 1/4-20 camera mount strong enough to hold my Sony A7IV when I'm shooting 360 footage out in the dirt.
A few rounds of back and forth and I landed on a design I was actually happy with. This is where the LLM really earned its keep, ngl — helping me figure out material thickness, bend allowances, cut tolerances, all the stuff that would've had me lost on my own (props to Claude for that one, lol). Once it was locked in, I uploaded everything to SendCutSend, triple checked my specs, and ordered my first pair.
Five days later they showed up. Pulled the prototype out of the box and — like clockwork — already had a list of revisions in my head before I even bolted them on, lmao, you know how it is. But as a proof of concept? These things absolutely delivered. Rock solid, checks every box, and honestly looks clean for a V1.
Already deep into V2 — more clearance from the window, beefier mounting hardware, just dialing it in tighter overall.
Sharing this 'cause I wanna know what you all think, love it or hate it, lay it on me. And if you're in SoCal, I'd love to get some of you out to test V2 once it's ready.
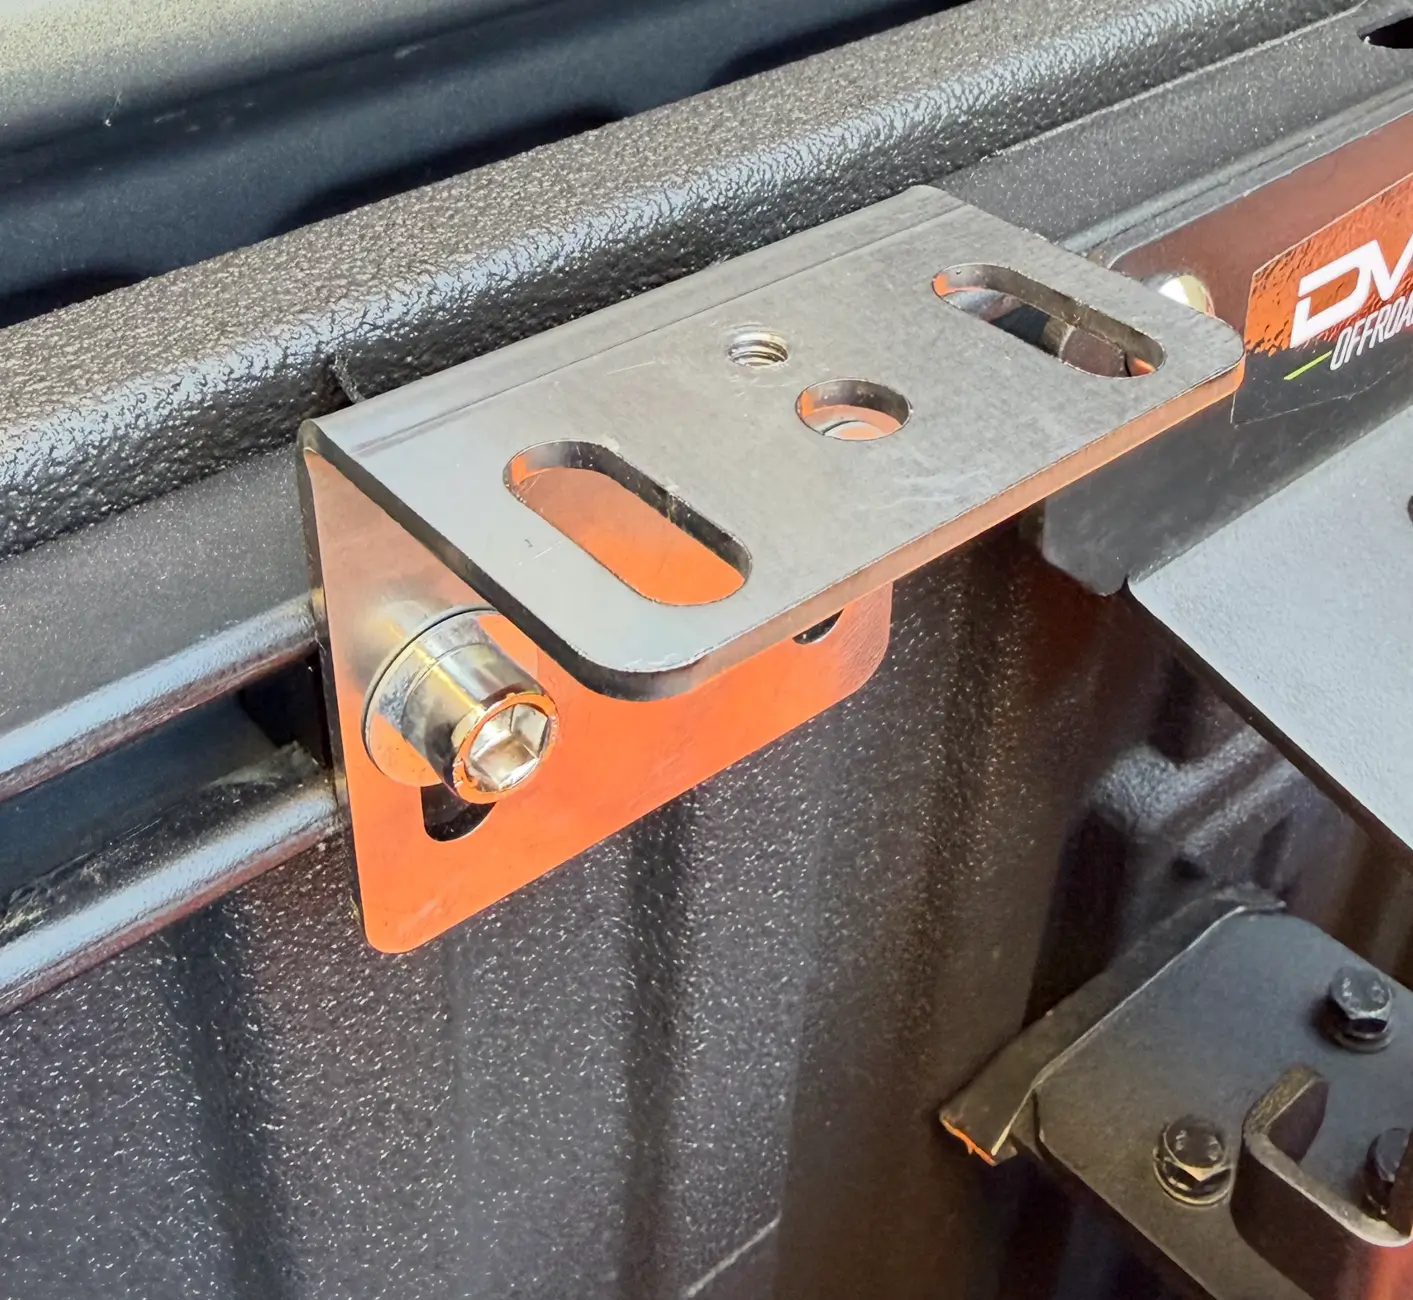
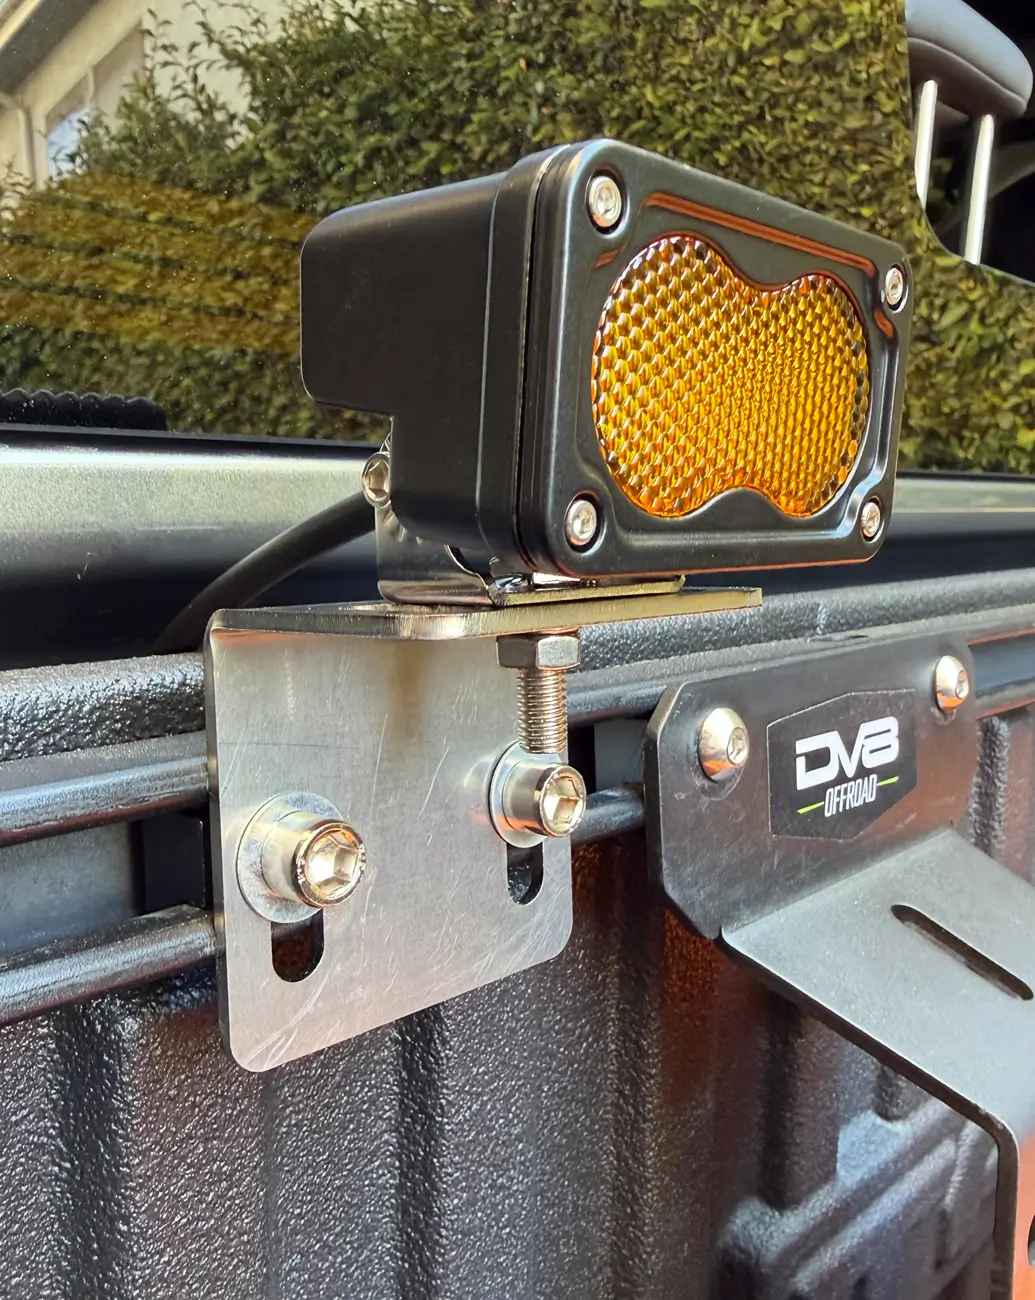
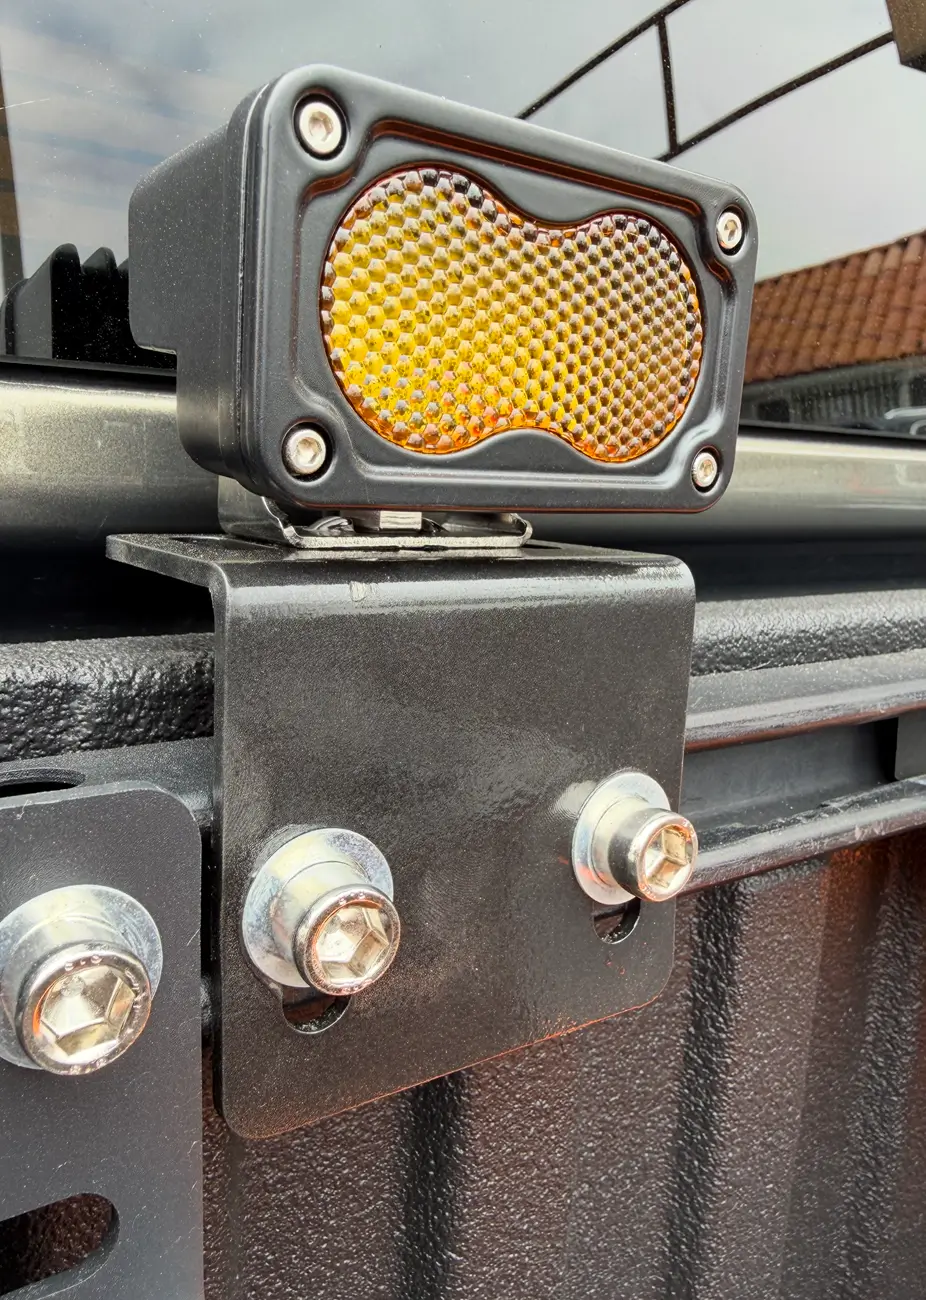
Pics below — original sketch, the raw cut fresh off the laser (should've gone powder coat from jump, lesson learned), and the painted final (also should've gone powder coat, but eh, character).


I've wanted chase lights on the back of my truck for a while now, but everything out there had problems. Cali Raised's pretty much the only name in the game, and respect for that, but their stuff is either ugly as hell, not very functional, or there's just barely any options to pick from. So I grabbed a piece of paper, fired up an LLM to help with the CAD, and got to work.
I wanted this mount to do more than just hold a light. I'm always trying to squeeze as much function as I can out of anything I build, so I gave myself three goals: adjustability (move it up or down with a couple bolts, no drama), the ability to run different setups (side slots for a full light bar, or end holes for a whip antenna if that's more your thing), and a 1/4-20 camera mount strong enough to hold my Sony A7IV when I'm shooting 360 footage out in the dirt.
A few rounds of back and forth and I landed on a design I was actually happy with. This is where the LLM really earned its keep, ngl — helping me figure out material thickness, bend allowances, cut tolerances, all the stuff that would've had me lost on my own (props to Claude for that one, lol). Once it was locked in, I uploaded everything to SendCutSend, triple checked my specs, and ordered my first pair.
Five days later they showed up. Pulled the prototype out of the box and — like clockwork — already had a list of revisions in my head before I even bolted them on, lmao, you know how it is. But as a proof of concept? These things absolutely delivered. Rock solid, checks every box, and honestly looks clean for a V1.
Already deep into V2 — more clearance from the window, beefier mounting hardware, just dialing it in tighter overall.
Sharing this 'cause I wanna know what you all think, love it or hate it, lay it on me. And if you're in SoCal, I'd love to get some of you out to test V2 once it's ready.
Pics below — original sketch, the raw cut fresh off the laser (should've gone powder coat from jump, lesson learned), and the painted final (also should've gone powder coat, but eh, character).

Sponsored


