

- Thread starter
- #1
Loading...
Sponsored
Last edited:
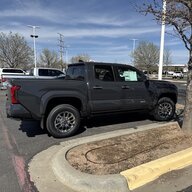
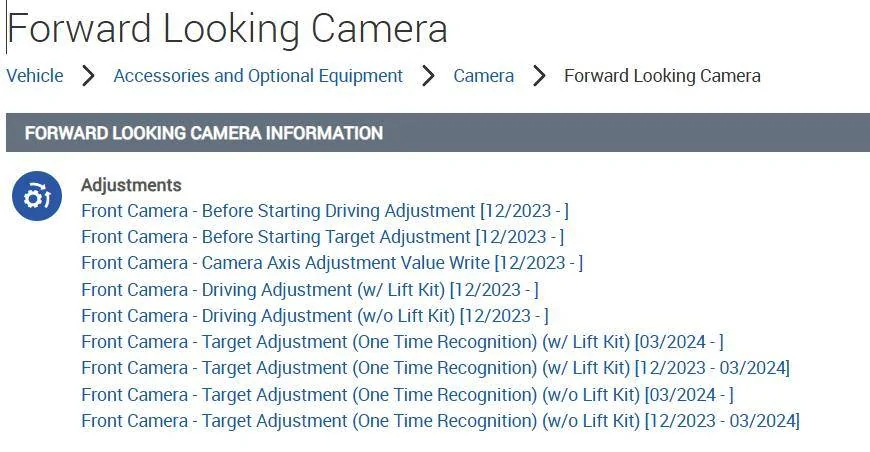
What's the difference between these? Just references of initial starting positions?I have an ALLDATA account and found this. Several options depending on what your driving.


Terrific detail. I am waiting for the brake line recall fix to be completed,So a few weeks ago I went down the rabbit hole on how to re-calibrate my 360 cameras after I swapped my Limited Grill for a Heritage Grill.
To calibrate your cameras, it's actually fairly simple. You can do it all on your radio infotainment screen.
Steps to access the Calibration Menu (service menu):
1. Get in your truck and close all the doors and windows. From my testing, you cannot access the Service Menu if a door or window is open. Once you access the Service Menu, you then can open a door or window.
2. With your foot off the brake pedal, double click your stop/start button to access Accessory Mode
2. Wait until the infotainment (radio) screen boots up
3. Turn the volume all the way off
3. Go to Settings > Display > Screen > Turn off Display
4. Okay so here is the hardest part. You have to swipe left to right 5 times, and then right to left 5 times. Your screen may display "Touch to turn screen on" while you are swiping, but ignore the message.
4a. It may take 1 or 2 tries to get this to work. If you mess up, you just have to tap the screen to turn it back on, then turn it back off in the settings. Then continue with step #4 again.5. If swiped correctly, you should see a Service Menu pop up.
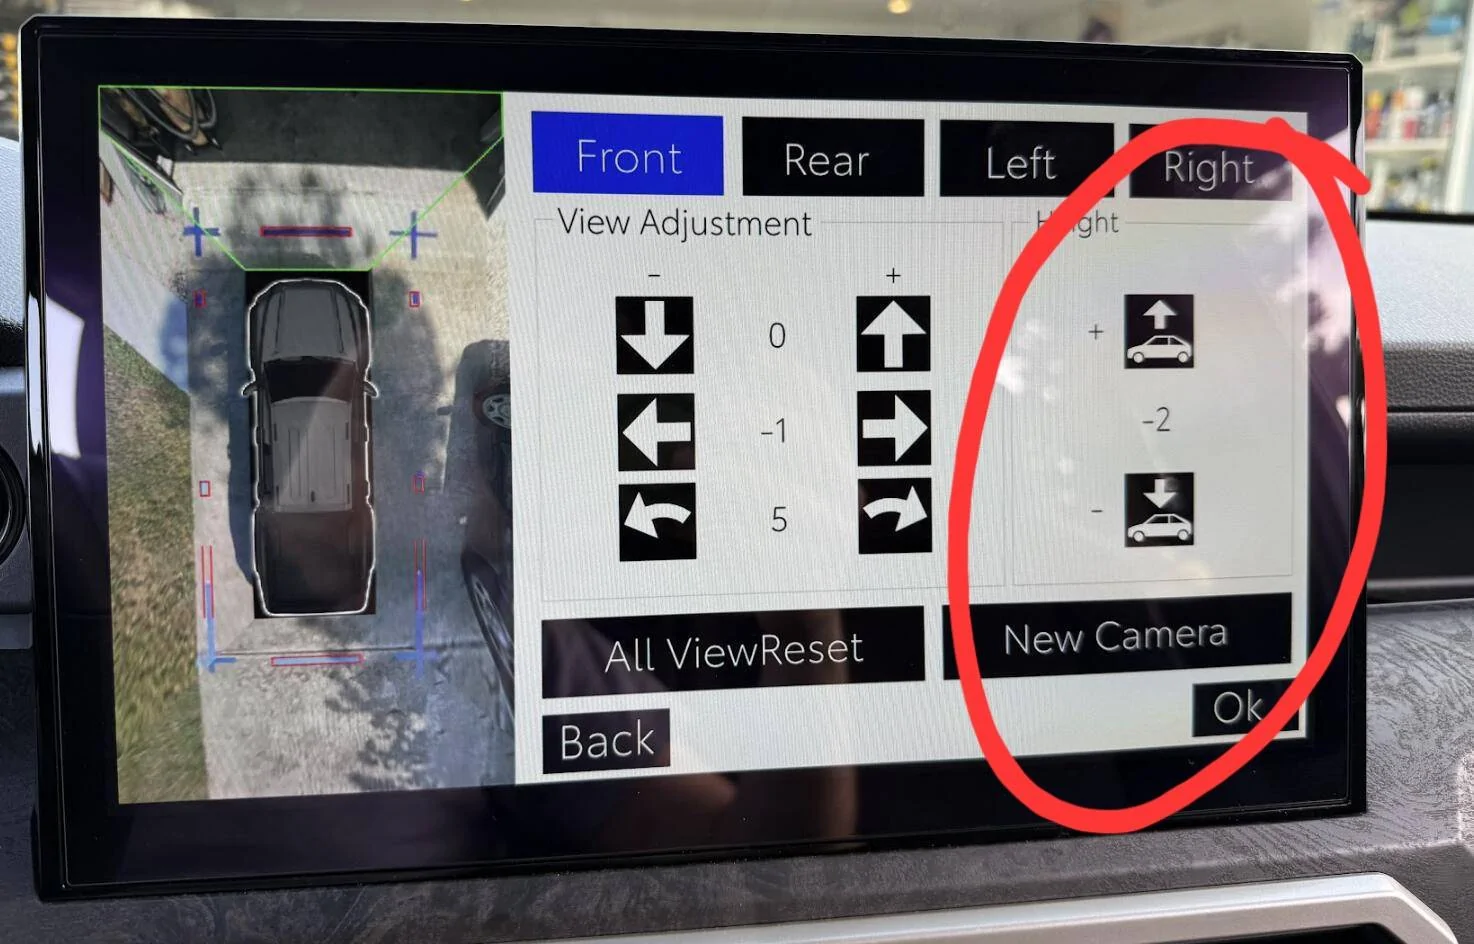
6. Navigate to Function Check > Camera Settings > View Adjustment
6a. If an option is greyed out, just hold the desired option for appx. 5 seconds and it will let you select it.7. After selecting View Adjustment, select Next.
8. You will now see the birds eye view of your truck where you can make adjustments.
9. After making your adjustments, select Ok.
10. Once it completes saving, click OK and you can exit the Service Menu. The next time you start the truck, it will ask you to complete service mode and just choose ok to complete.
Notes:
- Accessory Mode only stays on for 15-20 minutes, so make sure you don't take too long to adjust all your cameras otherwise you will have to restart the process.
- I don't think it's possible to get the cameras aligned 100% perfectly. I got it like 95% good and I was happy with the result
- While adjusting the cameras, where both cameras line up and meet in the image, there is no blending effect of how they mesh together. Once you exit the Service Menu, and start driving, the normal 360 camera view adds a blending effect to where the cameras mesh together to hide some of the imperfections of misalignment, so don't worry if the service menu doesn't look 100% perfect.
- If you are only looking to realign your front camera after swapping grills, you can follow the above steps (change the front camera angle to +165 should get you close to spot on, adjust + or - 1 until you get it perfect).
Be cautious when making changes in the Service Menu. It appears you can change other settings in this menu as well, and I recommend not doing so unless you know what you are doing. I am not an export and I am just sharing some of the information I have found.
If you are looking to do a full recalibration of all the cameras, I have attached the official Camera Calibration Procedure from the Service Manual that I found shared online. This procedure is very in depth, and honestly probably not recommend if you are only swapping your front grill camera (I believe other forum members were able to change their front camera calibration to +162 or +165 to get it adjusted correctly) With my tailgate camera also being misaligned from the factory, I performed this calibration to get everything dialed in. It did take some time, especially settings up all the tape.
The official calibration procedure of laying tape down in precise locations was time consuming and very tedious to get all the tape lined up perfectly. Honestly, I think if you just take a 2ft x 2ft piece of wood or cardboard, put some painters tape on it, and move it around to each corner of your truck where your cameras 'mesh' together in the view, it will work almost as good. I've saw someone else mentioned they just went to a parking lot and used the painted lines.
View attachment 31179
Tape laid out per the Service Manual Procedure
View attachment 31180
This was as close as perfect as I could get it. It's not perfect, but I was happy with the results. Much better than how it came from factory. The adjustment values in this picture are not accurate, as each time you save, the value returns to zero.
View attachment 31177
Using wood instead to save time.
View attachment 31188
ALLDATA doesn't have PDF's, it's just webpage format which means if you have to deal with the formatting issues if you print or save to PDG. PM me if your interested in something.What's the difference between these? Just references of initial starting positions?
Can you share PDFs of each link, similar to OPs calibration instruction file?

Thank you very much. I've been sitting on $800 of a new grille setup in my basement for months because of all the unknowns here. Now I can install it.Correct
After doing this method once, the option will be grayed out. But you can just hold down the option for 5 seconds and it will select it and you can continue as normal.
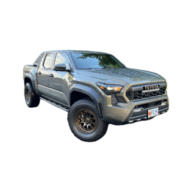
Can confirm. 165 seems to be the sweet spot. I was driving around after my heritage grill swap for several months with misaligned camera. It made the the backup mode and side view askew… kinda bugged me and I finally took the 5 minutes in a square parking space. It never looked perfect in the adjustment menu, but 165 seemed to be the best. Now everything seems fine.Thanks. And if you just want to change out your grill, making that adjustment is super simple. Takes less than 5 minutes. Most people use an adjustment of +165. No need to put tape markers down or anything.
The tape and lines are used to recalibrate all the cameras together, incase they are off from factory.
I'm being annoying. But just to be perfectly clear.generally, yes. ~ "up" 160 to 165 is working for most people. It depends on your wheels, trim level, lift, etc.
When doing all the cameras, I got better alignment of the corner "crosses" by also doing selective height adjustments (they are not equal). Changing the lift/height number zooms the camera in/out.