- Thread starter
- #1
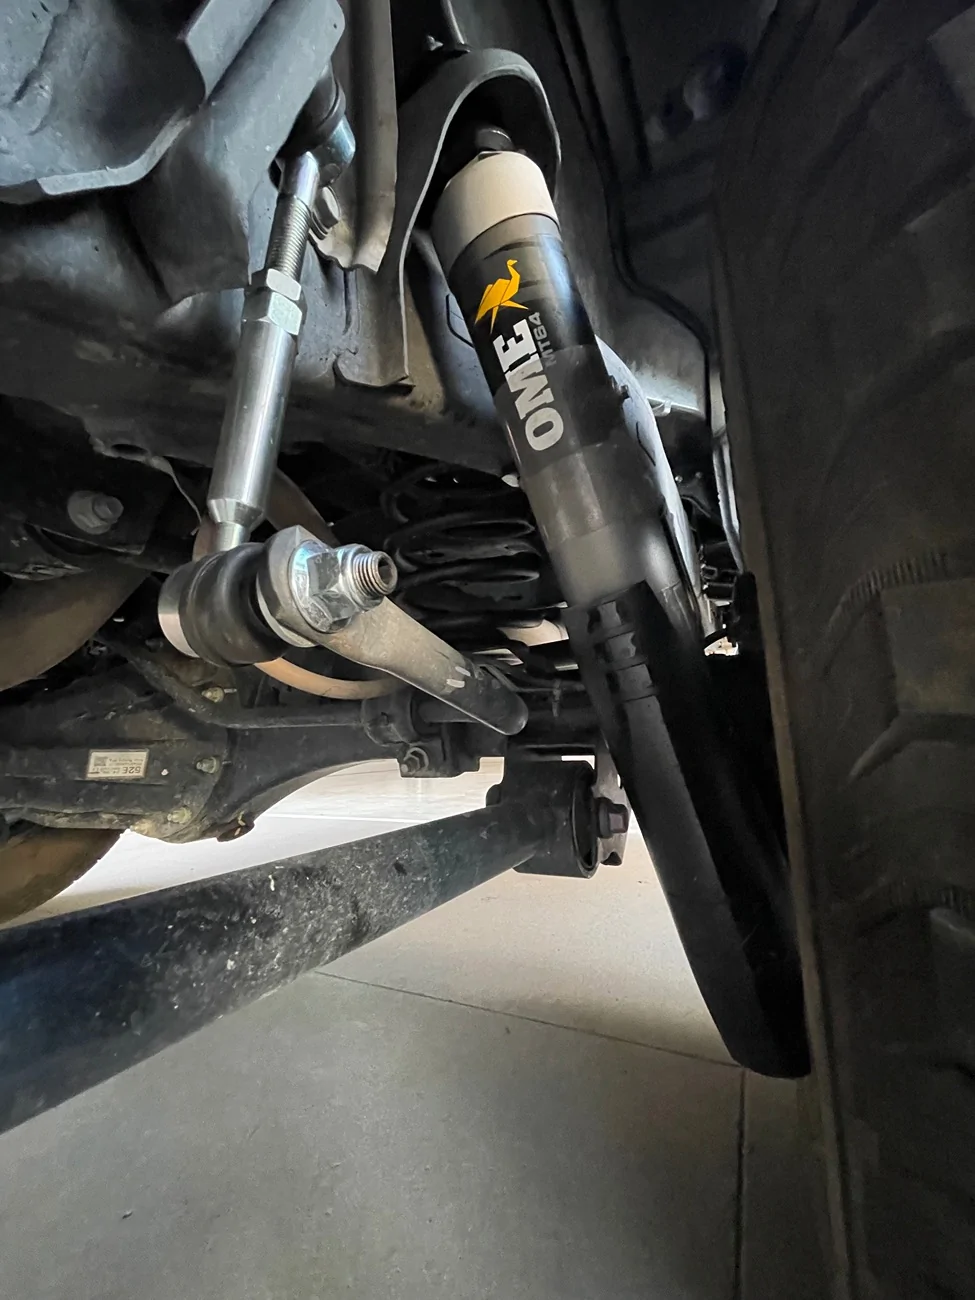
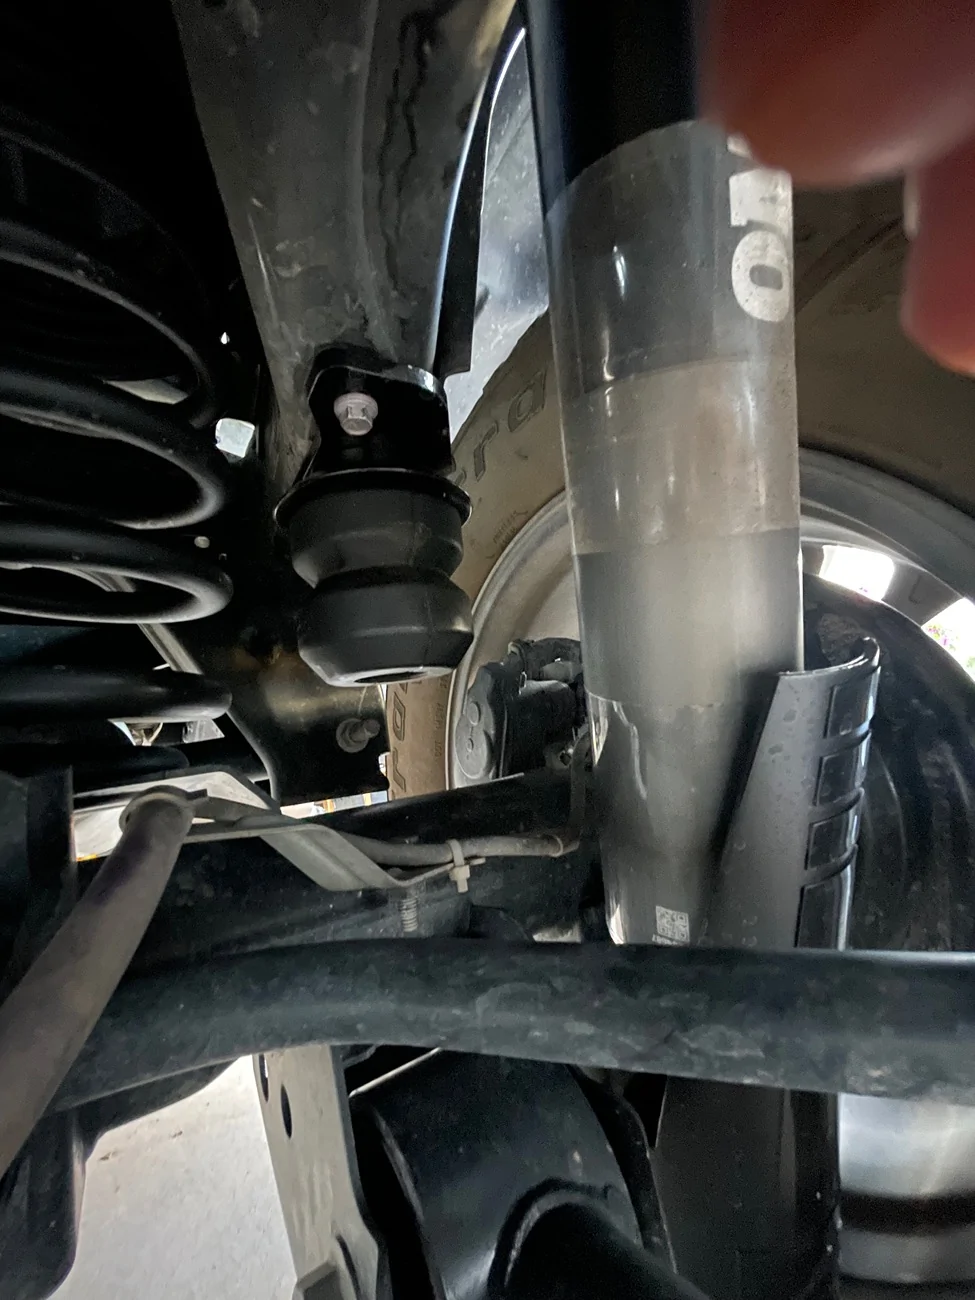
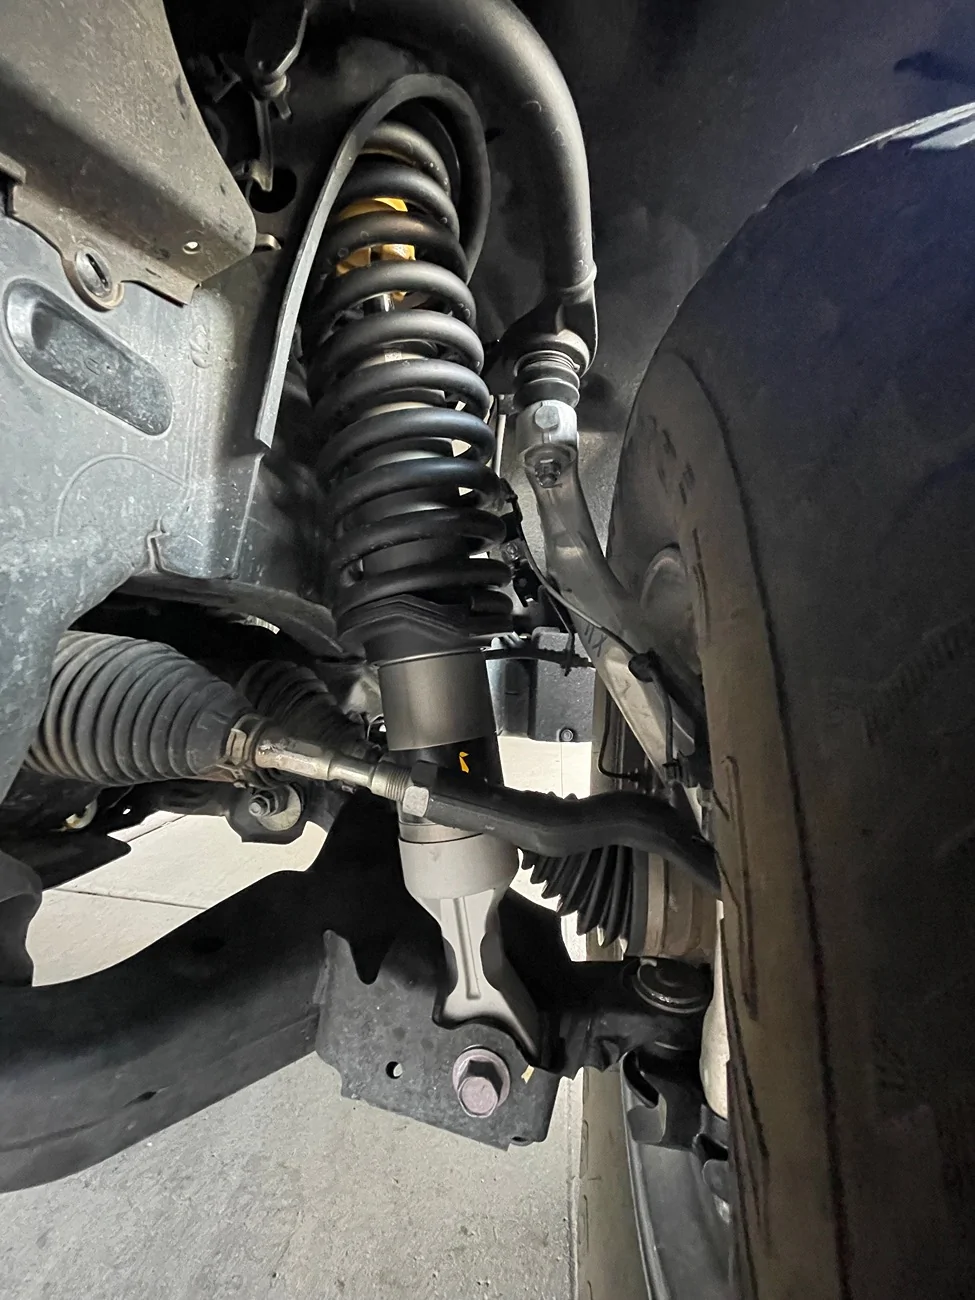
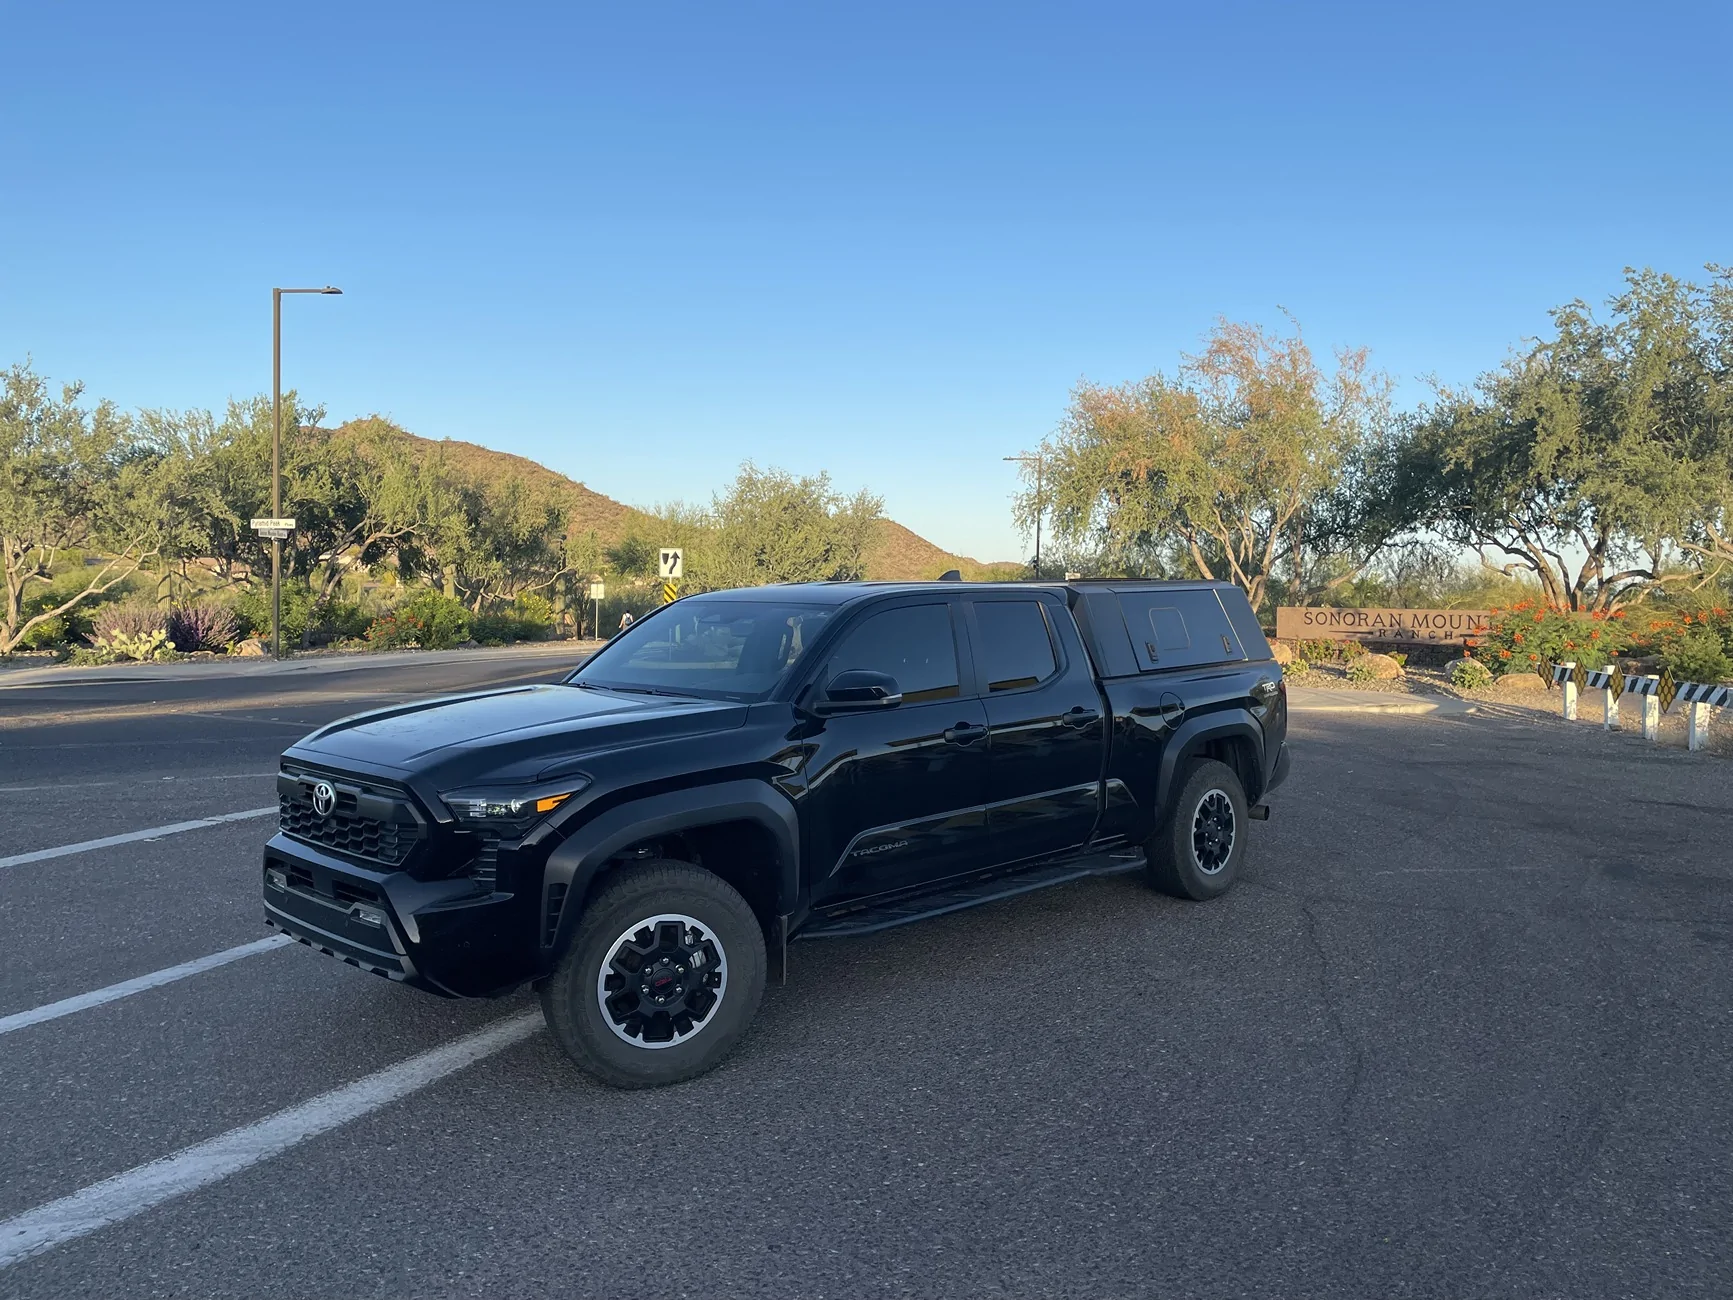
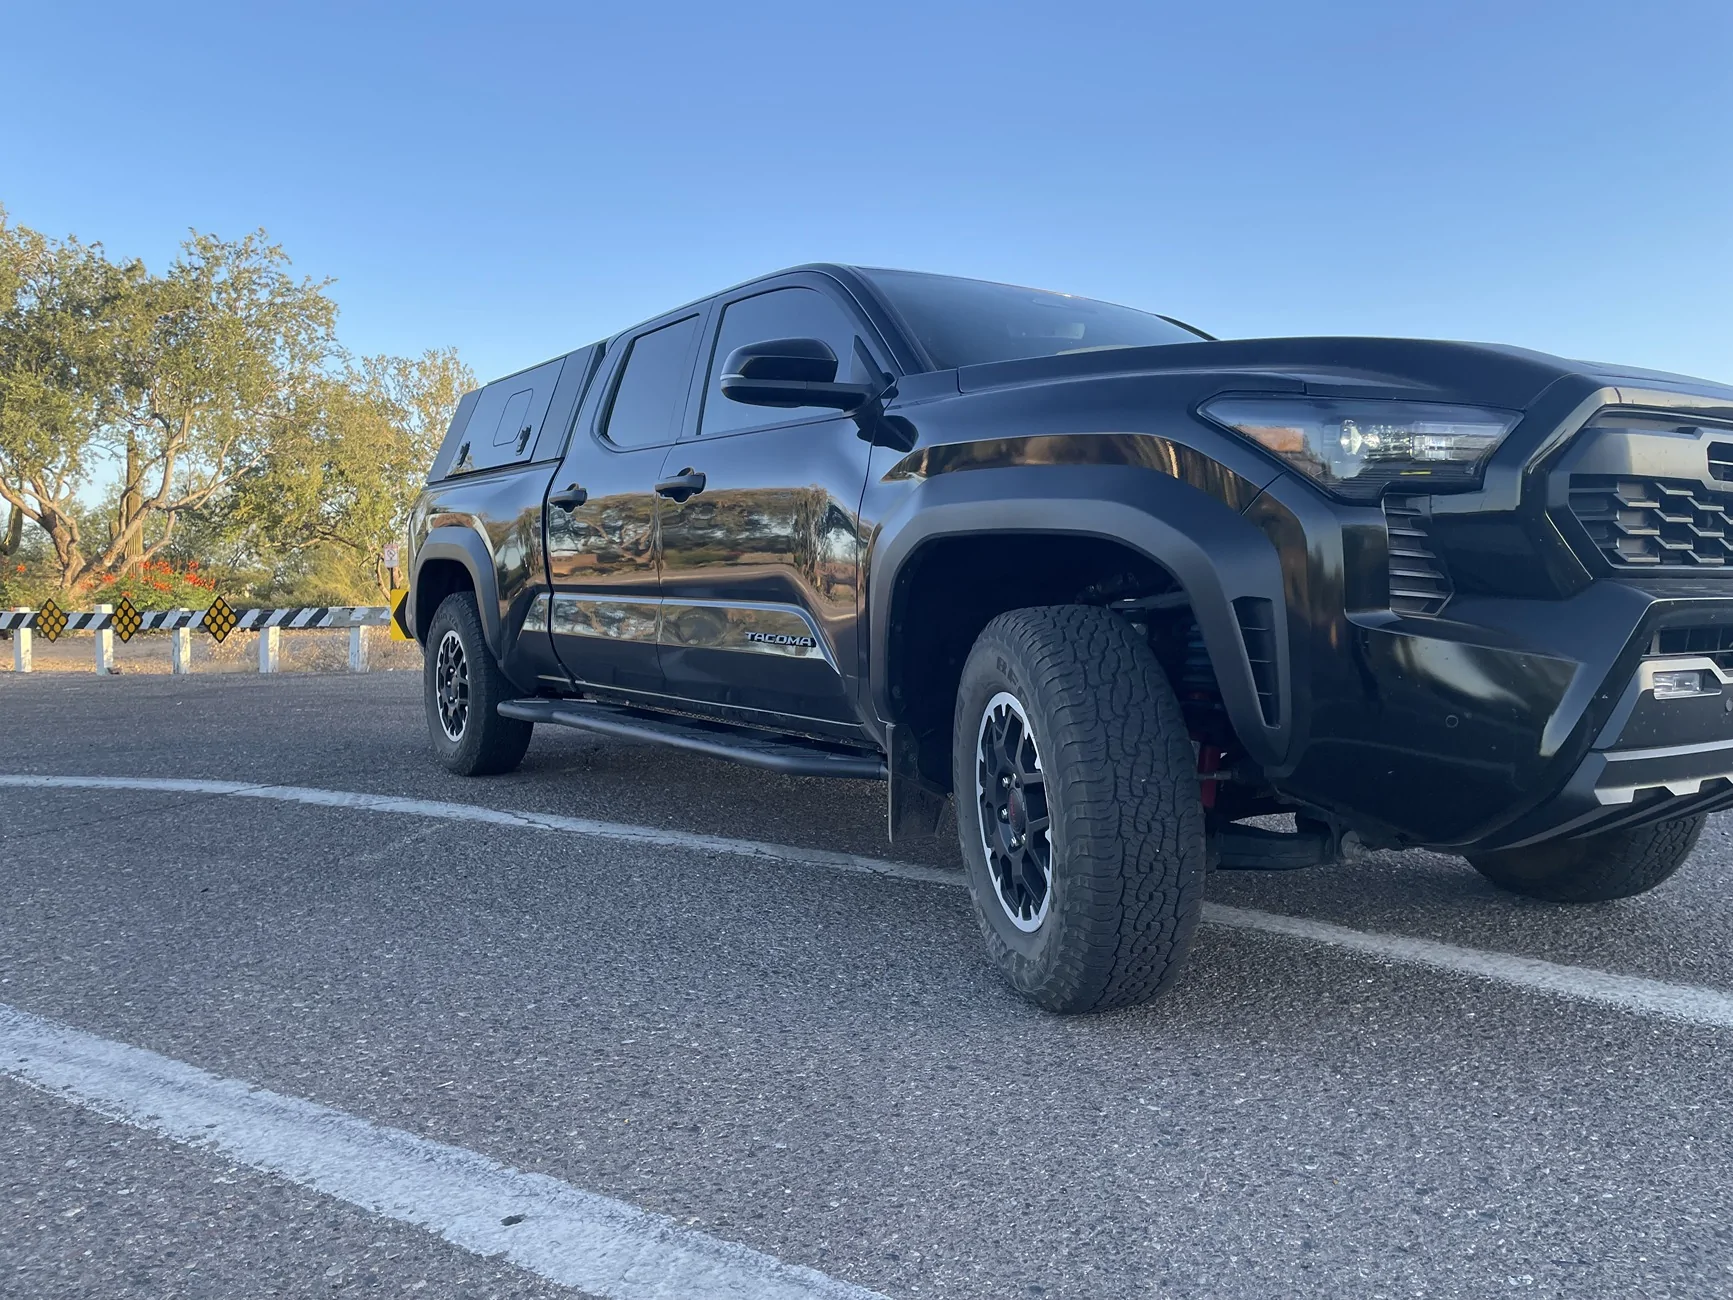
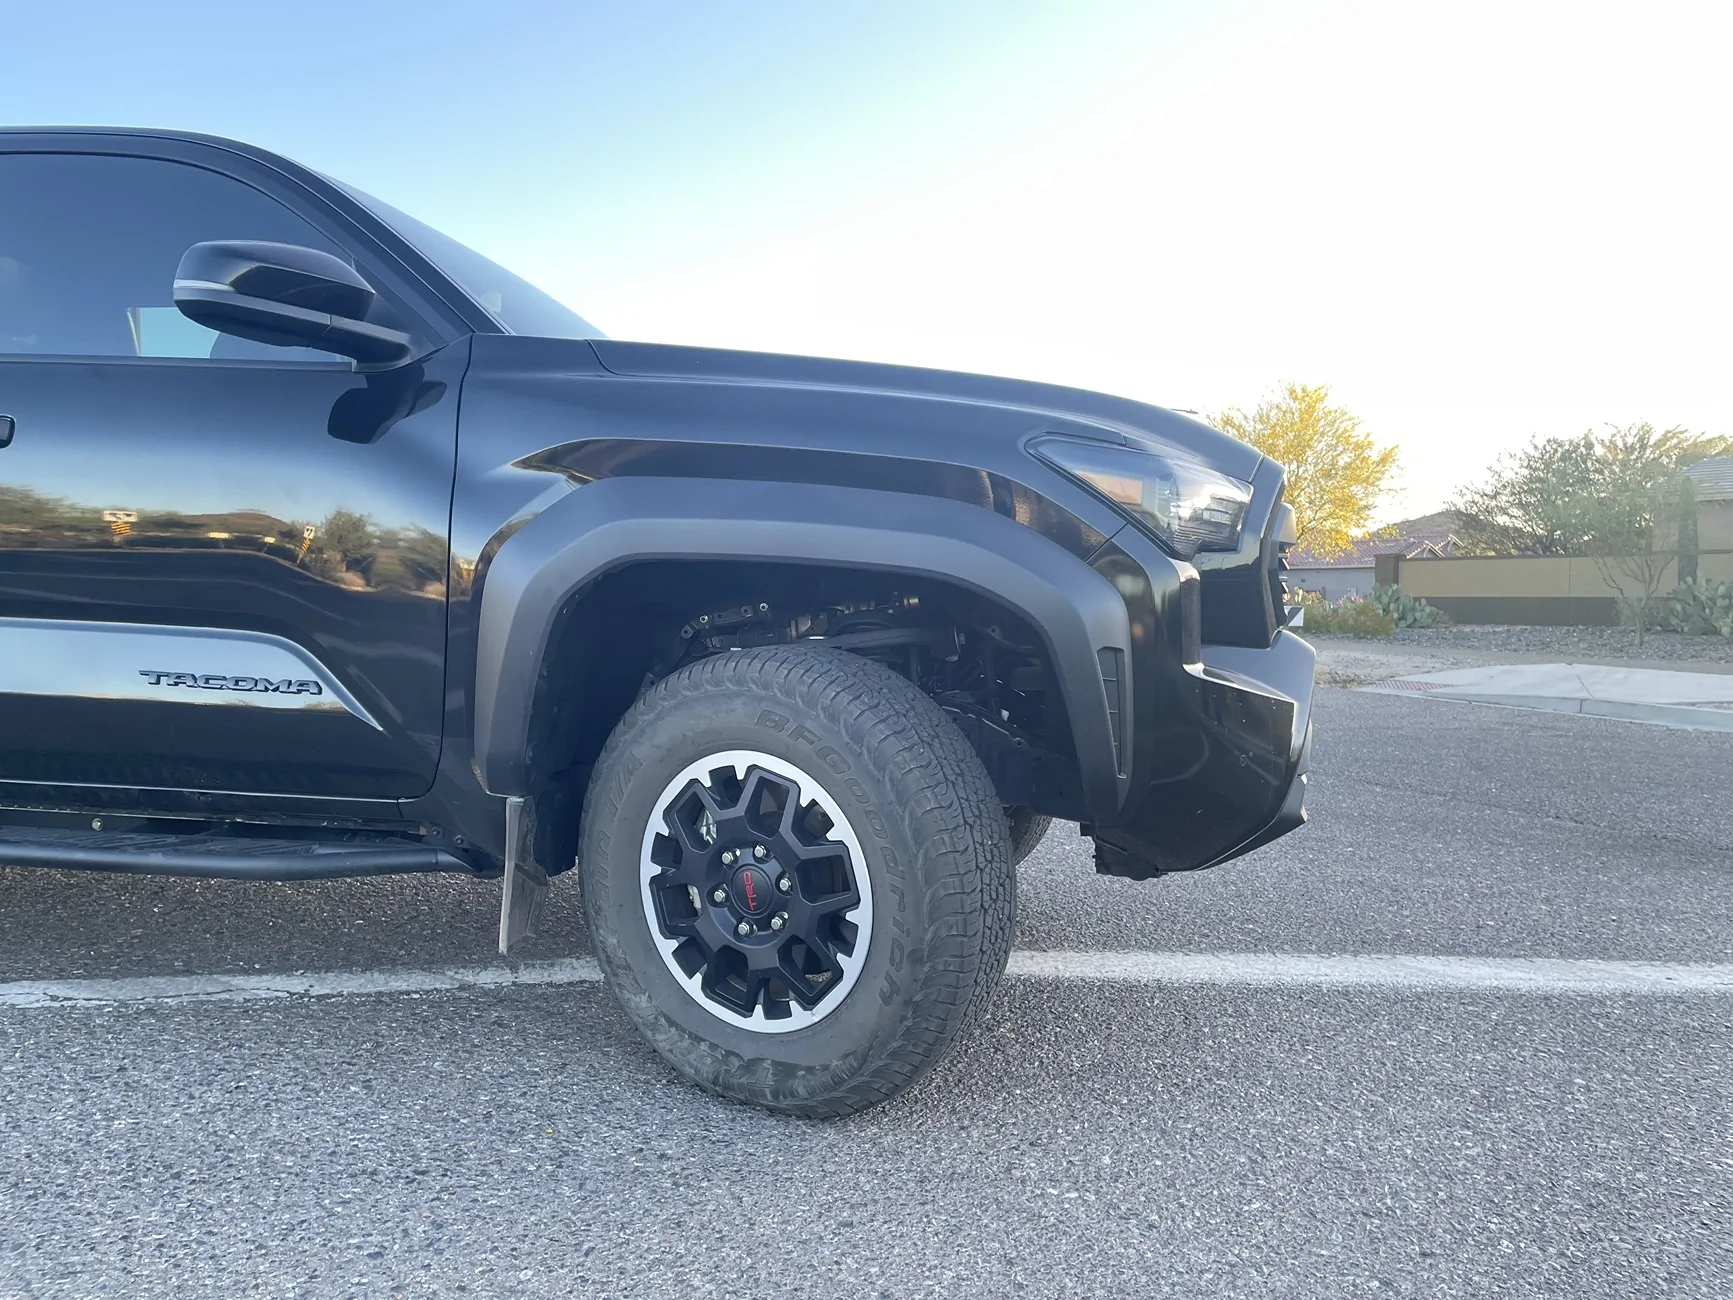
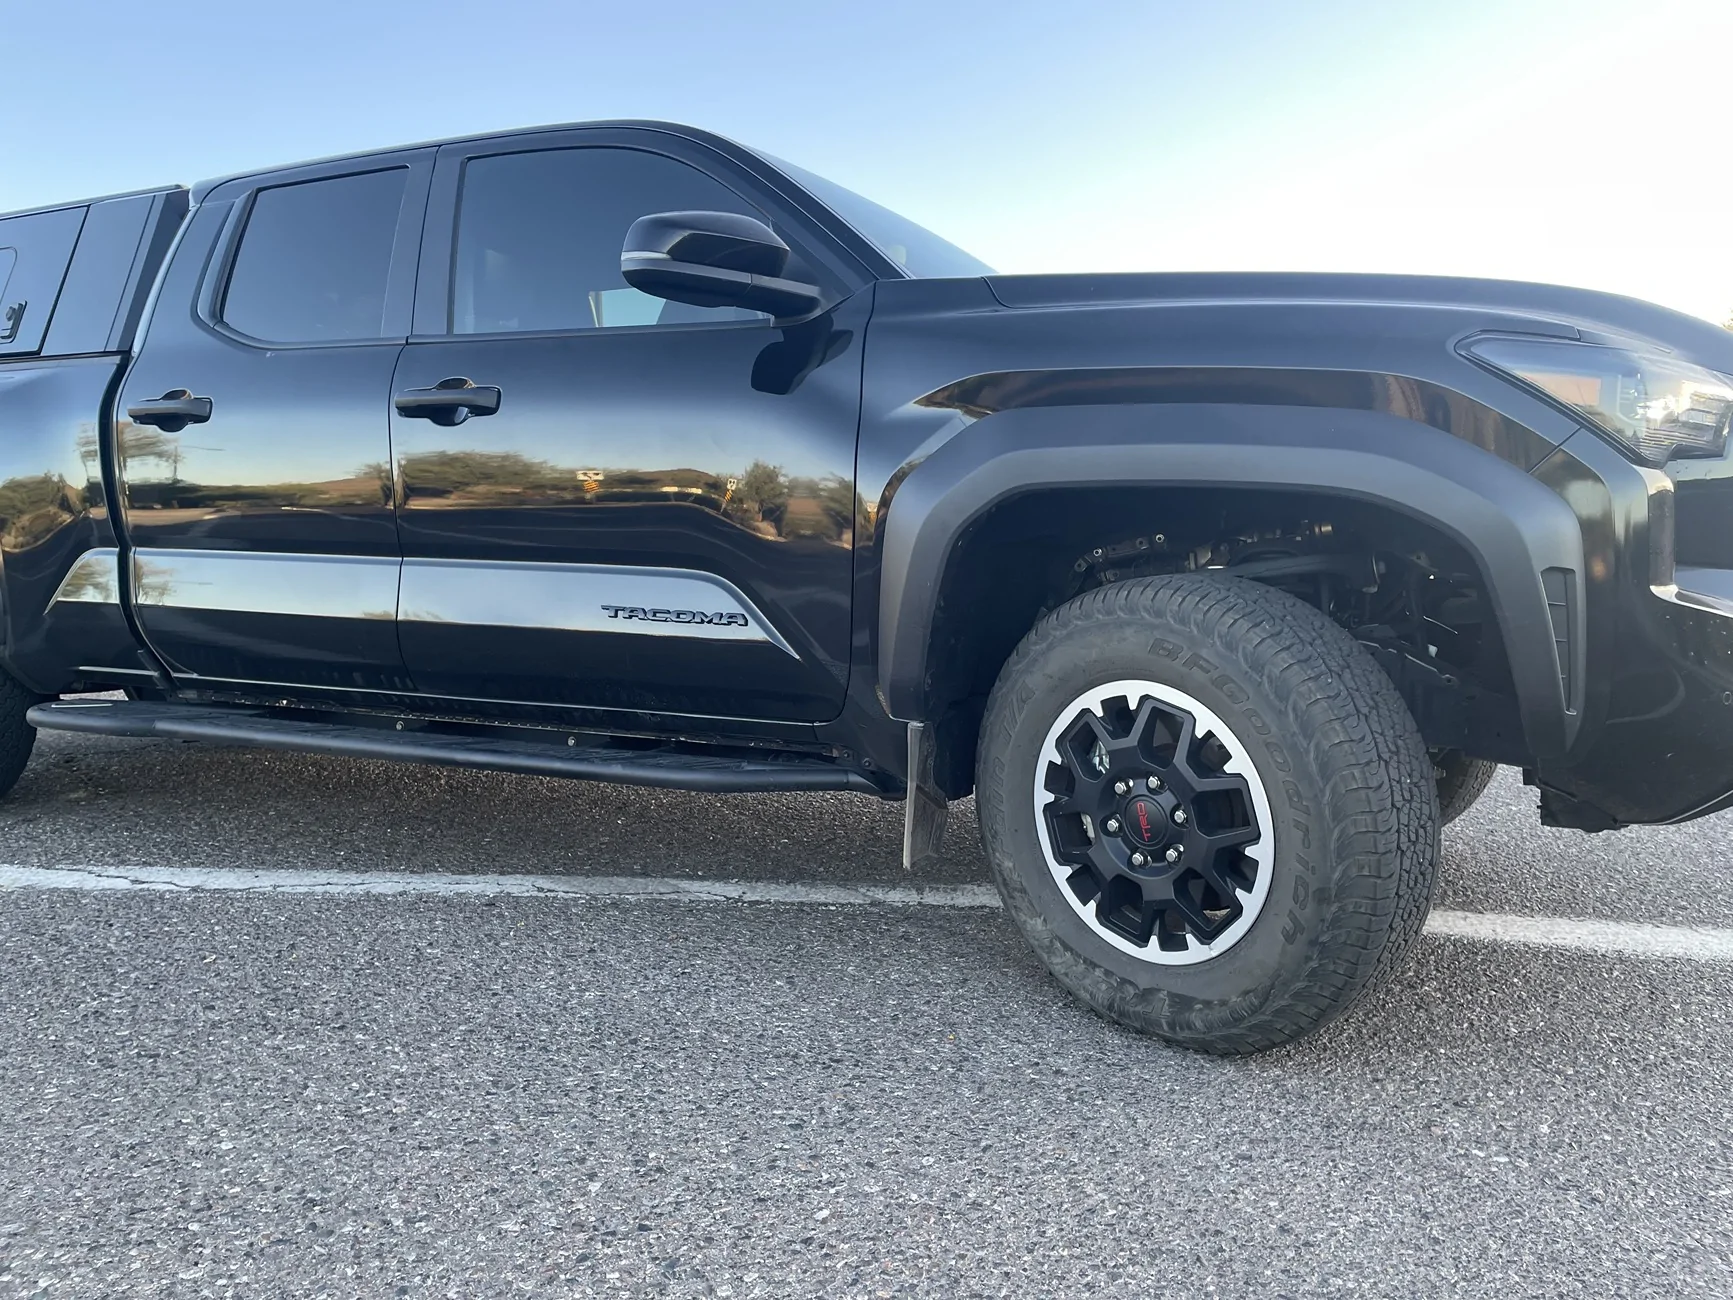
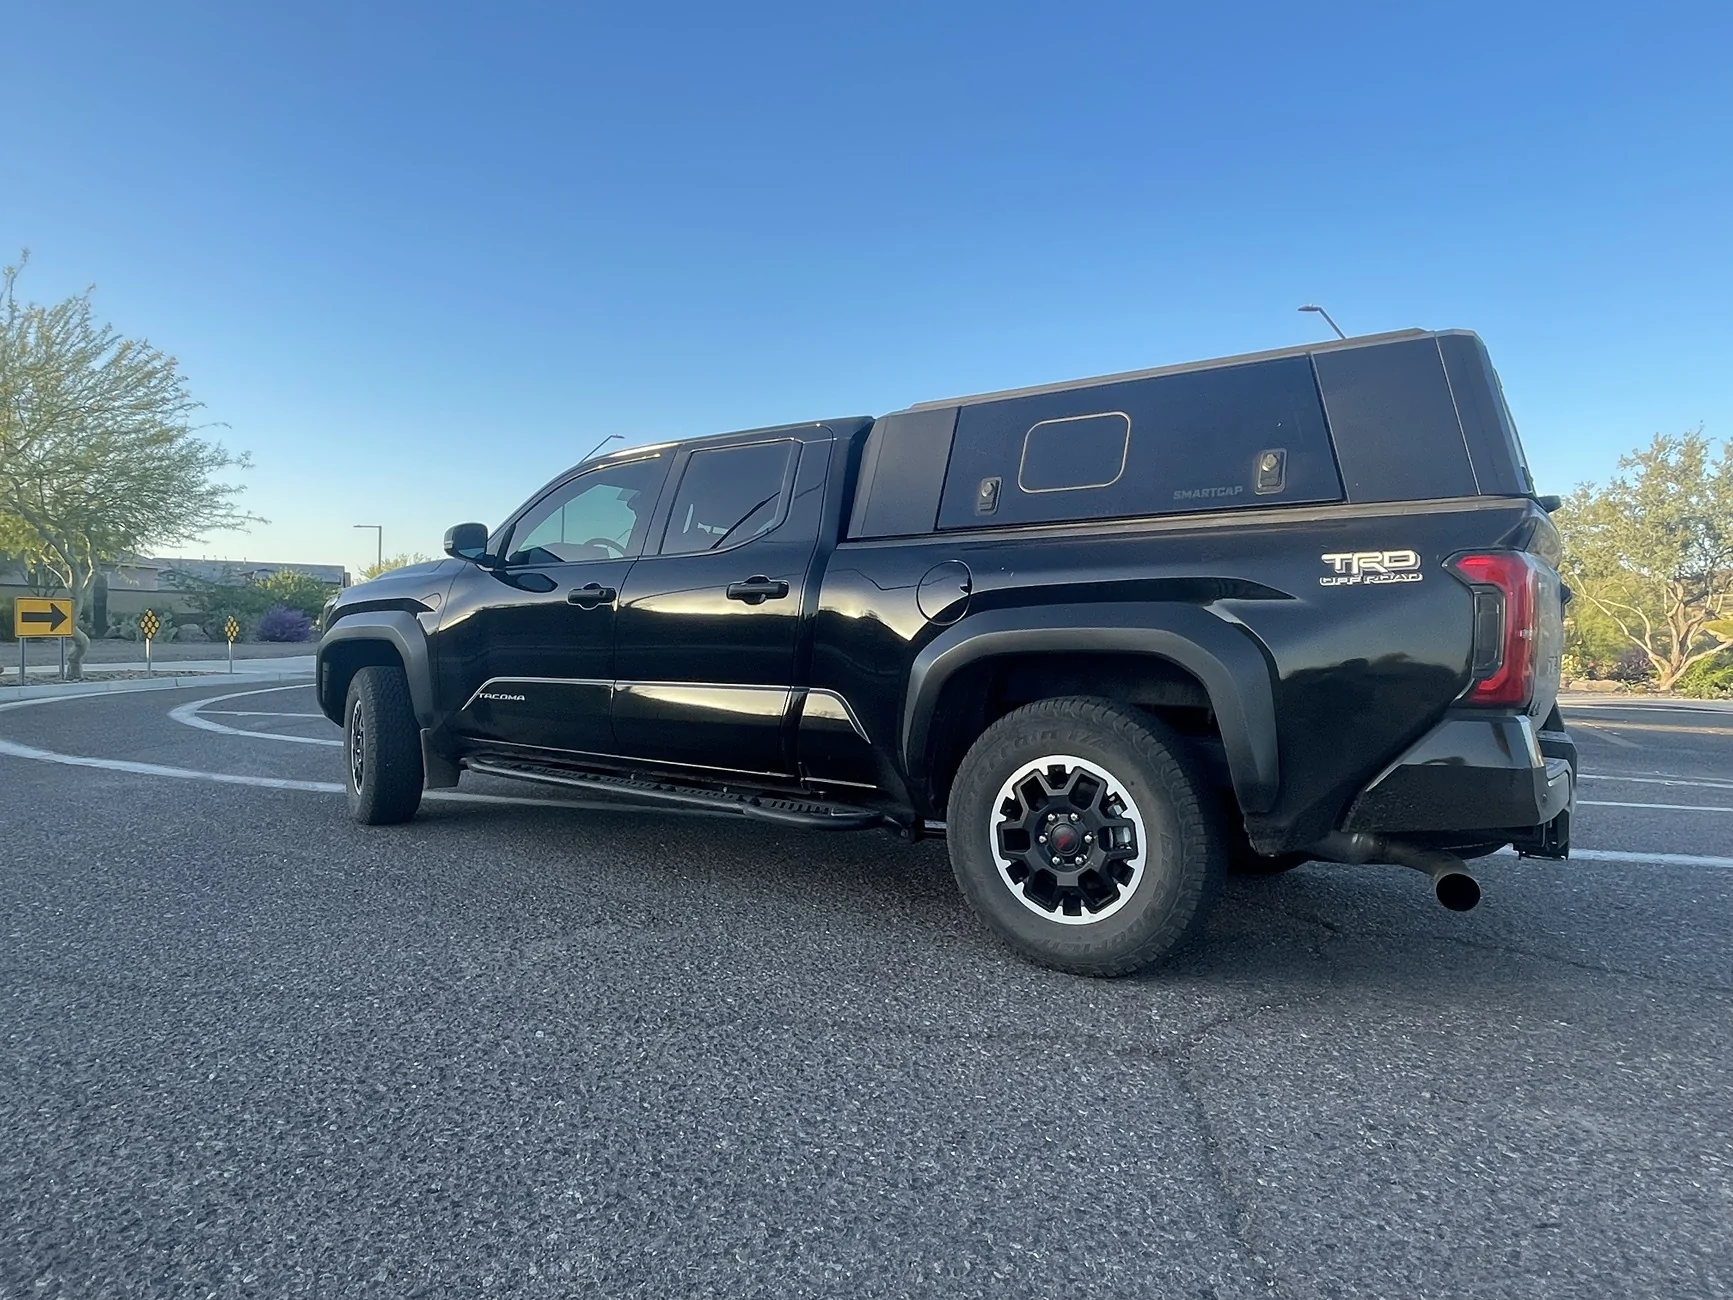
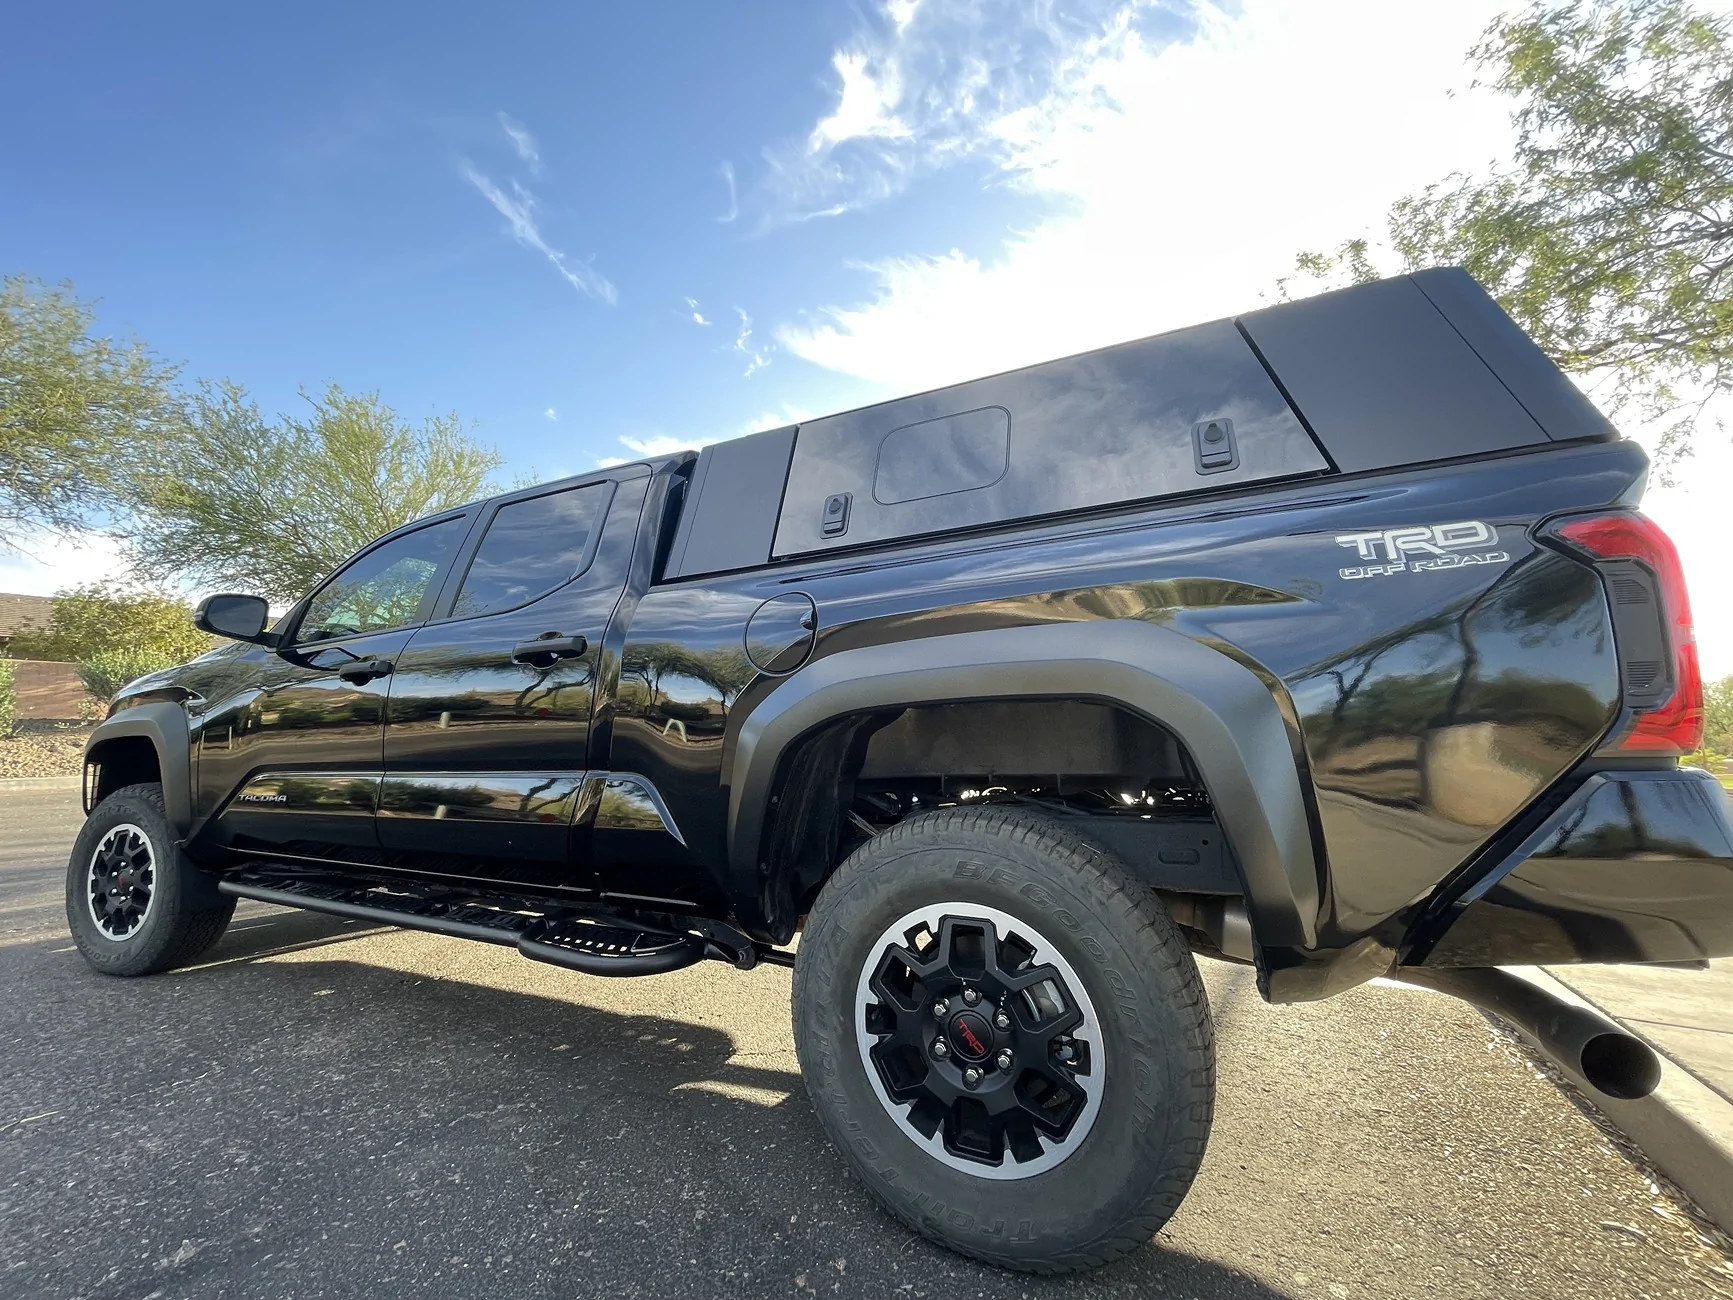
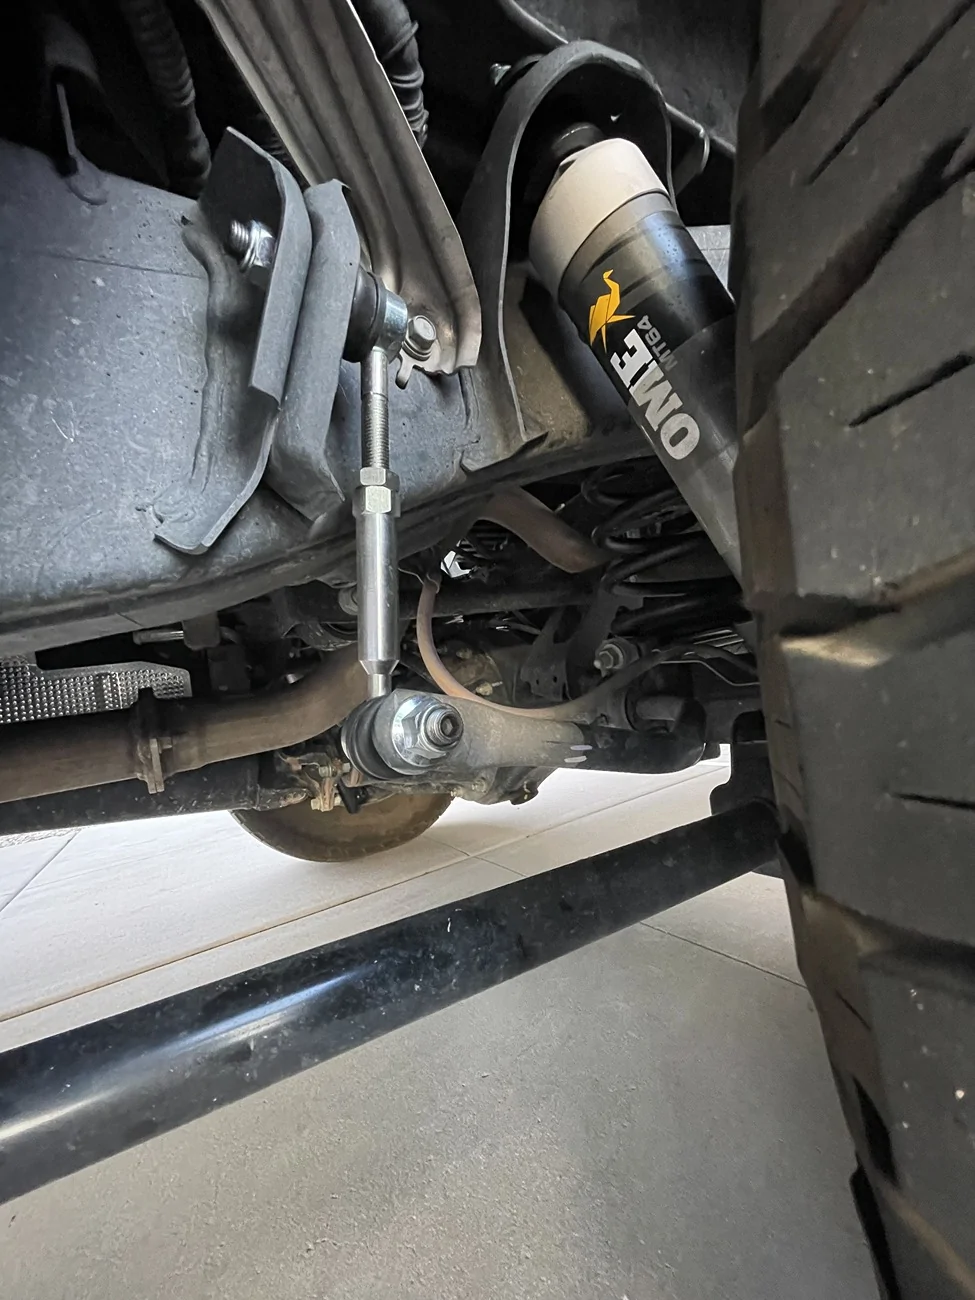
OME MT64 with OME UCAs, Timbren ABSTORTNDR bump stops, Dobinsons adjustable rear sway links, TRD Tie Rod Ends and TRD Lower Knuckles
Self Install Completed 5/31/26 and 6/1/26
I wish it was easier to take pictures/videos AND lead the install but that was not possible. Would have loved to make a legit YouTube vid for you but a lengthy description and some pics will have to do. I'll also attach the installation guide I created for this and share some additional advice with it.
It was an adventure of a day!!
7am to 4pm non-stop (could have been done by noon if not for some snags)
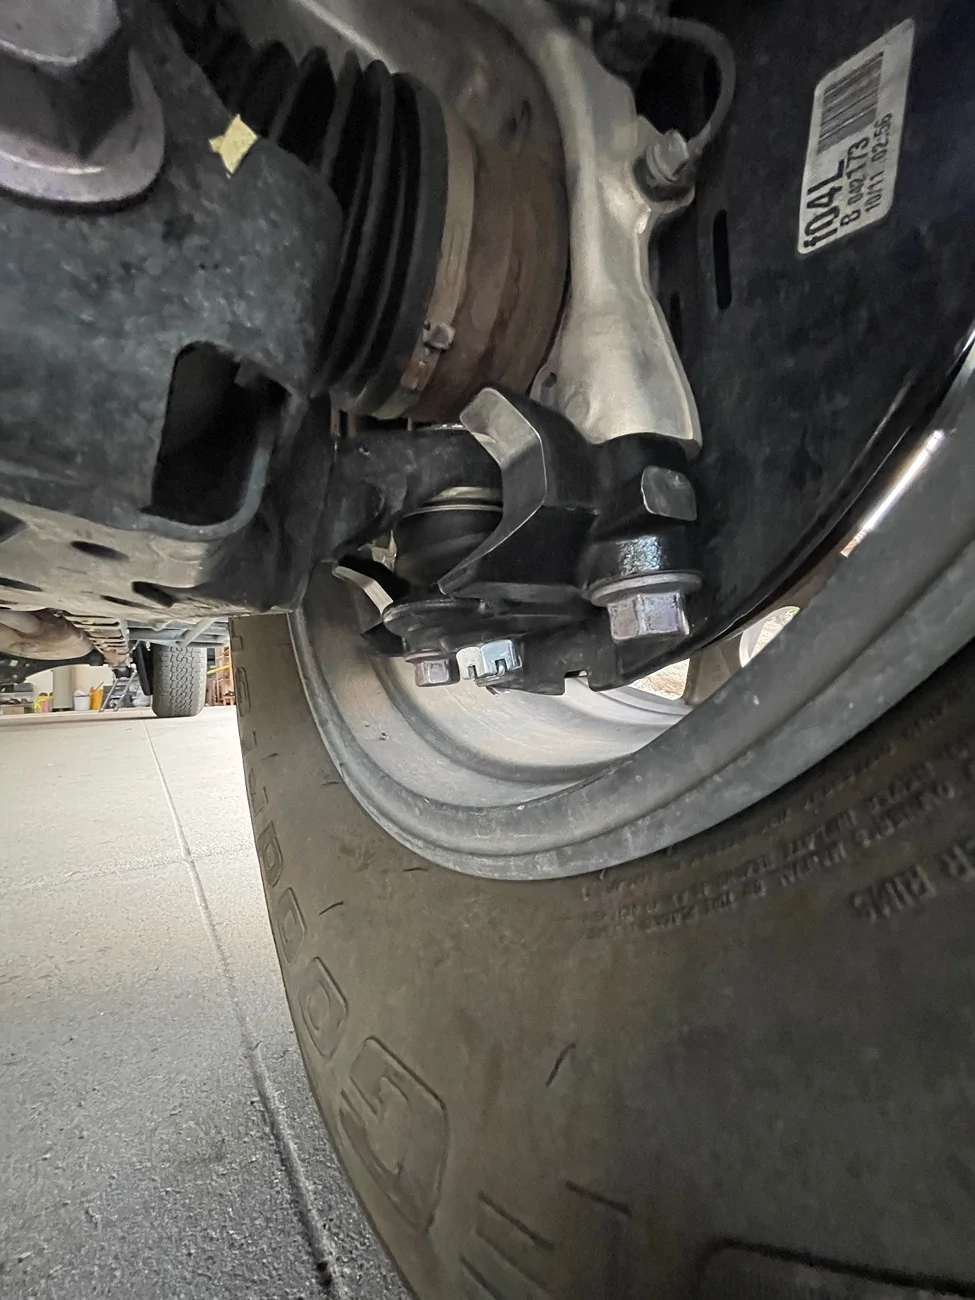
Disassembly was pretty smooth. Except removing the lower knuckle. You either need a wide ball joint separator or an adjustable arm puller. Could not find a ball joint separator at the Oreillys or Autozone big enough so the knuckles didn’t happen, on 5/31.
Loosen the LCA cam bolts.
Disconnect/remove the tie rod end and wait to install new one to allow to extra room to work the new coil over in.
Disconnect the sway bar link from the LCA, lower knuckle and lower shock bolt. The LCA will swing out of the way. Disconnect the coil over up top and remove. I would then suggest installing your new coil overs so you have the spring as a hanger for the spindle once the UCA is disconnected. You can choose another way to do so but that is the easiest IMO.
The driver side UCA long bolt was as expected. Remove the intercooler pipe and you can wiggle it out/in, eventually.
If you are installing the OME UCAs, be careful of the metal collar within each arm as it can fall out and you will damage the bushing if torqueing with that not in place. Reattach spindle to UCA and OK to torque castle nut to spindle.
Now you can install the new tie rod end, swing the LCA to your new coil over and place bolt. Attach sway bar link to LCA and tie rod end to spindle.
Lastly, remove the lower knuckle. Its much easier to do with the LCA in position. Place new knuckle and ok to torque vertical bolts while lifted.
Repeat process on other side and then lower vehicle to ride height to torque everything down. There is a great resource at the top of this forum with all OEM torque specs. Pay attention as aftermarket parts will likely have different torque specs.
FYI: The TRD tie rod ends are quite a bit longer and will toe out your tires ALOT.
The rear disassembly is very strait forward. Remove brake line brackets and do not install new sway links til the end to allow for max articulation. This will allow you to get the longer springs in place MUCH easier. We also used a jack to push one side up giving us plenty of room.
Lower vehicle again and torque everything to spec. Due to tight clearance, you'll need a crow foot or super small socket/torque wrench to torque upper strut bolt. PFT is likely good on this though.
Got flat bedded to alignment shop by 6pm 5/31 where it sat over night and was first on the rack in the AM. Took about 30 minutes. Shout out to Matt at Network Alignment in Glendale, AZ.
Immediately drove to a buddy’s shop who threw it up on his lift, checked all the torque specs and inspected the OEM knuckles. I saw the abnormal wear pattern reported several places so we did the lower knuckles in 5 minutes. They actually changed the alignment quite a bit so I had to drive it over for another alignment.
Everything is working great. Definite improvement in street driving and bumps/dips feel so much better. Looking forward to some off-roading!!
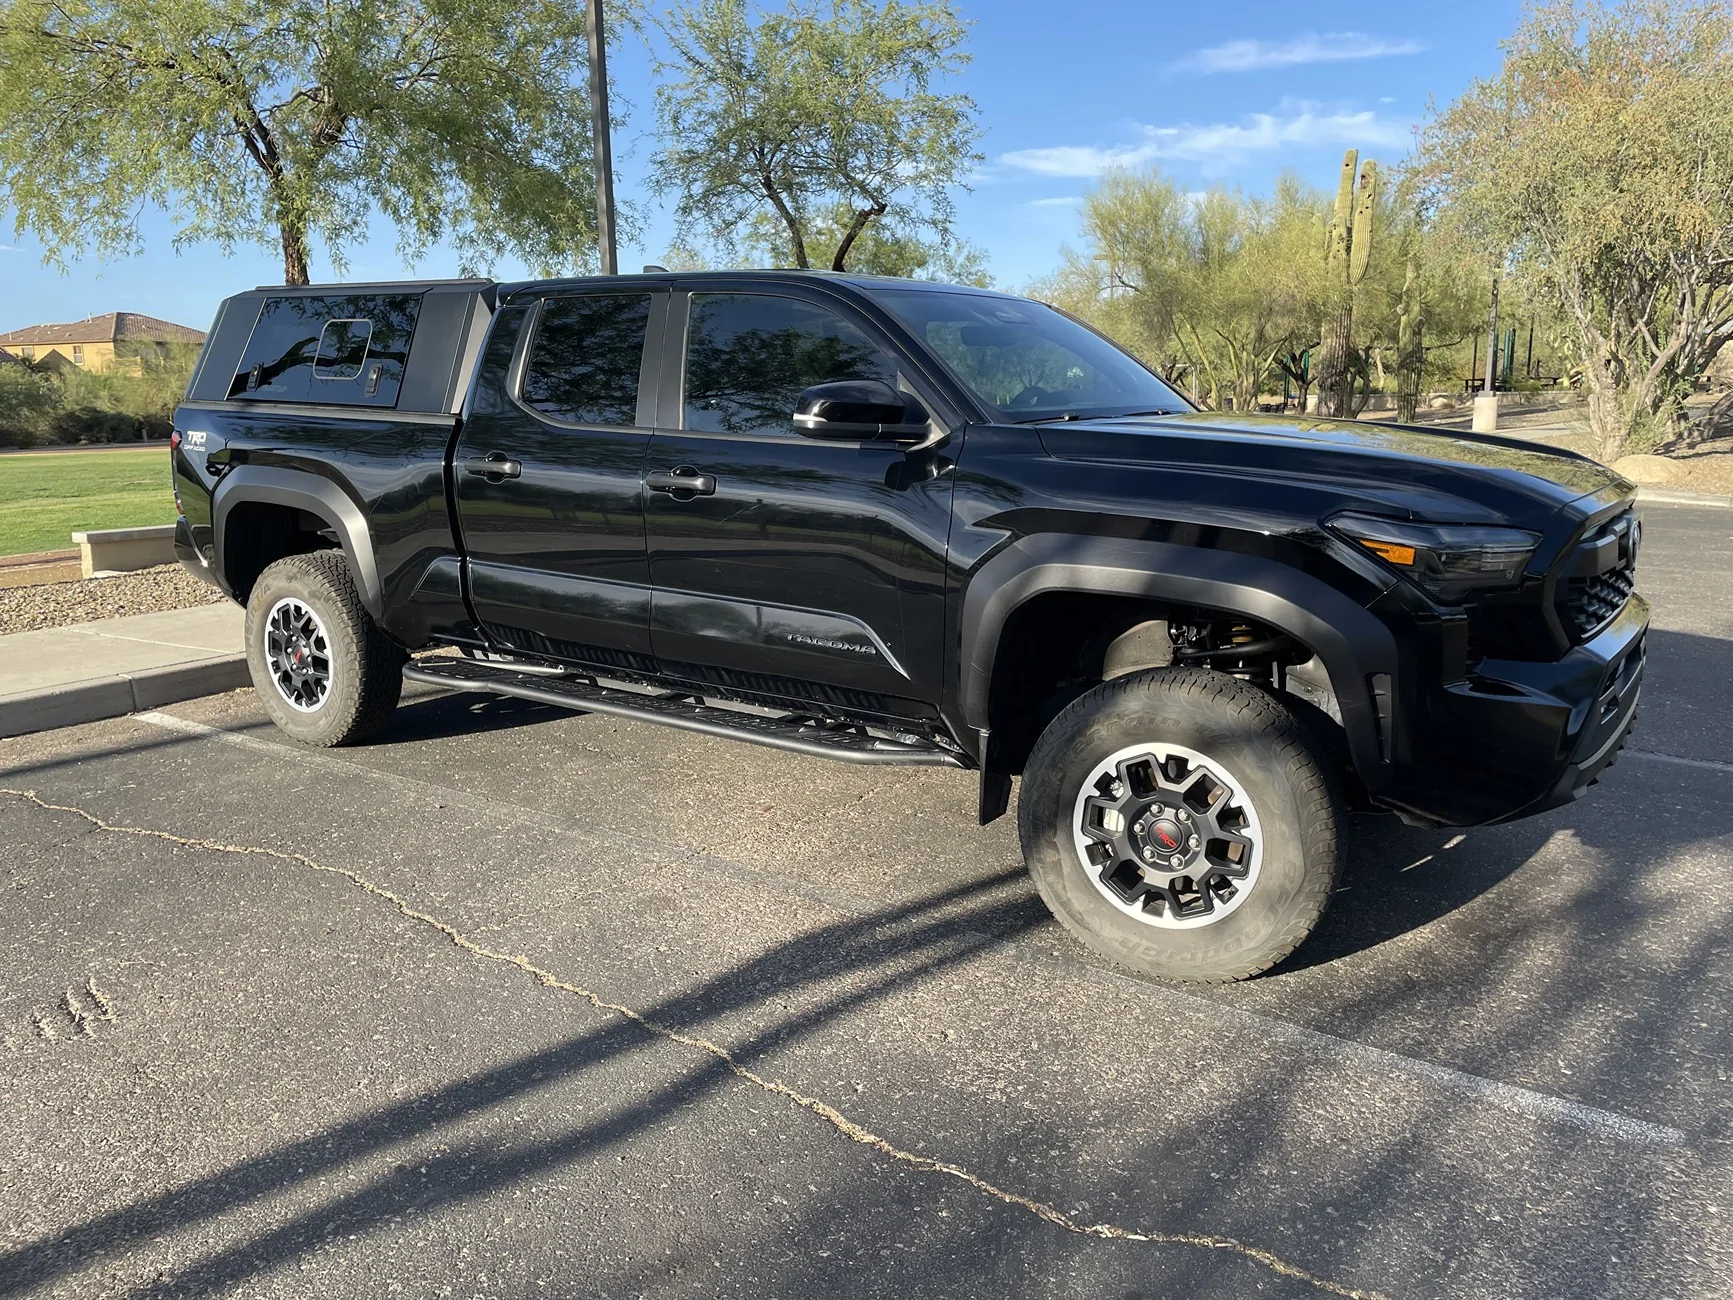
Pre-install center hub to fender measurements:
Front 21 1/4”
Rear 21”
Post-install: (after 1 week)
Front 23 1/2”
Rear 24 1/4”
The truck’s OEM suspension was sagging quite a bit with my weight (SmartCap, DIY platform and DIY drawers 350lbs).
I'll try to add the last 4 photos tomorrow. Could only convert so many HEIC photos to JPG without paying for software (work computer so cant install programs)


Self Install Completed 5/31/26 and 6/1/26
I wish it was easier to take pictures/videos AND lead the install but that was not possible. Would have loved to make a legit YouTube vid for you but a lengthy description and some pics will have to do. I'll also attach the installation guide I created for this and share some additional advice with it.
It was an adventure of a day!!
7am to 4pm non-stop (could have been done by noon if not for some snags)
Disassembly was pretty smooth. Except removing the lower knuckle. You either need a wide ball joint separator or an adjustable arm puller. Could not find a ball joint separator at the Oreillys or Autozone big enough so the knuckles didn’t happen, on 5/31.
Loosen the LCA cam bolts.
Disconnect/remove the tie rod end and wait to install new one to allow to extra room to work the new coil over in.
Disconnect the sway bar link from the LCA, lower knuckle and lower shock bolt. The LCA will swing out of the way. Disconnect the coil over up top and remove. I would then suggest installing your new coil overs so you have the spring as a hanger for the spindle once the UCA is disconnected. You can choose another way to do so but that is the easiest IMO.
The driver side UCA long bolt was as expected. Remove the intercooler pipe and you can wiggle it out/in, eventually.
If you are installing the OME UCAs, be careful of the metal collar within each arm as it can fall out and you will damage the bushing if torqueing with that not in place. Reattach spindle to UCA and OK to torque castle nut to spindle.
Now you can install the new tie rod end, swing the LCA to your new coil over and place bolt. Attach sway bar link to LCA and tie rod end to spindle.
Lastly, remove the lower knuckle. Its much easier to do with the LCA in position. Place new knuckle and ok to torque vertical bolts while lifted.
Repeat process on other side and then lower vehicle to ride height to torque everything down. There is a great resource at the top of this forum with all OEM torque specs. Pay attention as aftermarket parts will likely have different torque specs.
FYI: The TRD tie rod ends are quite a bit longer and will toe out your tires ALOT.
The rear disassembly is very strait forward. Remove brake line brackets and do not install new sway links til the end to allow for max articulation. This will allow you to get the longer springs in place MUCH easier. We also used a jack to push one side up giving us plenty of room.
Lower vehicle again and torque everything to spec. Due to tight clearance, you'll need a crow foot or super small socket/torque wrench to torque upper strut bolt. PFT is likely good on this though.
Got flat bedded to alignment shop by 6pm 5/31 where it sat over night and was first on the rack in the AM. Took about 30 minutes. Shout out to Matt at Network Alignment in Glendale, AZ.
Immediately drove to a buddy’s shop who threw it up on his lift, checked all the torque specs and inspected the OEM knuckles. I saw the abnormal wear pattern reported several places so we did the lower knuckles in 5 minutes. They actually changed the alignment quite a bit so I had to drive it over for another alignment.
Everything is working great. Definite improvement in street driving and bumps/dips feel so much better. Looking forward to some off-roading!!
Pre-install center hub to fender measurements:
Front 21 1/4”
Rear 21”
Post-install: (after 1 week)
Front 23 1/2”
Rear 24 1/4”
The truck’s OEM suspension was sagging quite a bit with my weight (SmartCap, DIY platform and DIY drawers 350lbs).
I'll try to add the last 4 photos tomorrow. Could only convert so many HEIC photos to JPG without paying for software (work computer so cant install programs)


Sponsored
Attachments
-
386.2 KB Views: 72