
- Thread starter
- #1
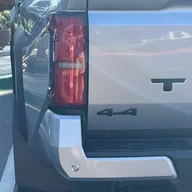
I have been meaning to post a write up of the built in compressor installation I completed earlier in the year and hopefully this is useful or provides inspiration.
Some initial design considerations
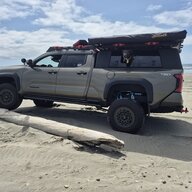
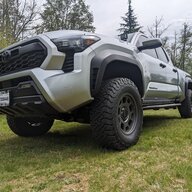
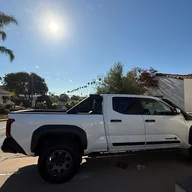
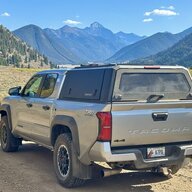
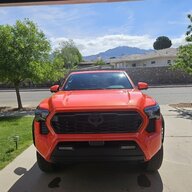
I am in the process of building my TRD OR into a lightweight overloading machine, as opposed to a heavy duty rock crawler, so I am not expecting to have tires any larger than 33-34 inches to keep weight down. When considering how best to deflate and inflate these tires for off roading, this would involve going from hot pressures of ~35psi to 15-20psi. Sticking with the standard Schrader valves and TPMS seems sensible, at least for now, and I also do not want to remove the valve cores each time as they are not designed for this and this increases potential failures.
The maximum airflow rate that is possible through a standard Schrader valve stem is approximately 1.6cfm at 30psi and ~2cfm at 50psi, so any choice of compressor, air lines and connectors would need to match this flow to minimize any inflation time. Providing more cfm than this, without an air tank, creates back pressure to the compressor and reduces its life expectancy over time.
On a 4th gen Tacoma there are several potential in vehicle mounting locations for a compressor which do not compromise regular storage space. Most portable compressors of suitable power require connections to the battery terminals and these could be re-wired to make use of the 7-pin trailer connection to avoid lifting the hood as Viair have done with their 88P model. There are also some slightly lower power models with integrated batteries. However, all these portable solutions take up storage space, so integrating was the way forward.
A (very) brief survey of onboard compressors
Perhaps the obvious starting point was Toyota’s built in compressor system that is available as a kit (part number PT949-35241) which can be had for ~$950 on sale. The electronic pressure control and the ability to inflate and deflate was attractive, but based on forum information, the compressor is a single piston NSV model which has received some feedback on being slow. It is still surprising to me that Toyota did not work with ARB on their built in compressor, given all the other ARB parts on the accessory list.
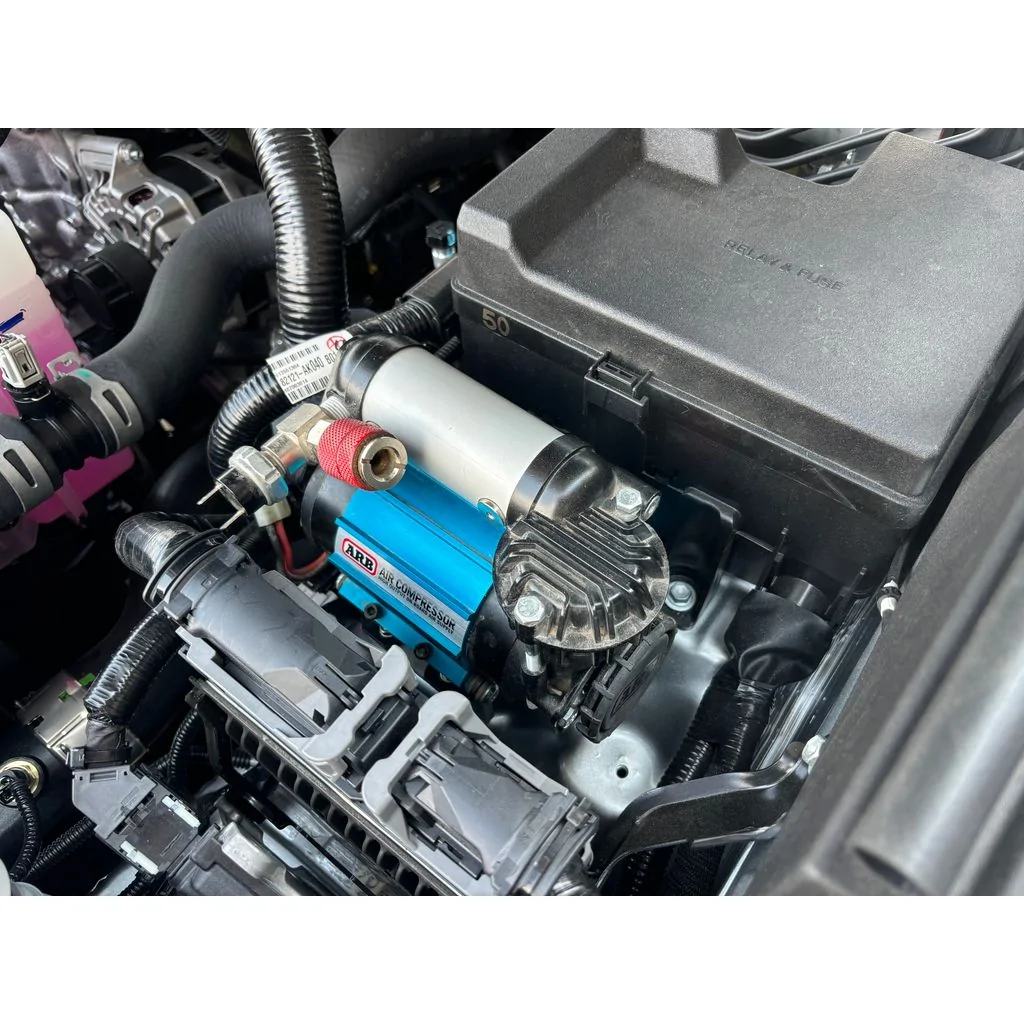
Viair receives good reviews and has a wide range of options, but it is hard to ignore ARB’s offerings that are considered the gold standard of compressors. What was especially interesting to me was that their new brushless single had 30% more output and more importantly supported a 100% duty cycle. The only negative I was able to find about the new brushless compressors was that they run hot.
Here is a quick comparison of the different ARB units:
Brushed Single (CKMA12): 2.34cfm @ 29psi, 50% duty cycle, 7.7lbs, ~$360
Brushless Single (CKBLA12): 3.1cfm @ 29psi, 100% duty cycle, 9.5lbs, ~$550
Brushed Twin (CKMTA12): 4.68cfm @ 29psi, 100% duty cycle, 17.4lbs, ~$660
Brushed Twin (CKBLTA12): 6.2cfm @ 29psi, 100% duty cycle, 15.8lbs, ~$950
Other items needed for the installation would add approximately $60, not including any mounting hardware. ARB also offers an electronic pressure control add-on that uses a mobile phone to set pressure etc.
Thus using a twin compressor really forces all four tires to be inflated together, which I did not want to do and based on my overall goals for my truck, I decided on the ARB brushless single, and maybe I’ll add the pressure control at a later date.
Mounting location
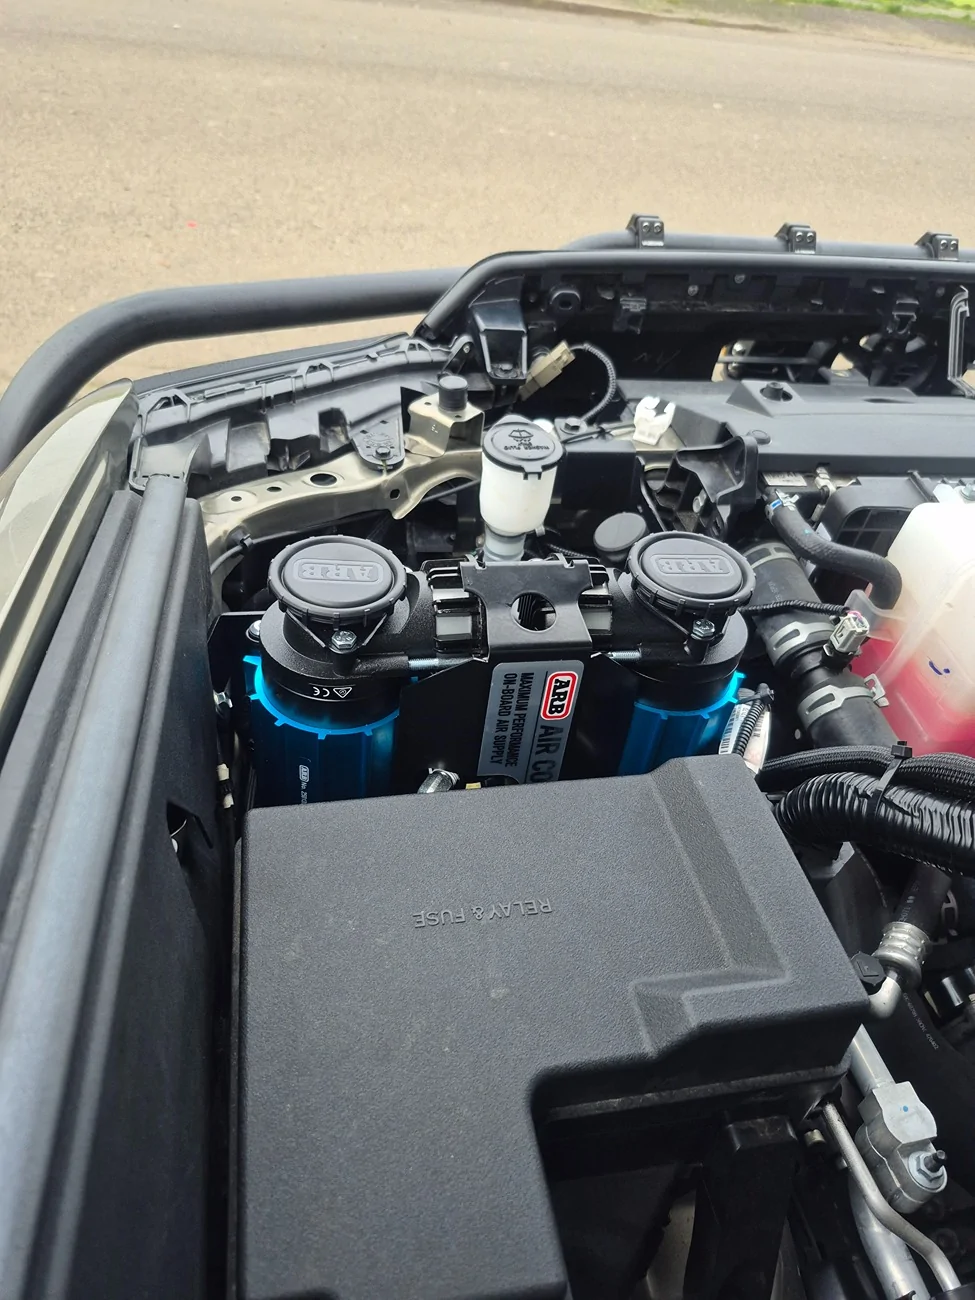
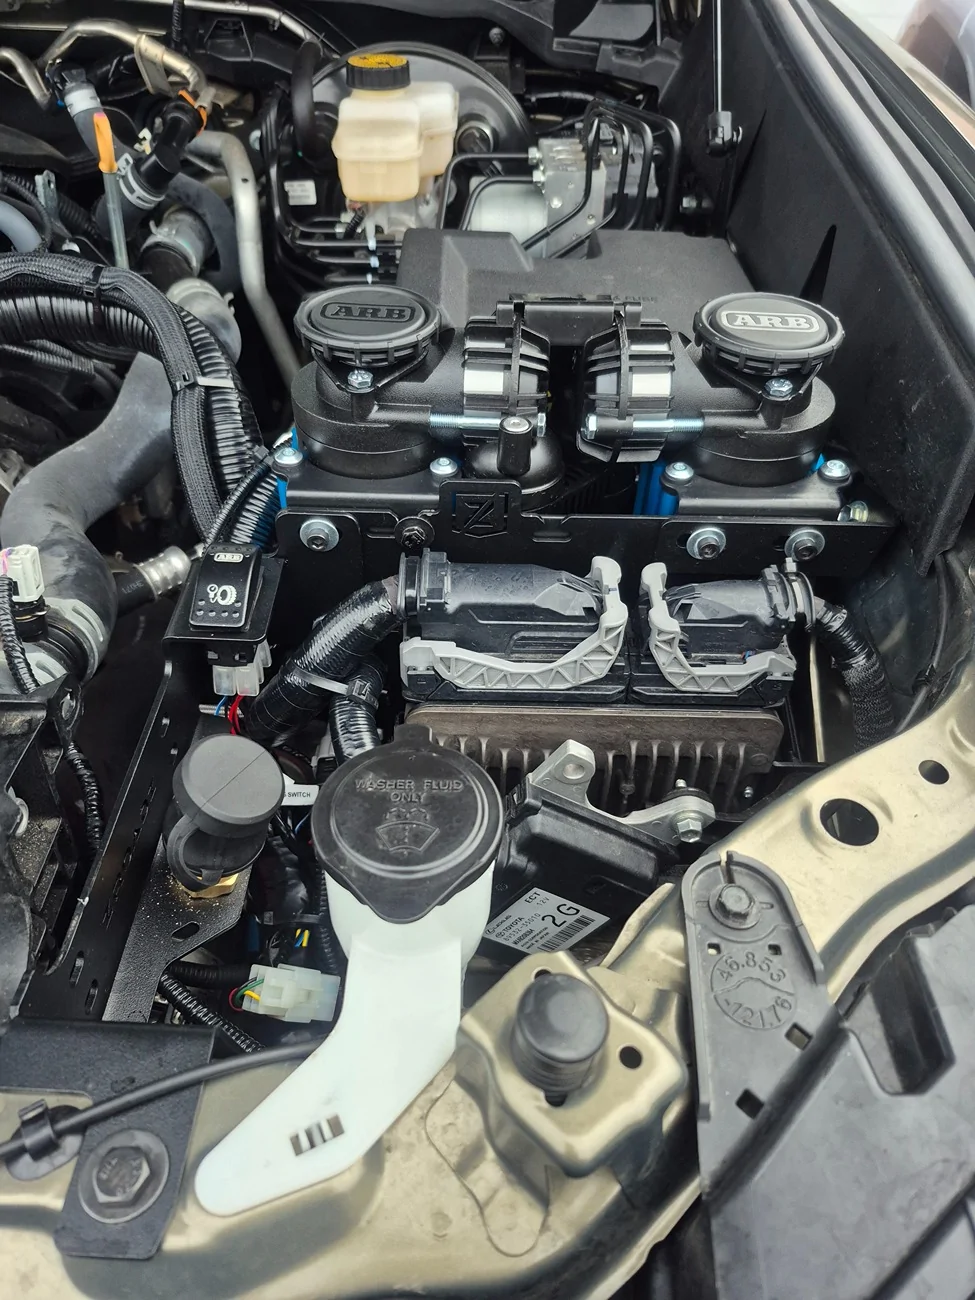
Engine Bay - there are several companies offering mounting brackets and Youtube videos showing how to mount the compressor. It’s all in the engine bay, making wiring easy, connecting into an Aux switch, and the air connector can be mounted around the front grill for connection without lifting the hood.
Under Seat - very popular with the Jeep community, but with the electric front seats in a Taco, this would fit, but require a more complex wiring job and would limit the lower range of seat movement, and I typically have my seat set to the lowest level. Good for cleanliness here though.
Bed Mounting - the Toyota compressor is mounted in the rear driver’s side area. This requires the bed to be cut, but there is a lot of space between the bed and the body work behind the rear wheel. On the other side of the bed there is the small storage cubby, so the bed has a suitable hole and captive rivnuts are already in place. In my experience, the storage box is largely useless as it is small and fills up with dust when off-roading, so losing it would not be an issue.
I decided that utilizing the bed mounting area was most efficient and that replacing the storage box with a compressor would be relatively simple. You can purchase a complete kit for this area from CATuned, but their kit only comes with a twin compressor which I considered overkill.
So, onto making the mounting hardware.
Making the mounting hardware
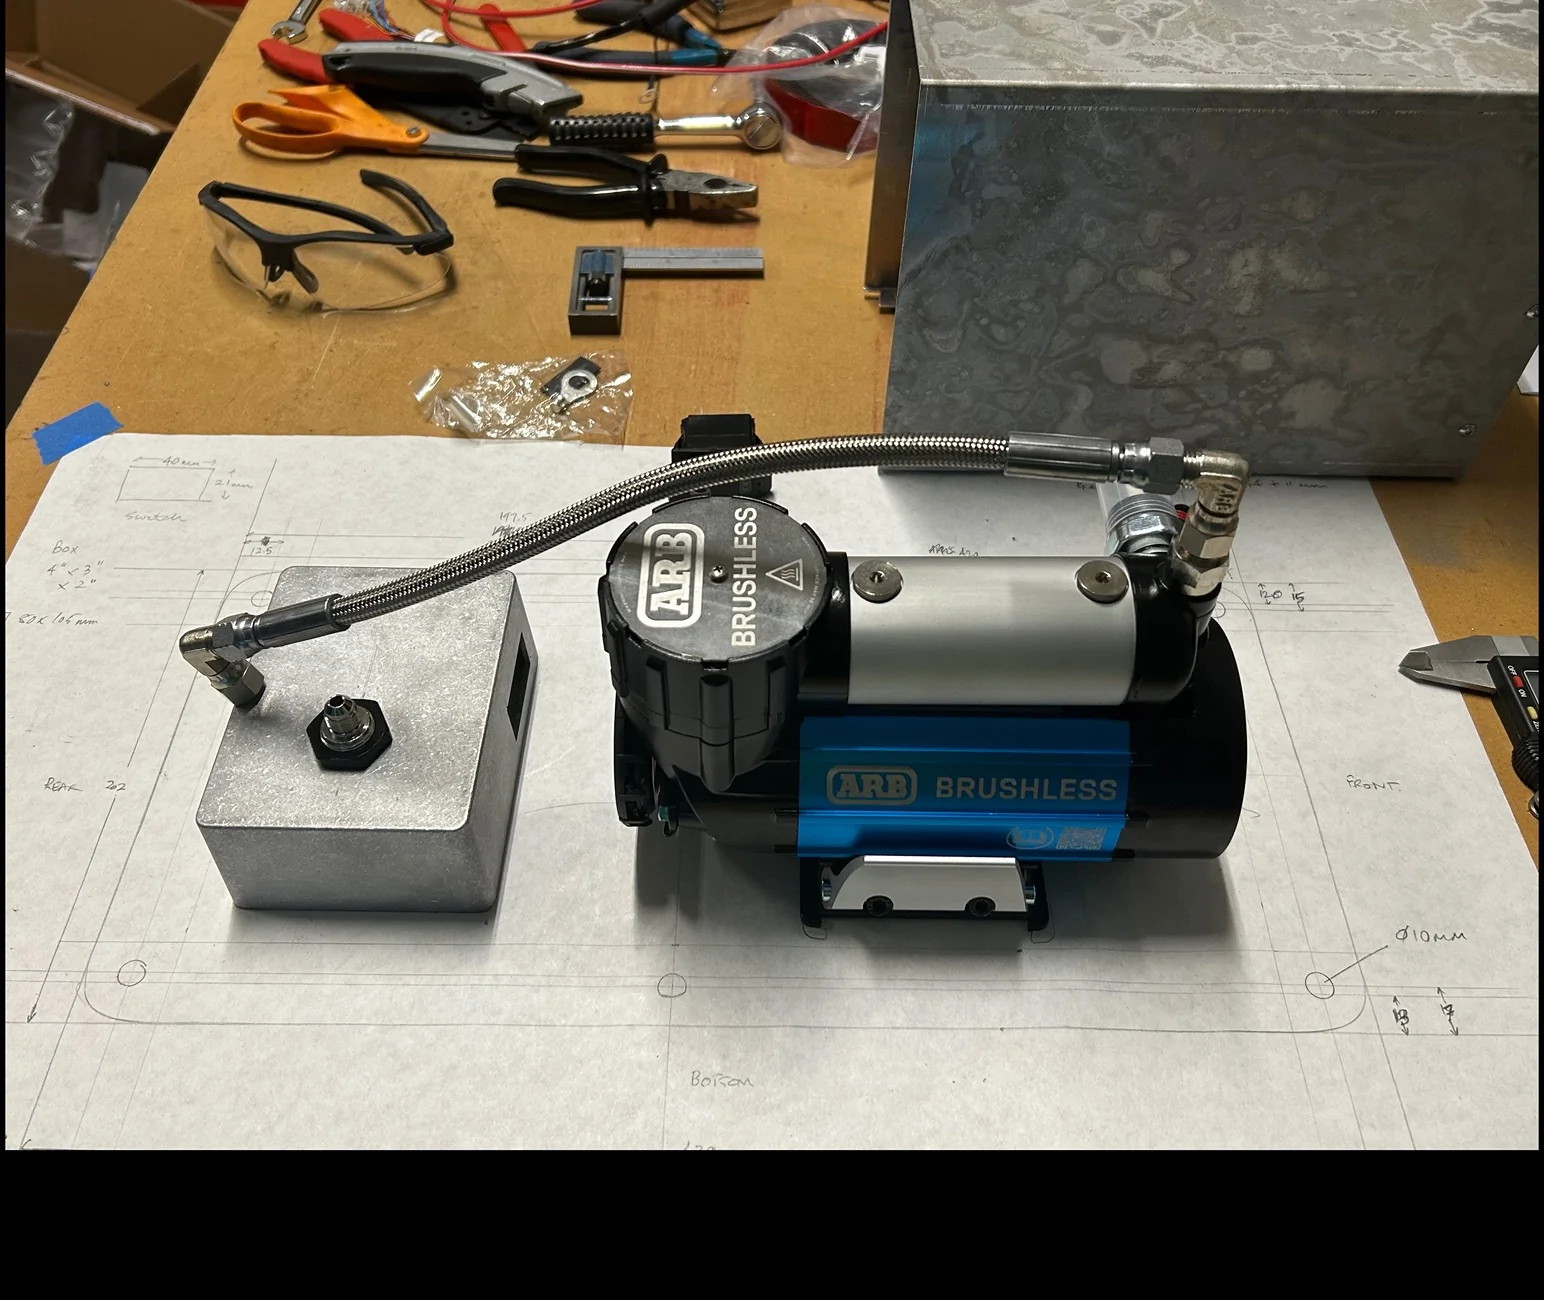
I started by unbolting the storage cubby and making a full size paper template by tracing the edges and marking up the bolt holes, cross checking with some careful measurements. Then the various items to be mounted on the cover plate could be mocked up.
I planned to use some 1/8” aluminum sheet for the main cover and mounting plate, a thinner sheet of aluminum for a dust cover and a die cast aluminum box to mount the air connector and power switch. It turns out that aluminum sheets almost exactly the right size were available from Amazon, as was a suitably sized die cast box which was actually intended to be for a guitar pedal effect enclosure:
Aluminum sheet: https://www.amazon.com/ACXFOND-Alum...-1-spons&sp_csd=d2lkZ2V0TmFtZT1zcF9hdGY&psc=1
Diecast box: https://www.amazon.com/DaierTek-Enc...+guitar+effect+pedal+enclosure,aps,199&sr=8-4
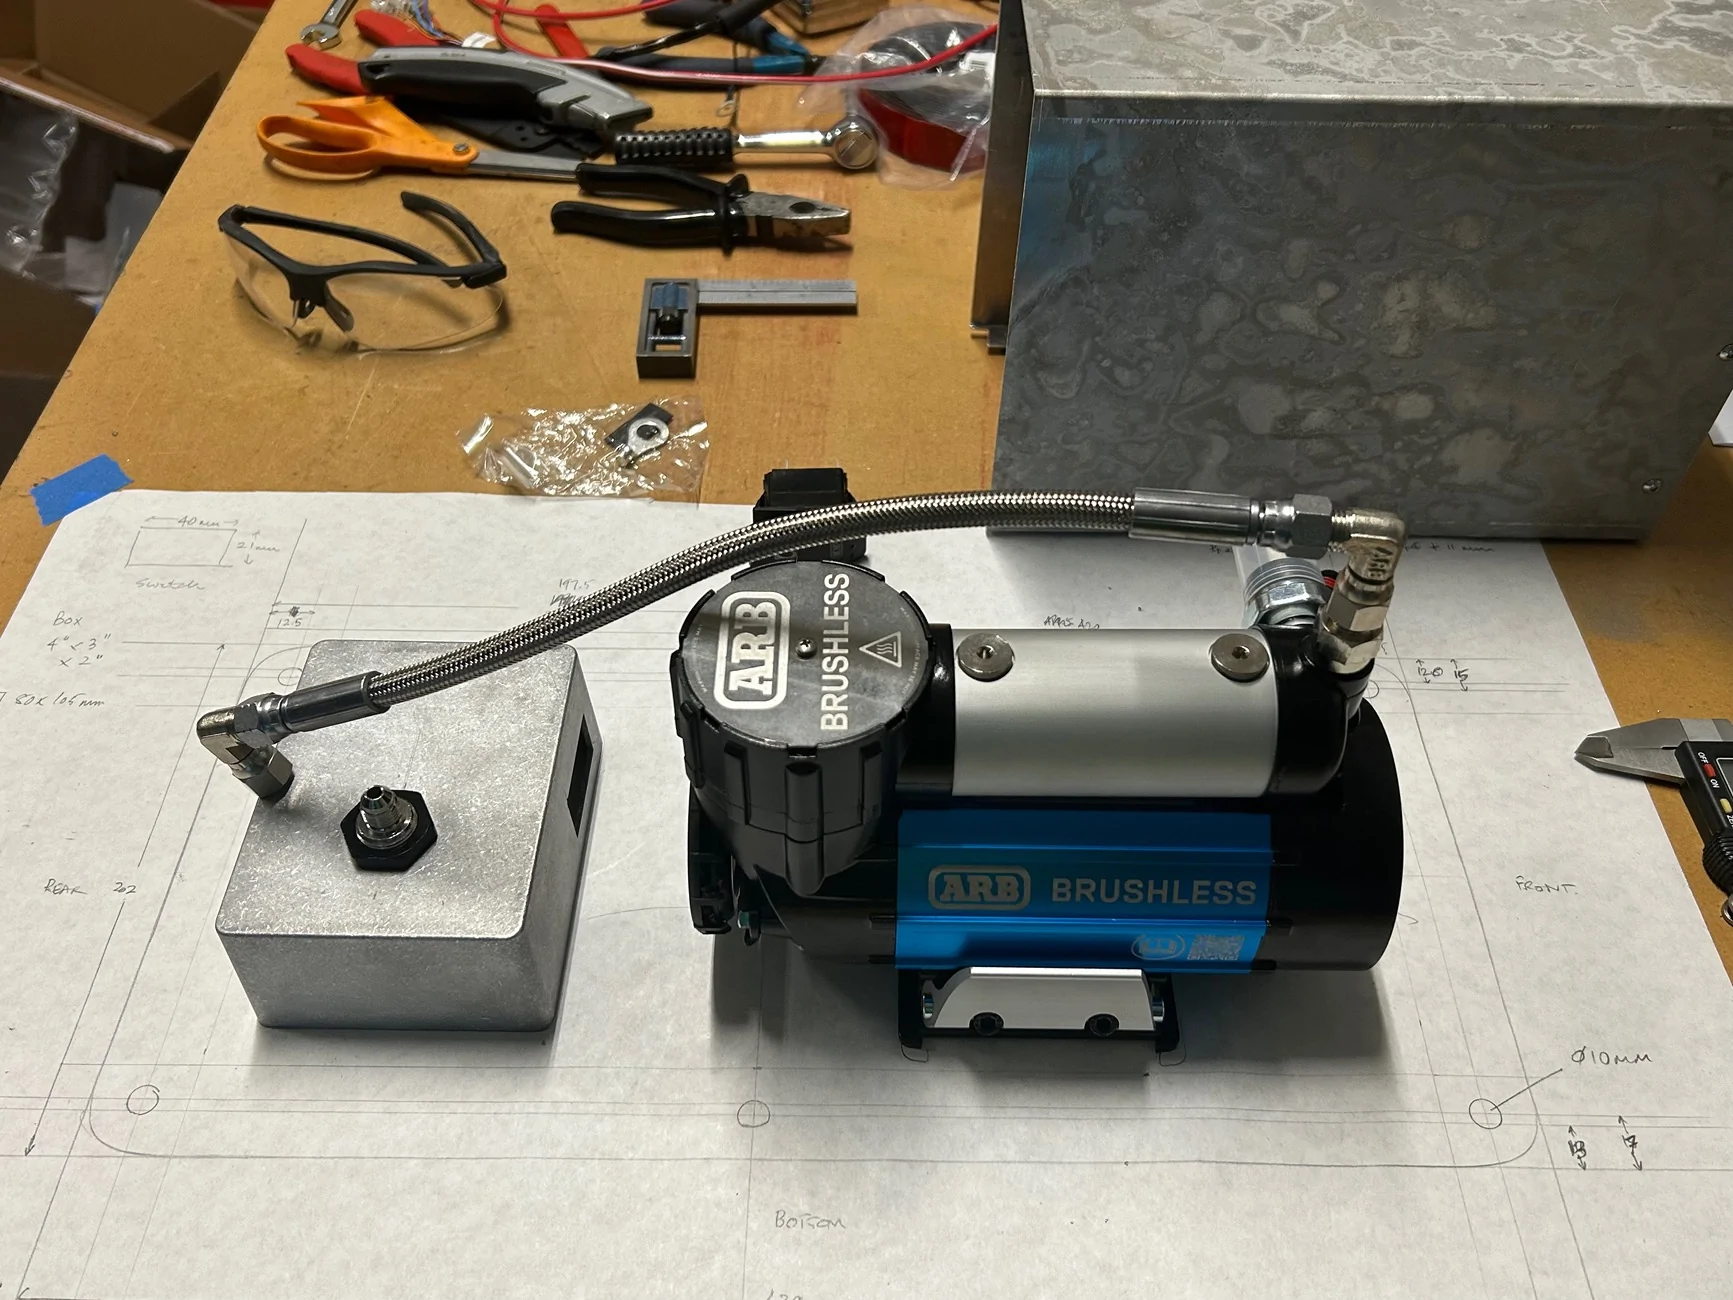
I have a CNC router, so entered the cut list into the CAD program and tested this out on a piece of cheap masonite. This allowed a complete photo build up of the compressor etc.

With this all checked I moved onto milling out the aluminum, resulting in a nice clean plate. I machined this in two passes, starting with the interior cut out and holes, to ensure that I could ensure a solid mounting of the metal to the machine when I milled the plate edges on the second pass.
The visible metal components were then painted with some primer and black gloss spray paint and the various pieces of the compressor bolted into their final positions. The aluminum for the shield was an offset found in the junk box at my local metal supplier.
Electrical work
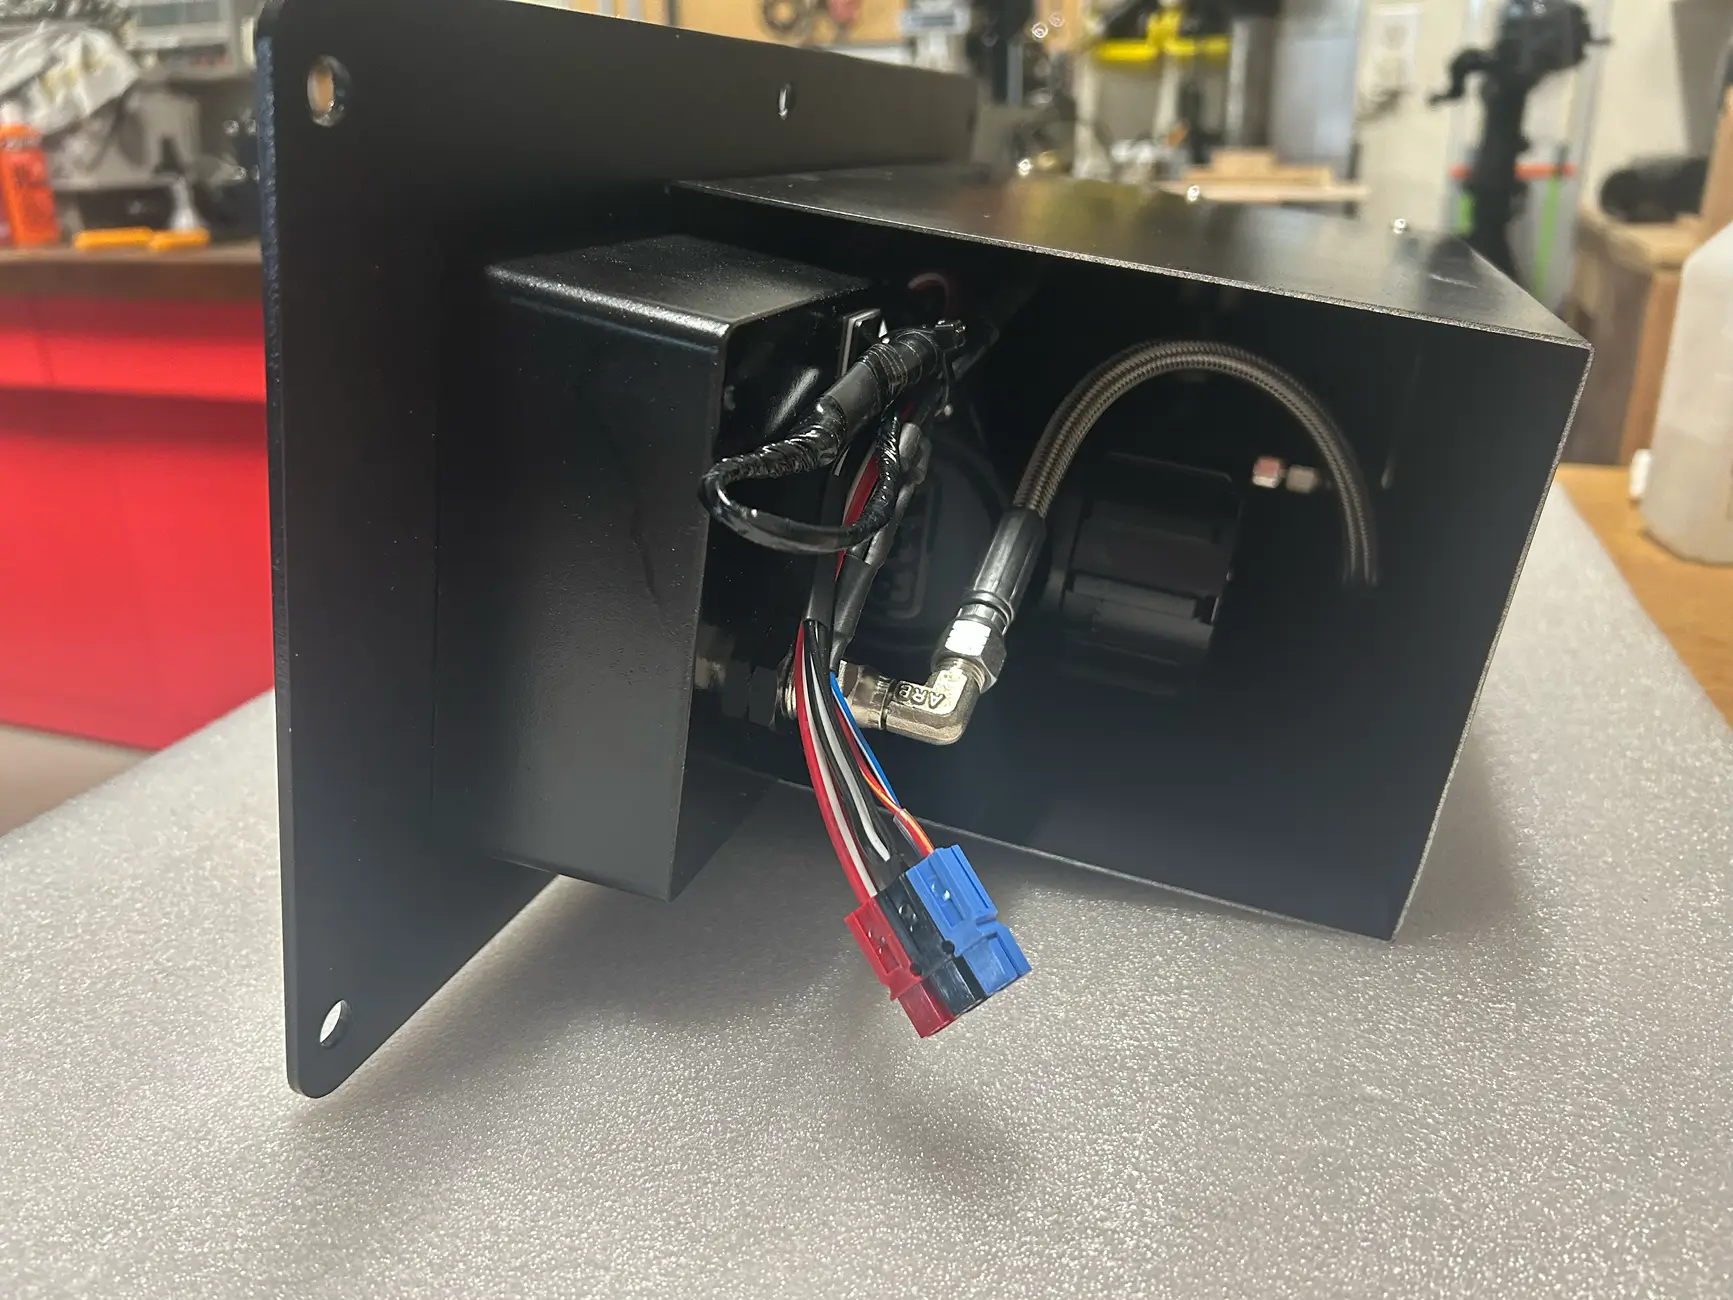
The ARB compressor ships with a nice wiring loom, long enough for an engine bay installation and with connections for air lockers. Since I needed to run power from the engine bay to the rear, I would need to add wire for this and I did not need the locker connections, so I removed these from the loom and terminated the connections I needed to take to the front of the truck with some 75A Anderson connectors which you can see in Figure 4 above - red and black for the power supply and blue for the control line which also needs to be at 12v for the compressor to work. This would be connected to the Aux 3 pigtail I had installed in the engine bay (I did not want to use up the rear aux connection at the rear of the truck for this low power control line).
The ARB brushless single has a 60A fuse and draws 45A when operating, so I pulled an 8 gauge wire for power and a 14 gauge wire for the control line, inside a wire loom plastic tube, along the frame rail and up into the engine bay behind the battery. The control wire then ran across the front of the engine attached to an existing loom across to the aux pigtail by the screen washer bottle. The negative connection was made with a short length of 8 gauge wire to a chassis bolt close to the bed opening where the compressor would be mounted.
Final install and operation
The compressor assembly was then placed in the bed, the Anderson connectors mated correctly and then carefully inserted into the space between bed liner and rear wing where the storage cubby had been. It was bolted in using the same OE bolts. I also installed some bed side molle panels and the standoffs for this worked as designed with the compressor in place, just replacing the upper three OE bolts.
In addition to the compressor and the items shipped with it, I needed to add the following items to complete the air path: an ARB hose coupling JIC-4 (M) and dust cover, two elbow connectors JIC-4(M) to JIC-4(F), a 0.3M JIC-4(F) reinforced hose.
To operate, I press the Aux 3 switch, which prevents the compressor being used without cab access and ignition on. Then the compressor turns on with the switch placed next to the air connector. The brushless compressor has a very small built in air tank with a pressure switch, so the compressor pressurizes this to 100psi and then turns off.
I connect a 3/8” dia. air line to the ARB connector and then use an Apex Designs precision tire inflator to set the pressure and also deflate the tires to the desired psi (https://www.apexdesignsusa.com/products/precision-tire-inflator-pti).
Overall I have been happy with the result. It's clean, out of the way and allows deflation or inflation between 35psi and 20psi in 60 seconds per tire. The quality of the ARB items is excellent and they are very good value for money. Speaking of which, total cost ended up being ~$650 for all the parts as I found a sale on the compressor.

Some initial design considerations
I am in the process of building my TRD OR into a lightweight overloading machine, as opposed to a heavy duty rock crawler, so I am not expecting to have tires any larger than 33-34 inches to keep weight down. When considering how best to deflate and inflate these tires for off roading, this would involve going from hot pressures of ~35psi to 15-20psi. Sticking with the standard Schrader valves and TPMS seems sensible, at least for now, and I also do not want to remove the valve cores each time as they are not designed for this and this increases potential failures.
The maximum airflow rate that is possible through a standard Schrader valve stem is approximately 1.6cfm at 30psi and ~2cfm at 50psi, so any choice of compressor, air lines and connectors would need to match this flow to minimize any inflation time. Providing more cfm than this, without an air tank, creates back pressure to the compressor and reduces its life expectancy over time.
On a 4th gen Tacoma there are several potential in vehicle mounting locations for a compressor which do not compromise regular storage space. Most portable compressors of suitable power require connections to the battery terminals and these could be re-wired to make use of the 7-pin trailer connection to avoid lifting the hood as Viair have done with their 88P model. There are also some slightly lower power models with integrated batteries. However, all these portable solutions take up storage space, so integrating was the way forward.
A (very) brief survey of onboard compressors
Perhaps the obvious starting point was Toyota’s built in compressor system that is available as a kit (part number PT949-35241) which can be had for ~$950 on sale. The electronic pressure control and the ability to inflate and deflate was attractive, but based on forum information, the compressor is a single piston NSV model which has received some feedback on being slow. It is still surprising to me that Toyota did not work with ARB on their built in compressor, given all the other ARB parts on the accessory list.
Viair receives good reviews and has a wide range of options, but it is hard to ignore ARB’s offerings that are considered the gold standard of compressors. What was especially interesting to me was that their new brushless single had 30% more output and more importantly supported a 100% duty cycle. The only negative I was able to find about the new brushless compressors was that they run hot.
Here is a quick comparison of the different ARB units:
Brushed Single (CKMA12): 2.34cfm @ 29psi, 50% duty cycle, 7.7lbs, ~$360
Brushless Single (CKBLA12): 3.1cfm @ 29psi, 100% duty cycle, 9.5lbs, ~$550
Brushed Twin (CKMTA12): 4.68cfm @ 29psi, 100% duty cycle, 17.4lbs, ~$660
Brushed Twin (CKBLTA12): 6.2cfm @ 29psi, 100% duty cycle, 15.8lbs, ~$950
Other items needed for the installation would add approximately $60, not including any mounting hardware. ARB also offers an electronic pressure control add-on that uses a mobile phone to set pressure etc.
Thus using a twin compressor really forces all four tires to be inflated together, which I did not want to do and based on my overall goals for my truck, I decided on the ARB brushless single, and maybe I’ll add the pressure control at a later date.
Mounting location
Engine Bay - there are several companies offering mounting brackets and Youtube videos showing how to mount the compressor. It’s all in the engine bay, making wiring easy, connecting into an Aux switch, and the air connector can be mounted around the front grill for connection without lifting the hood.
Under Seat - very popular with the Jeep community, but with the electric front seats in a Taco, this would fit, but require a more complex wiring job and would limit the lower range of seat movement, and I typically have my seat set to the lowest level. Good for cleanliness here though.
Bed Mounting - the Toyota compressor is mounted in the rear driver’s side area. This requires the bed to be cut, but there is a lot of space between the bed and the body work behind the rear wheel. On the other side of the bed there is the small storage cubby, so the bed has a suitable hole and captive rivnuts are already in place. In my experience, the storage box is largely useless as it is small and fills up with dust when off-roading, so losing it would not be an issue.
I decided that utilizing the bed mounting area was most efficient and that replacing the storage box with a compressor would be relatively simple. You can purchase a complete kit for this area from CATuned, but their kit only comes with a twin compressor which I considered overkill.
So, onto making the mounting hardware.
Making the mounting hardware
I started by unbolting the storage cubby and making a full size paper template by tracing the edges and marking up the bolt holes, cross checking with some careful measurements. Then the various items to be mounted on the cover plate could be mocked up.
I planned to use some 1/8” aluminum sheet for the main cover and mounting plate, a thinner sheet of aluminum for a dust cover and a die cast aluminum box to mount the air connector and power switch. It turns out that aluminum sheets almost exactly the right size were available from Amazon, as was a suitably sized die cast box which was actually intended to be for a guitar pedal effect enclosure:
Aluminum sheet: https://www.amazon.com/ACXFOND-Alum...-1-spons&sp_csd=d2lkZ2V0TmFtZT1zcF9hdGY&psc=1
Diecast box: https://www.amazon.com/DaierTek-Enc...+guitar+effect+pedal+enclosure,aps,199&sr=8-4
I have a CNC router, so entered the cut list into the CAD program and tested this out on a piece of cheap masonite. This allowed a complete photo build up of the compressor etc.
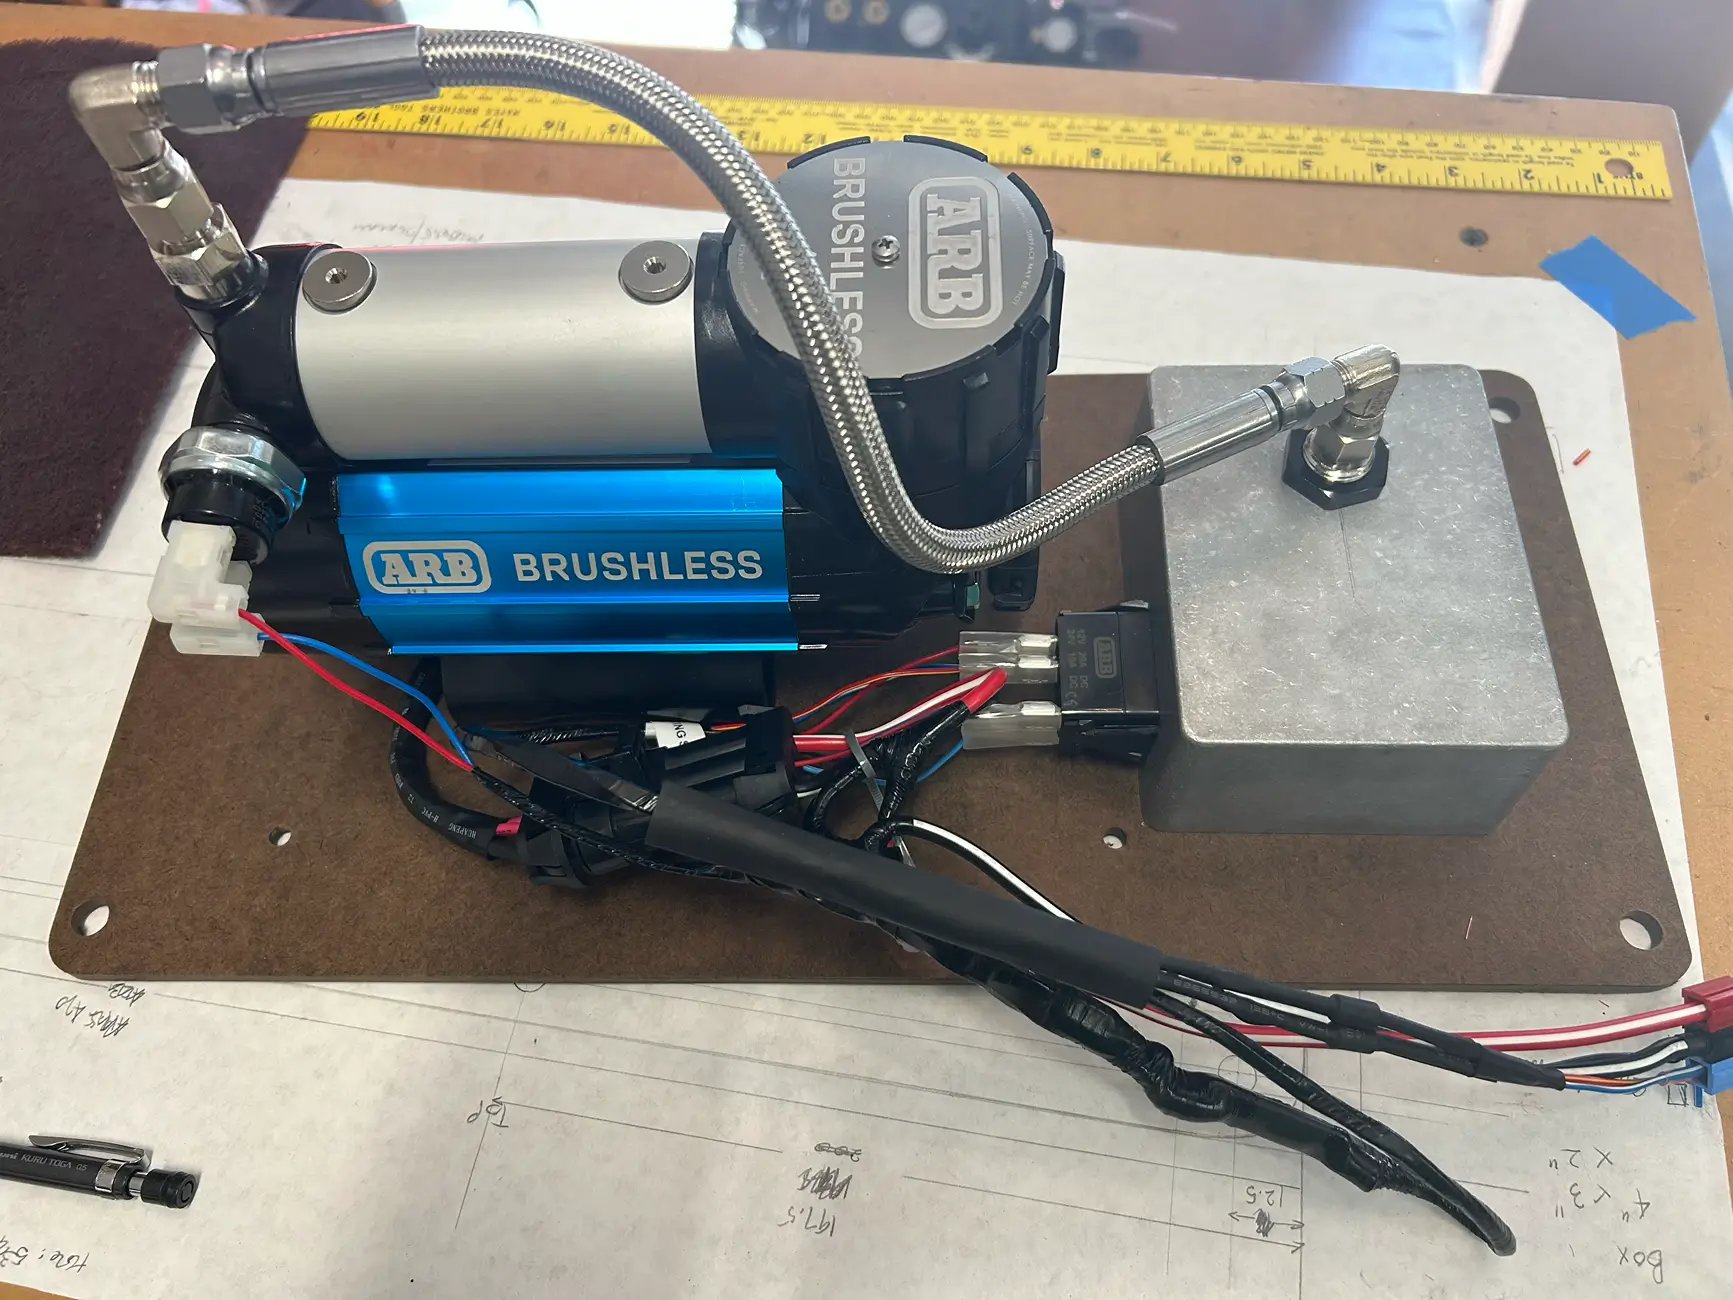
With this all checked I moved onto milling out the aluminum, resulting in a nice clean plate. I machined this in two passes, starting with the interior cut out and holes, to ensure that I could ensure a solid mounting of the metal to the machine when I milled the plate edges on the second pass.
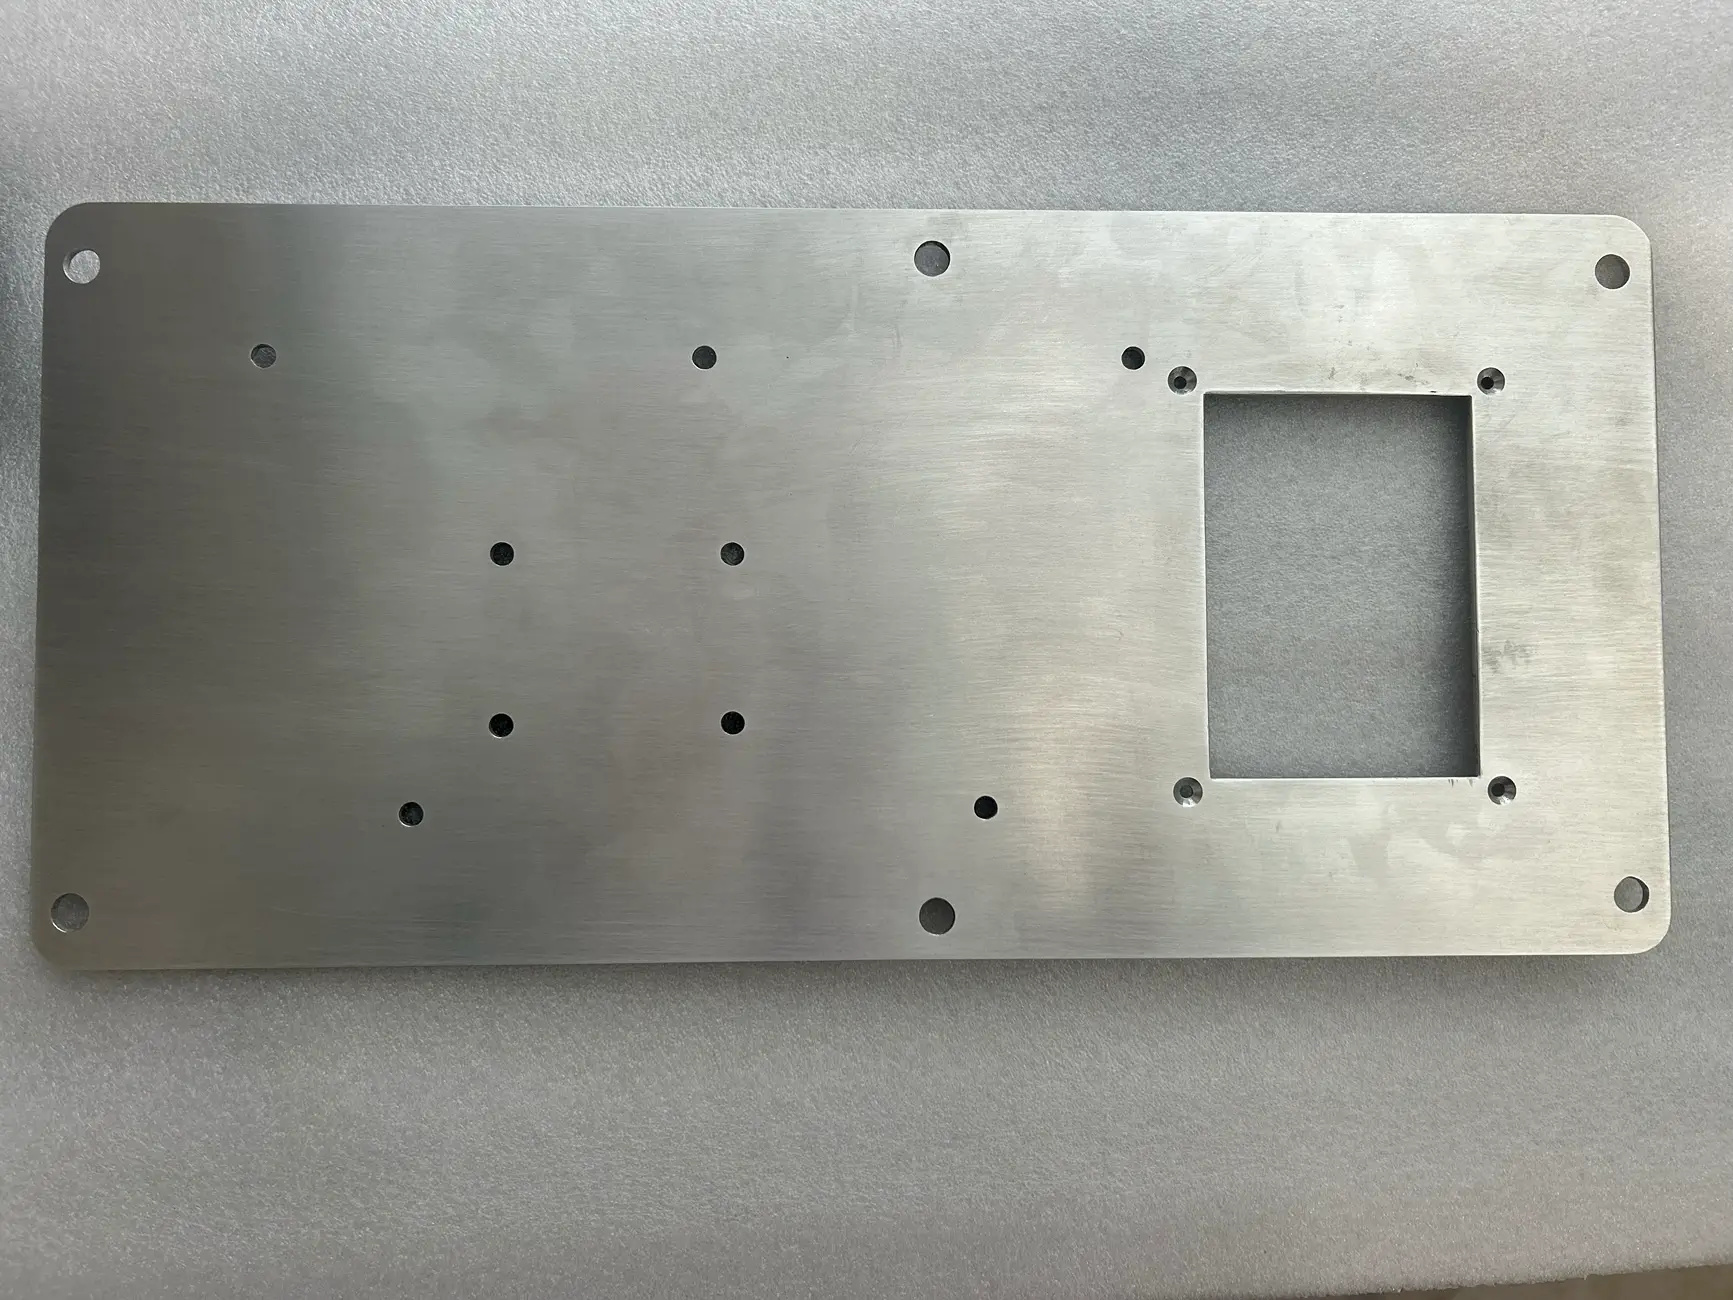
The visible metal components were then painted with some primer and black gloss spray paint and the various pieces of the compressor bolted into their final positions. The aluminum for the shield was an offset found in the junk box at my local metal supplier.
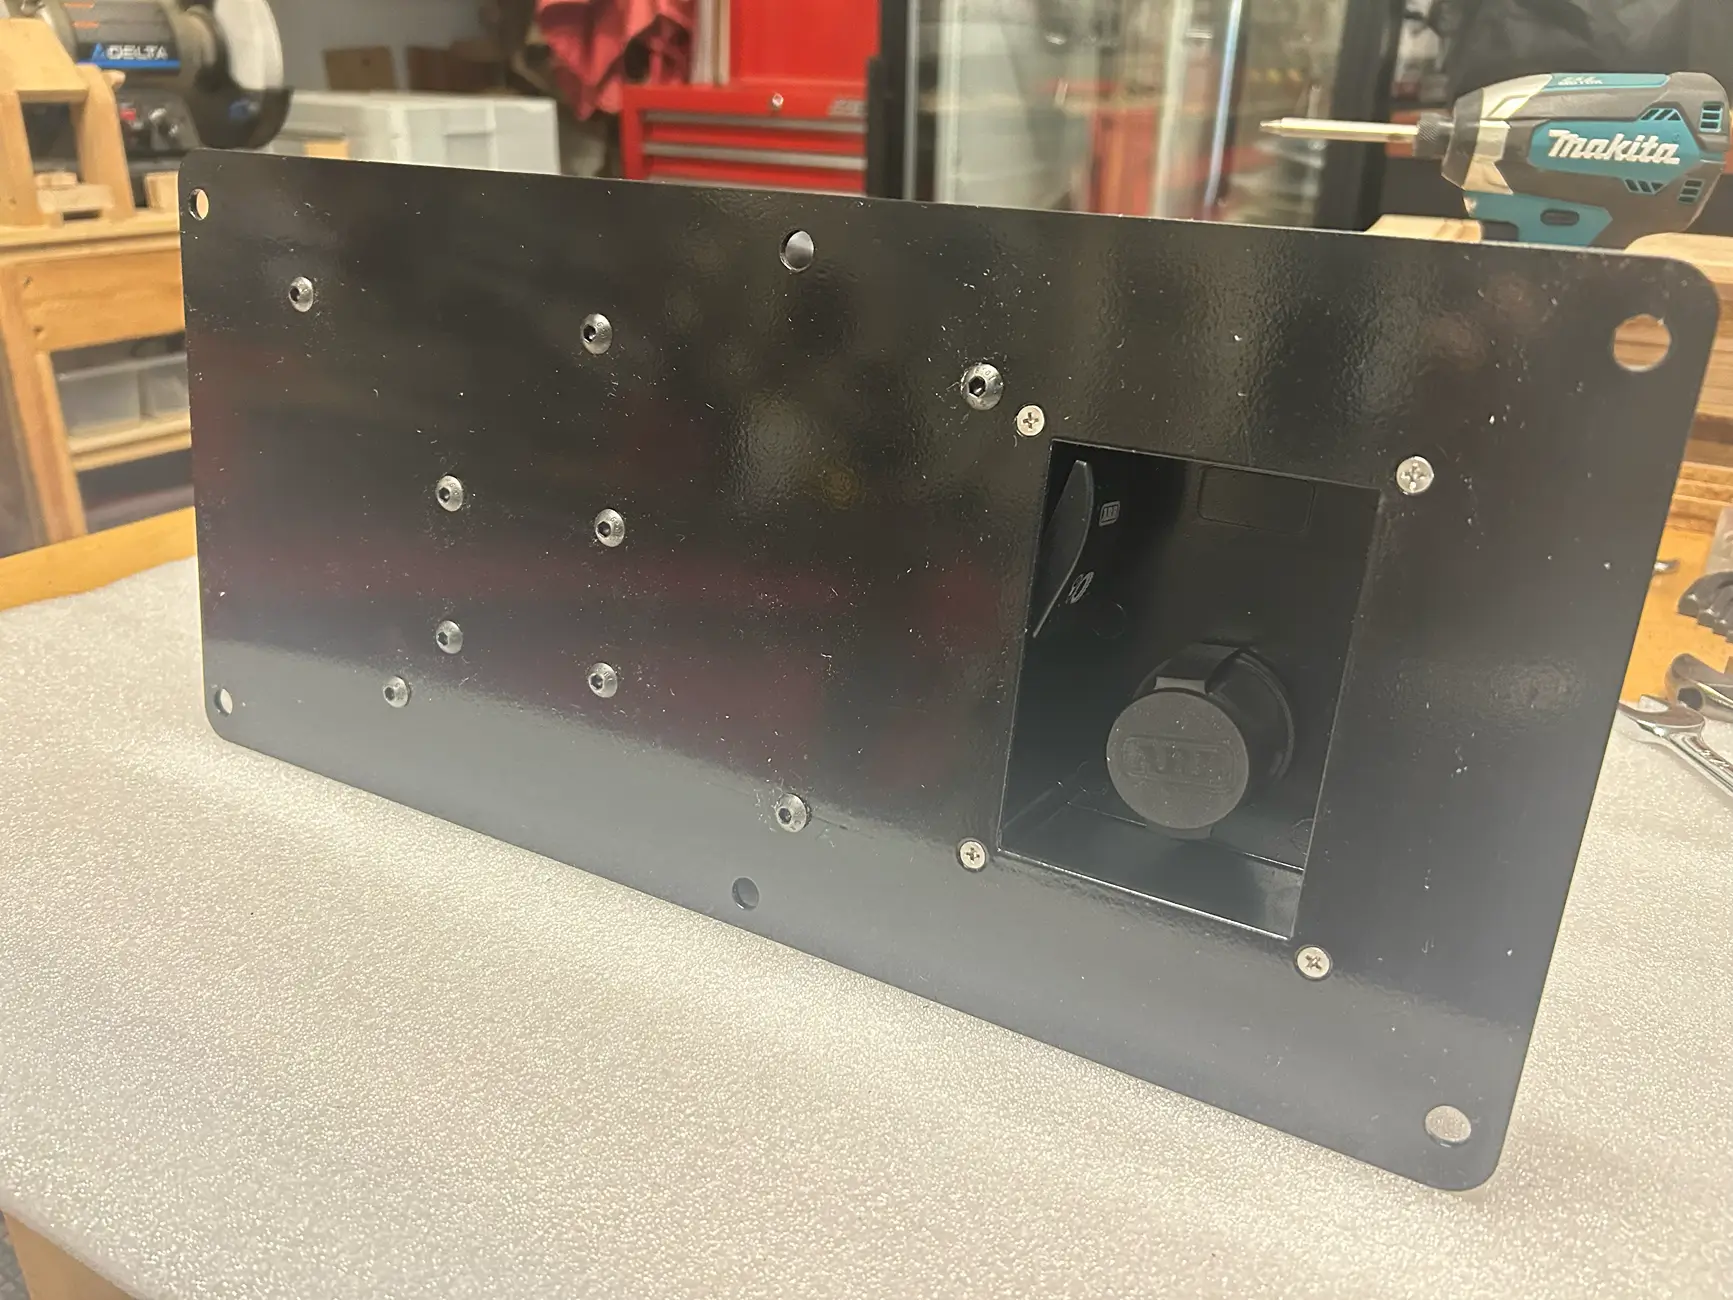
Electrical work
The ARB compressor ships with a nice wiring loom, long enough for an engine bay installation and with connections for air lockers. Since I needed to run power from the engine bay to the rear, I would need to add wire for this and I did not need the locker connections, so I removed these from the loom and terminated the connections I needed to take to the front of the truck with some 75A Anderson connectors which you can see in Figure 4 above - red and black for the power supply and blue for the control line which also needs to be at 12v for the compressor to work. This would be connected to the Aux 3 pigtail I had installed in the engine bay (I did not want to use up the rear aux connection at the rear of the truck for this low power control line).
The ARB brushless single has a 60A fuse and draws 45A when operating, so I pulled an 8 gauge wire for power and a 14 gauge wire for the control line, inside a wire loom plastic tube, along the frame rail and up into the engine bay behind the battery. The control wire then ran across the front of the engine attached to an existing loom across to the aux pigtail by the screen washer bottle. The negative connection was made with a short length of 8 gauge wire to a chassis bolt close to the bed opening where the compressor would be mounted.
Final install and operation
The compressor assembly was then placed in the bed, the Anderson connectors mated correctly and then carefully inserted into the space between bed liner and rear wing where the storage cubby had been. It was bolted in using the same OE bolts. I also installed some bed side molle panels and the standoffs for this worked as designed with the compressor in place, just replacing the upper three OE bolts.
In addition to the compressor and the items shipped with it, I needed to add the following items to complete the air path: an ARB hose coupling JIC-4 (M) and dust cover, two elbow connectors JIC-4(M) to JIC-4(F), a 0.3M JIC-4(F) reinforced hose.
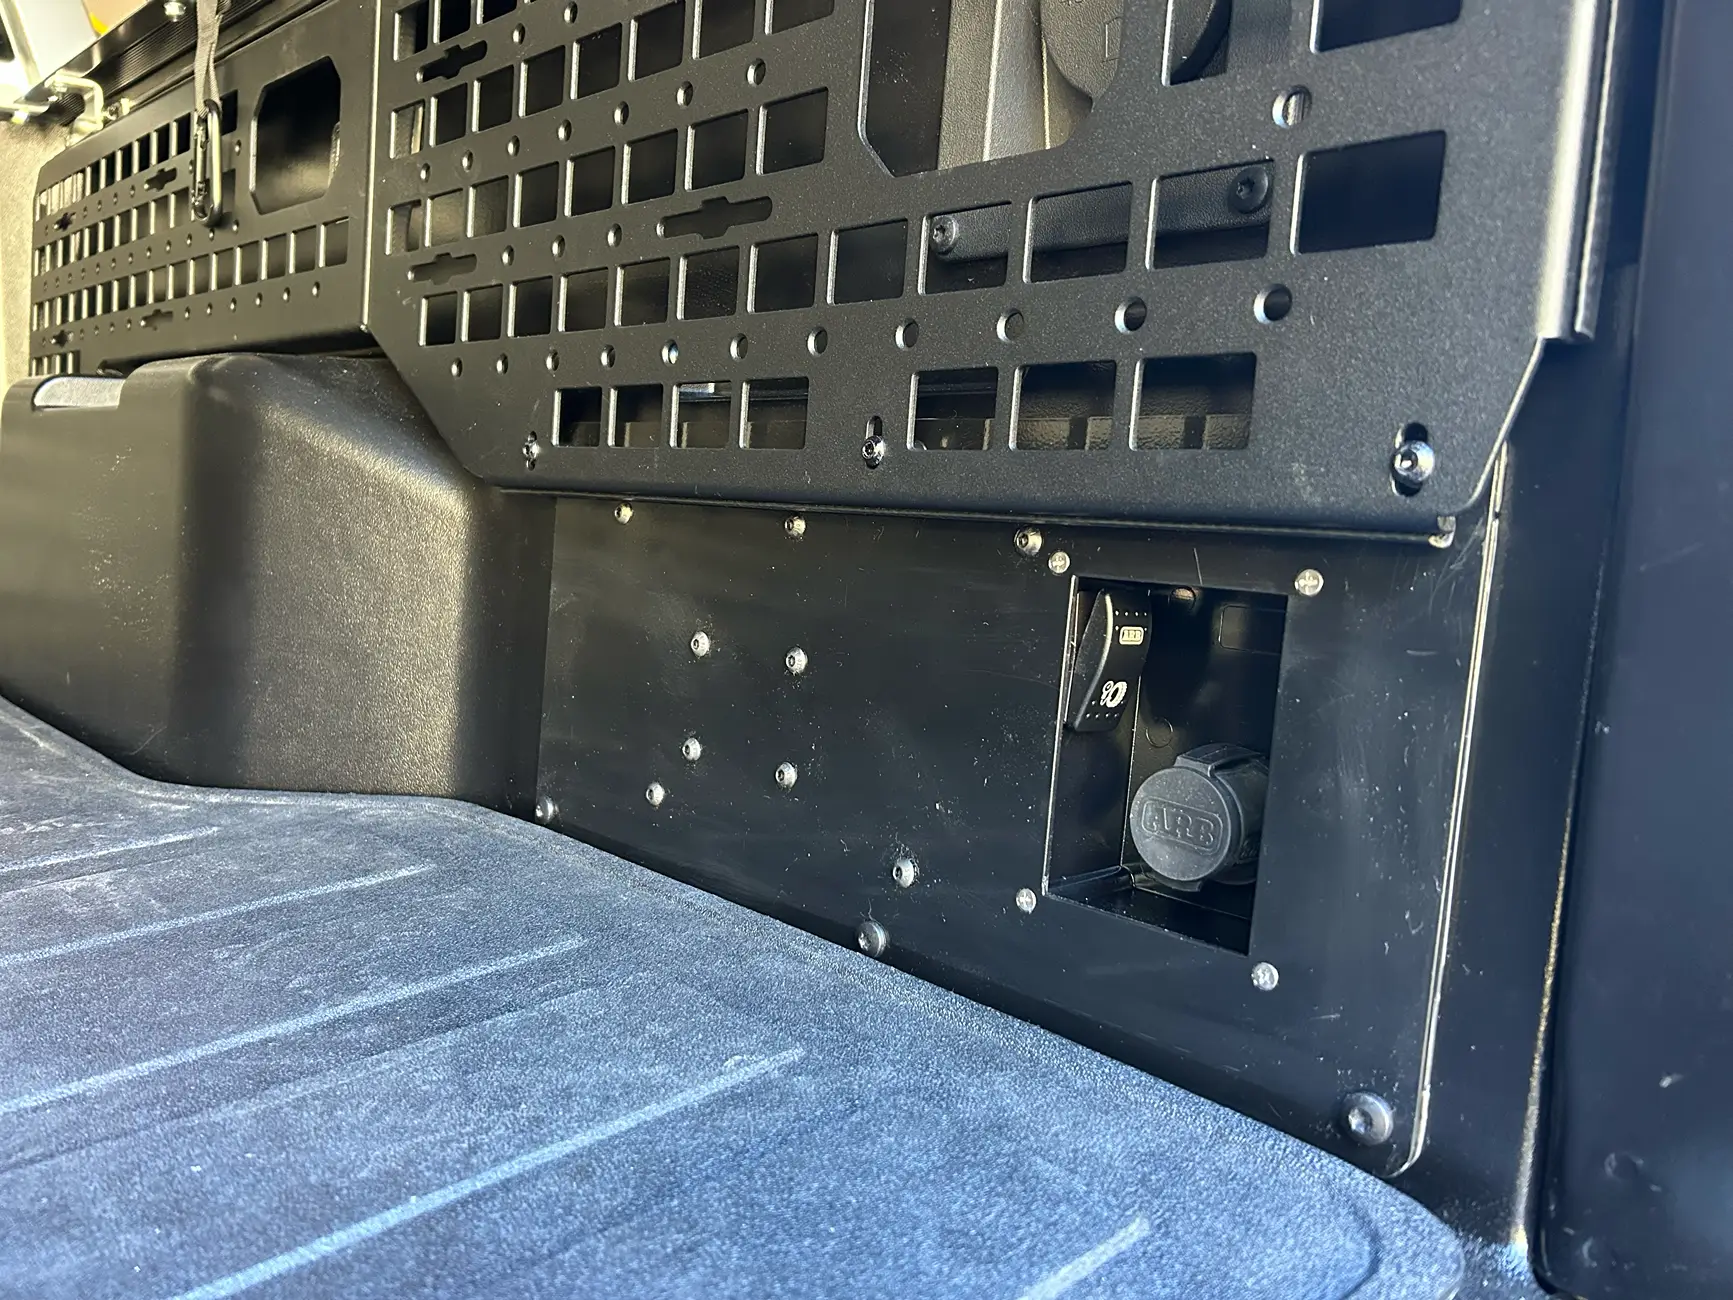
To operate, I press the Aux 3 switch, which prevents the compressor being used without cab access and ignition on. Then the compressor turns on with the switch placed next to the air connector. The brushless compressor has a very small built in air tank with a pressure switch, so the compressor pressurizes this to 100psi and then turns off.
I connect a 3/8” dia. air line to the ARB connector and then use an Apex Designs precision tire inflator to set the pressure and also deflate the tires to the desired psi (https://www.apexdesignsusa.com/products/precision-tire-inflator-pti).
Overall I have been happy with the result. It's clean, out of the way and allows deflation or inflation between 35psi and 20psi in 60 seconds per tire. The quality of the ARB items is excellent and they are very good value for money. Speaking of which, total cost ended up being ~$650 for all the parts as I found a sale on the compressor.
Sponsored