- Thread starter
- #1
Hi All,
Firstly, I've had rodents attempting to live in my truck, specifically the cabin air filter, a few times already and this results in rodent food (acorns), poops, and their nests living on top of the filter, and subsequently falling into the HVAC fan motor when replacing said filter. This results in you needing to remove the motor, which is easy (three 8mm bolts), but annoying nonetheless. So I decided to make a screen inspired from the 3rd generation taco forums.
Rodent screen installation write up:
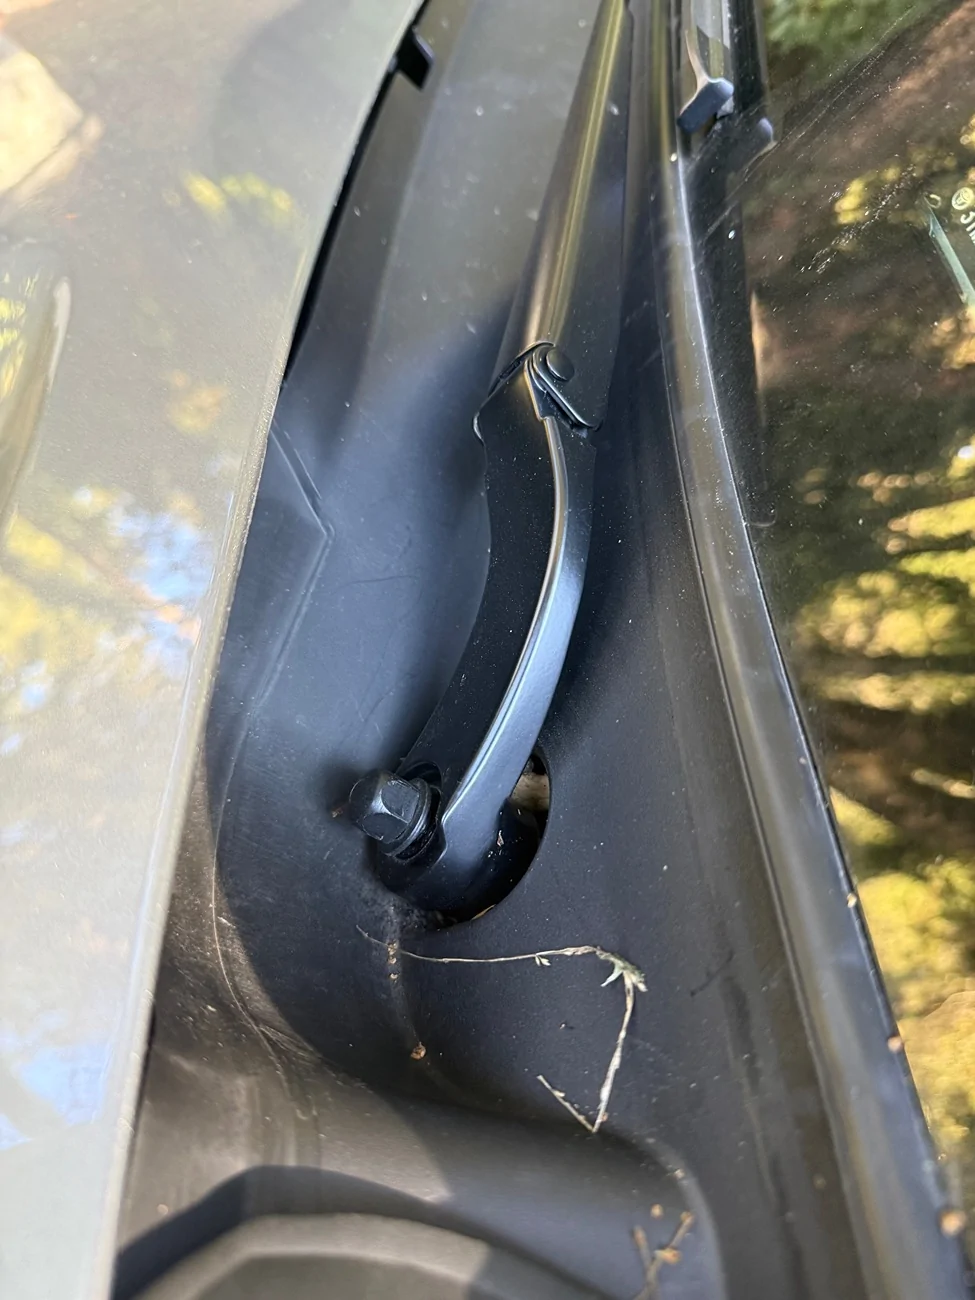
- Remove the wipers, 14mm nut on both. They weren't that tight but the wipers are clocked on a tapered, splined shaft. I used a little wiggle and a few taps from a plastic head hammer to get them to pop off.

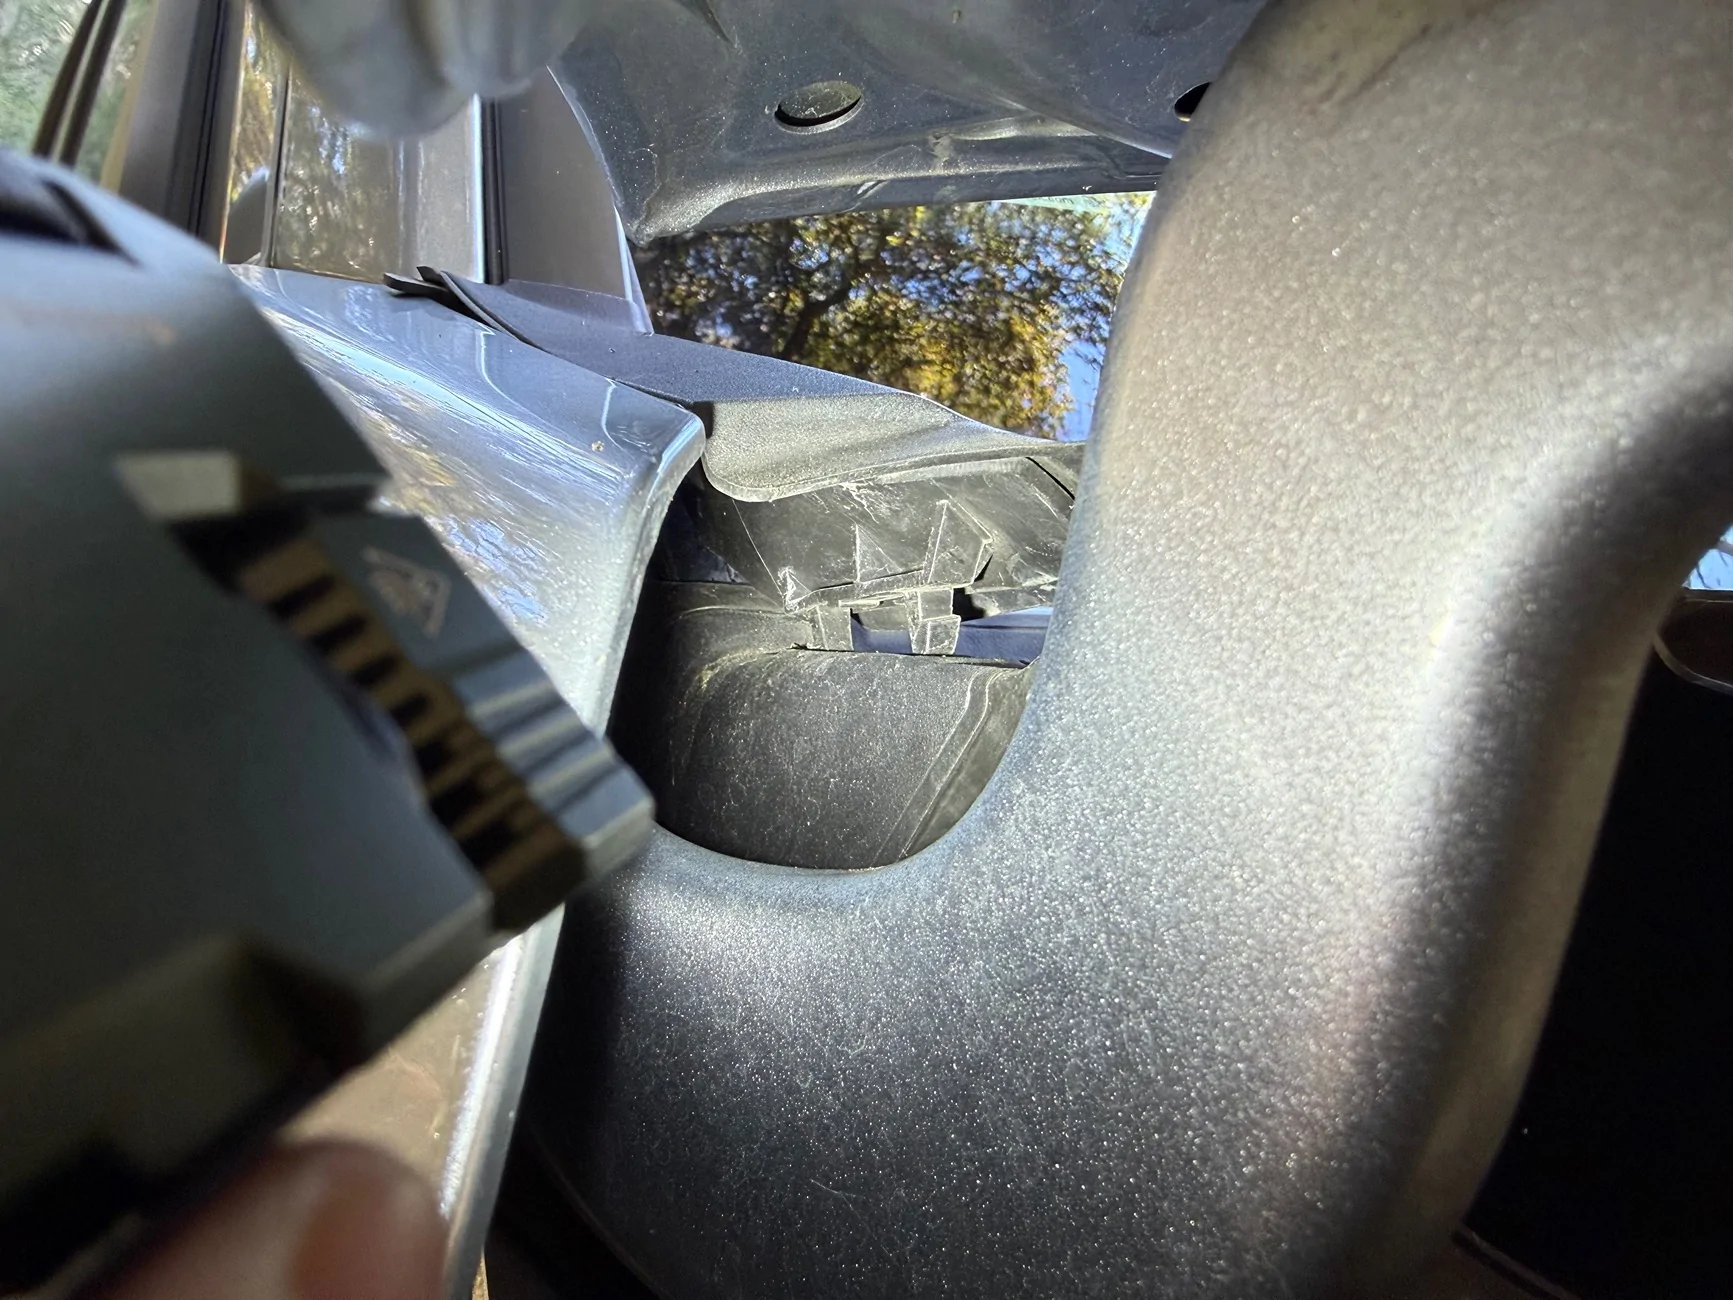
- The cowl cover has two plastic rivets on each end that you can use a flat head to pop up the center and then remove. The plastic corners of the windshield also clip into the cowl cover and simply pull up and out with a wiggle.

(Once unclipped, I left these loosely in place)
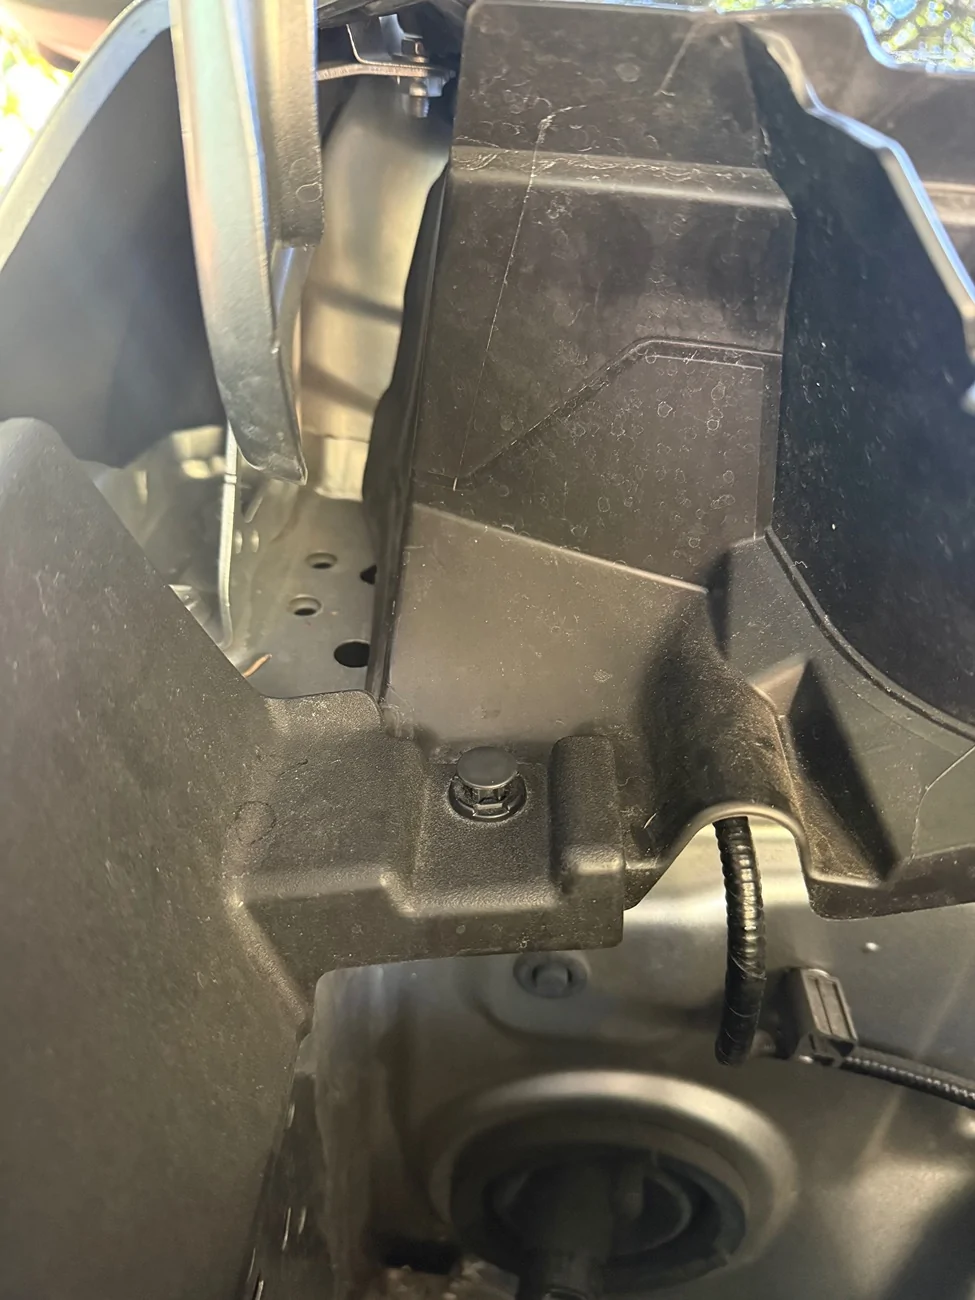
- The cowl cover itself pulls out straight towards the front of the truck. In order to make this happen, there are clips on the engine bay side that need to be pulled up & disengaged vertically before it'll come forward. Unfortunately, I did not take picture of this since I was wiggling and pulling on it, however it is fairly robust. Start at each end and wiggle it loose. Once you have each end disengaged, and the center clips pulled up vertically; pull the whole thing forward (towards the front of the truck) and it should come out.
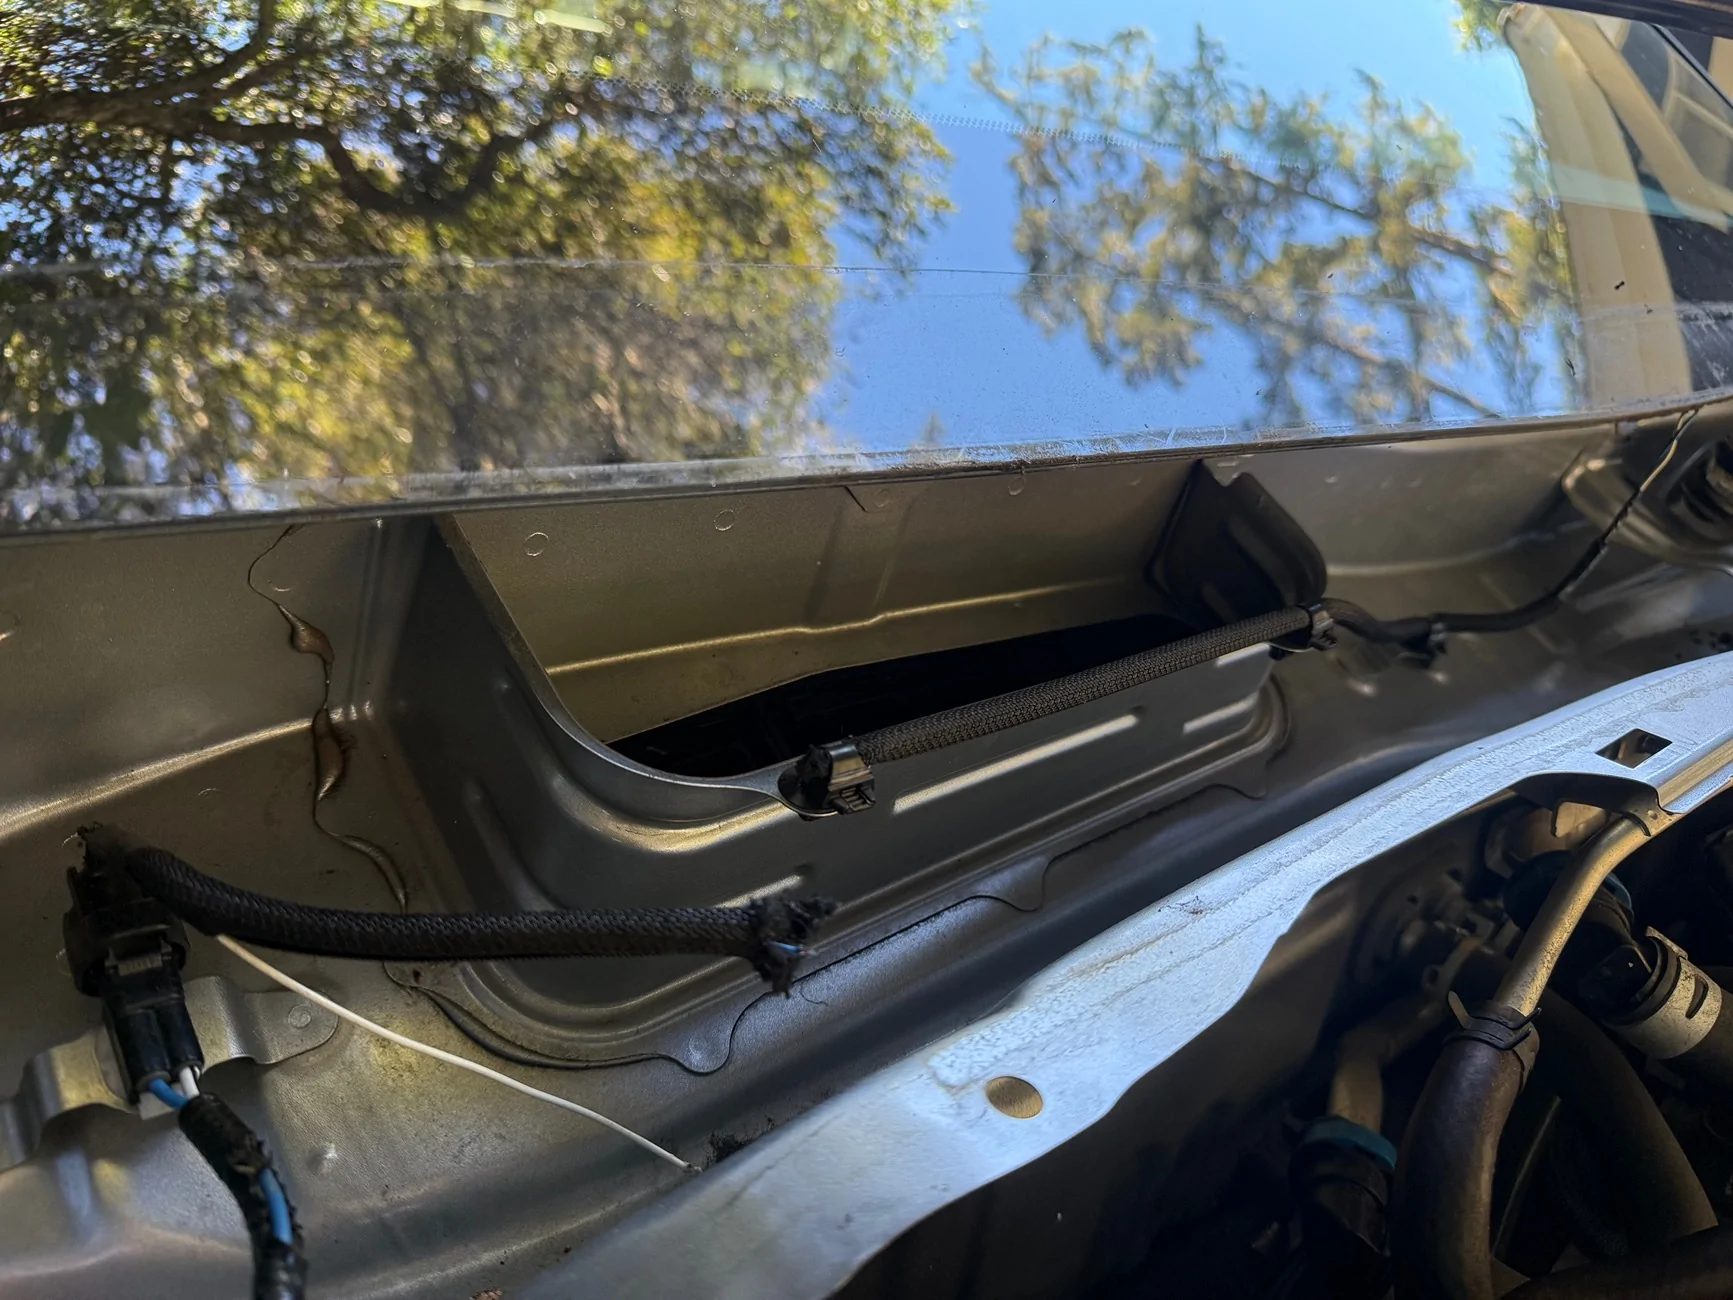
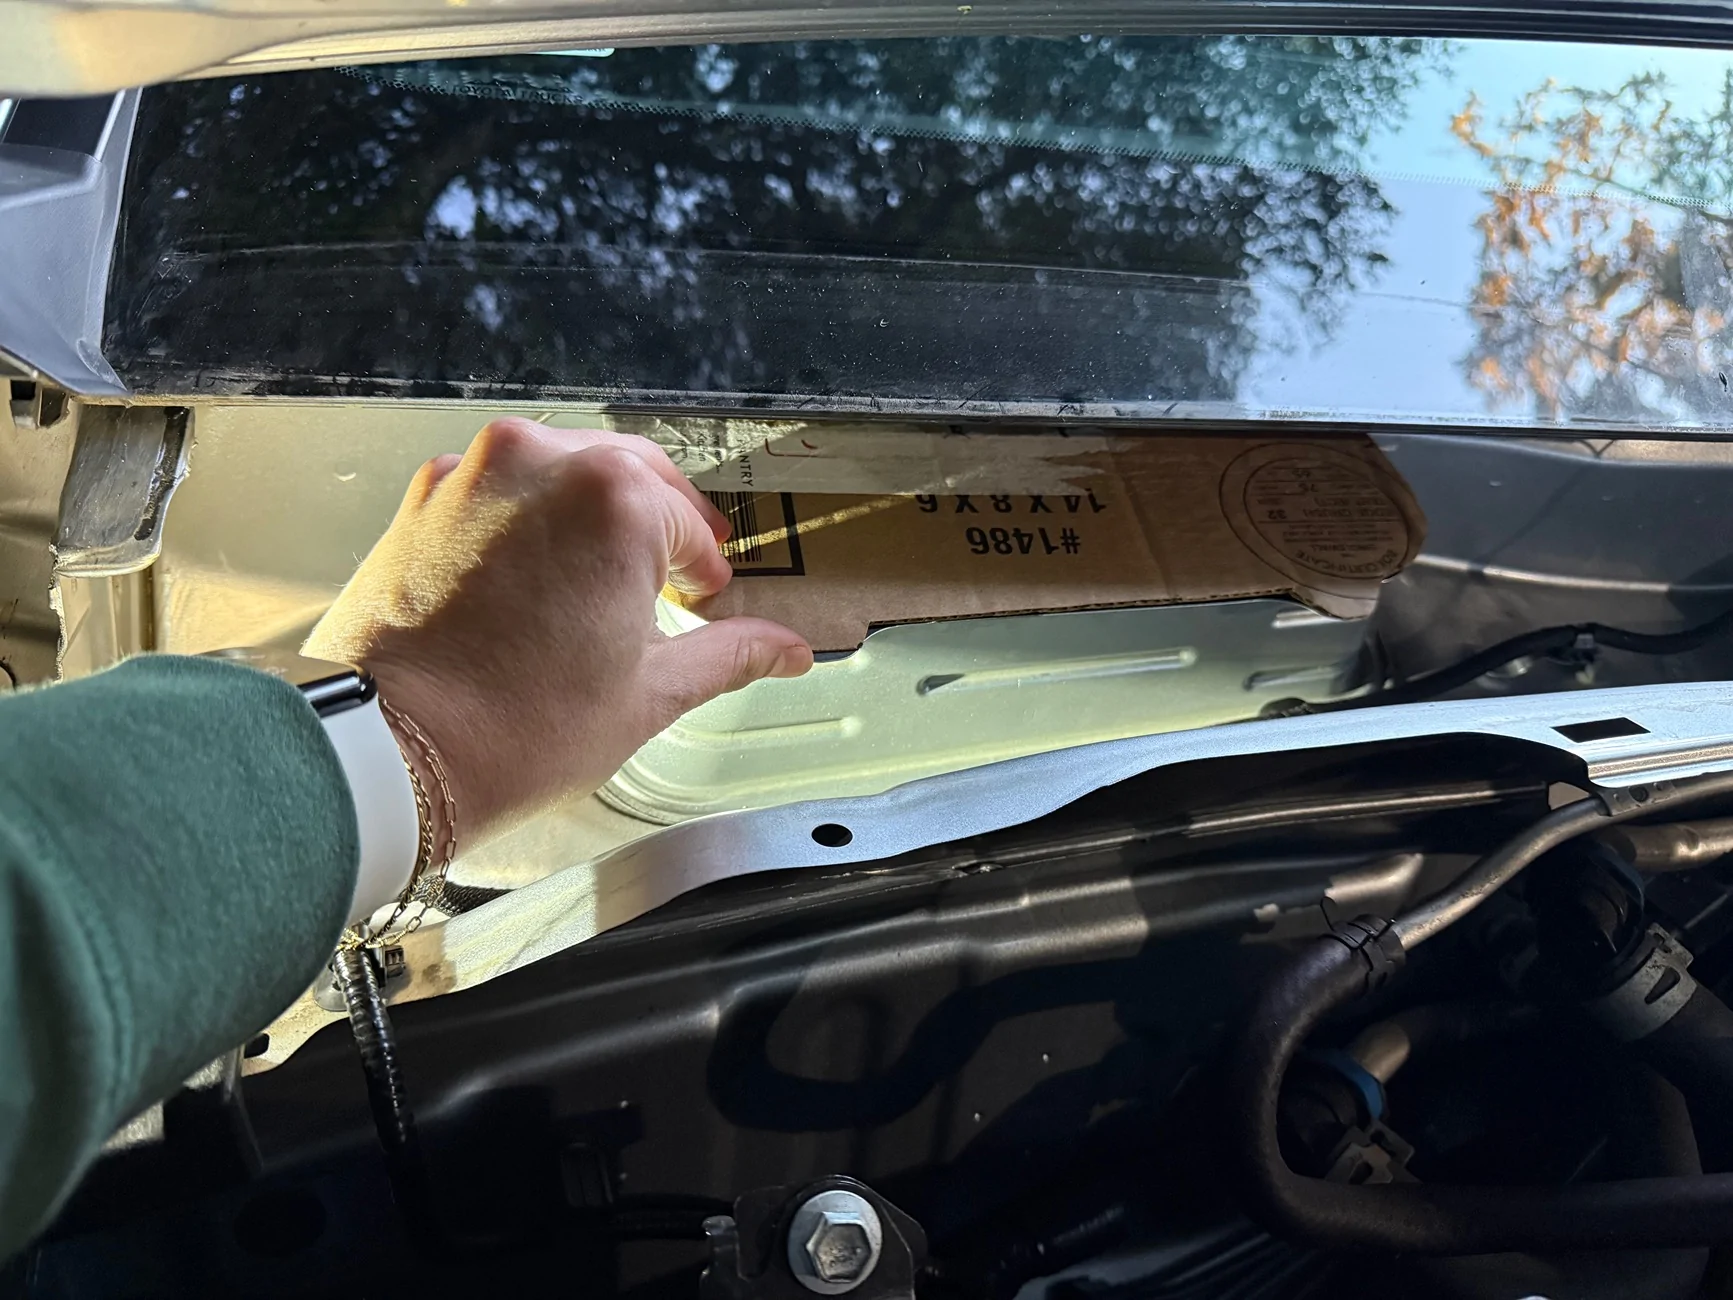
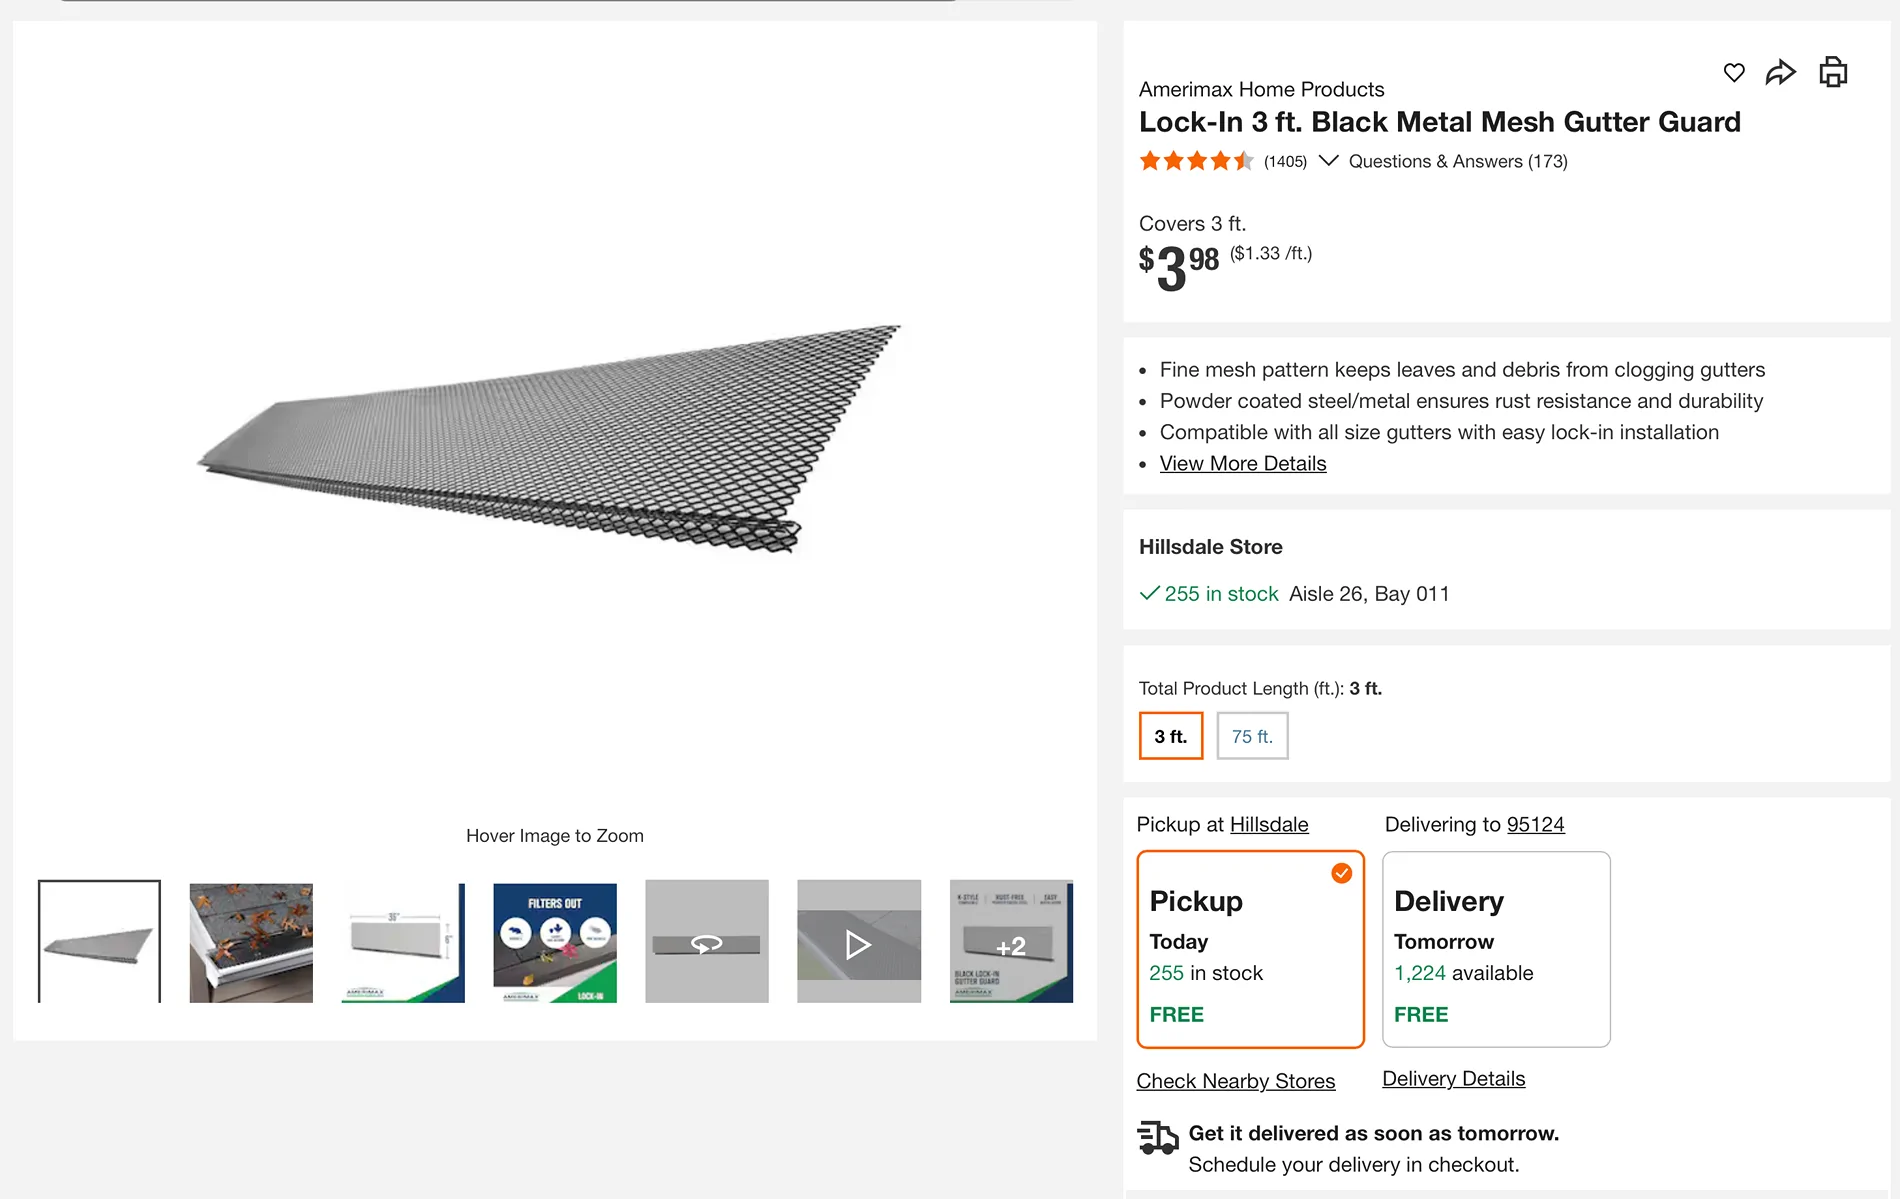
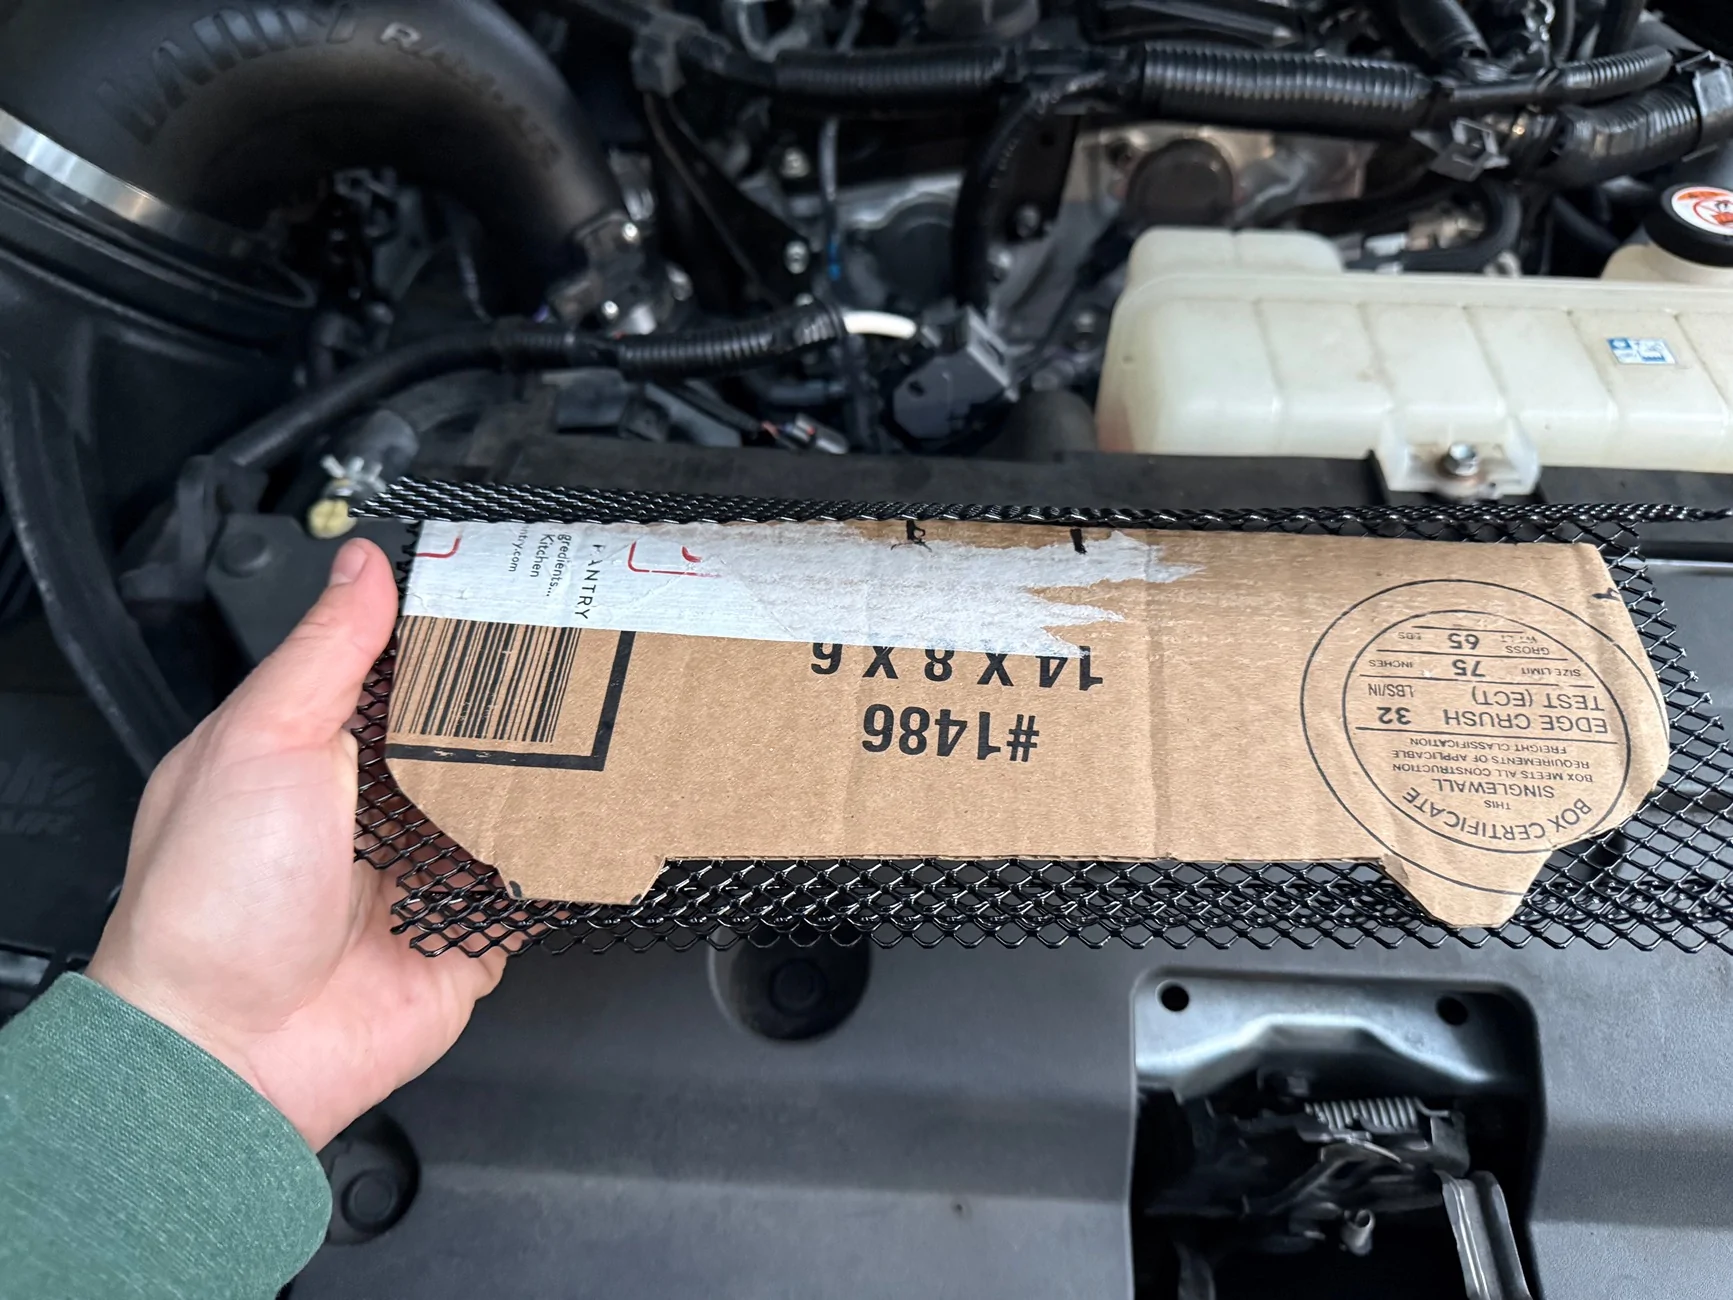
- Remove the windshield wiper heater cable, it's clipped in, you simply squeeze the clips on the bottom-side, under the sheet metal, to pop them out. I then made a cardboard template and also procured some gutter guard ($4) from Home Depot.
(mice chewed my defroster cable)

- I used my template to help size up the gutter guard and get the angles right. I used tin snips to get it to size and then added relief cuts in order to bend the ends and match the angle along the firewall. All the pre-bending utilized the edge of my work bench and a hammer.
Note: I kept most of the top, angled portion in order to be able to use 2 holes along the firewall for zip ties.
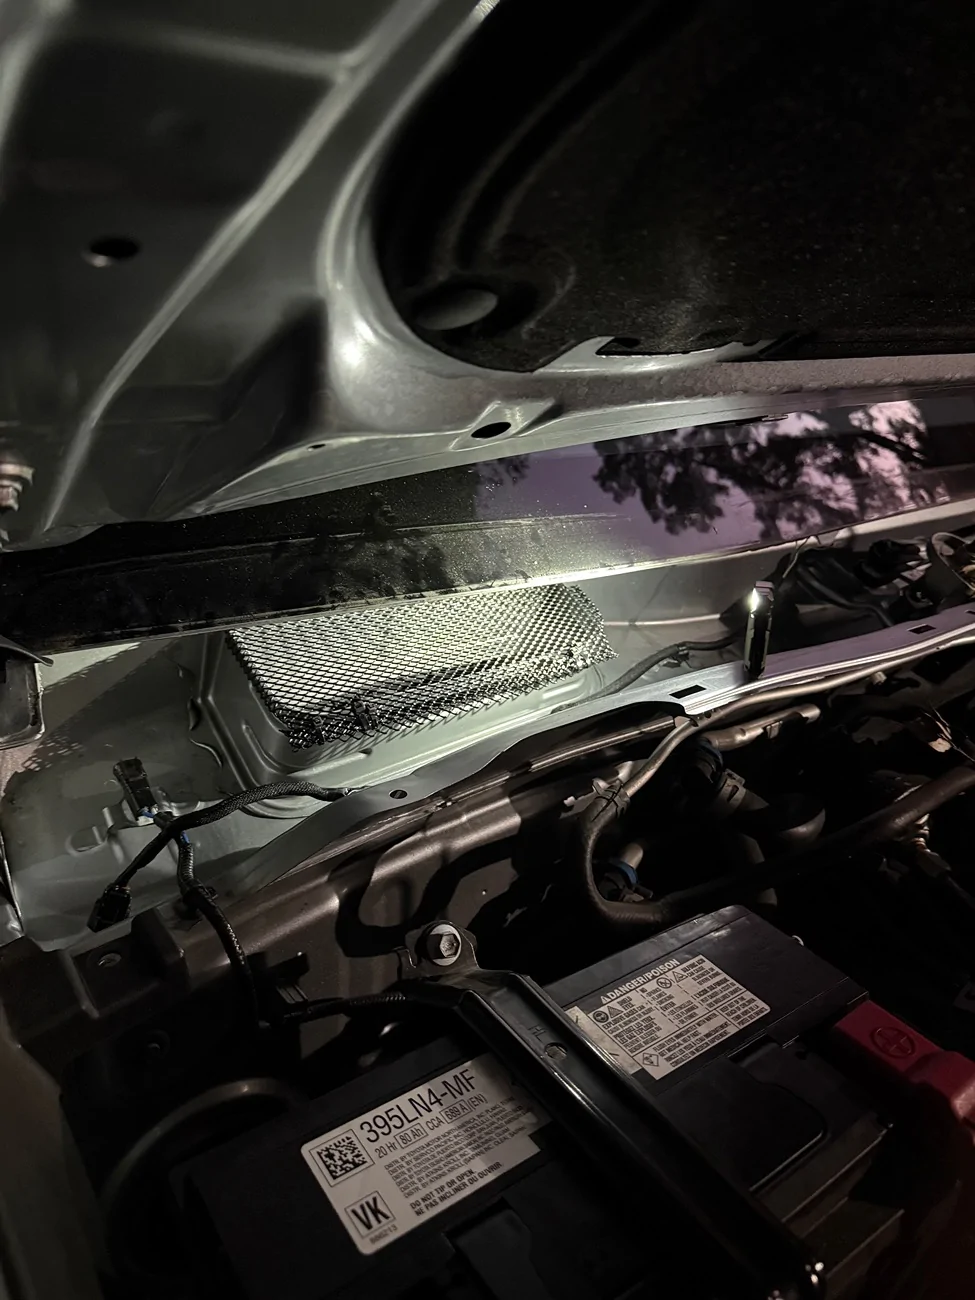
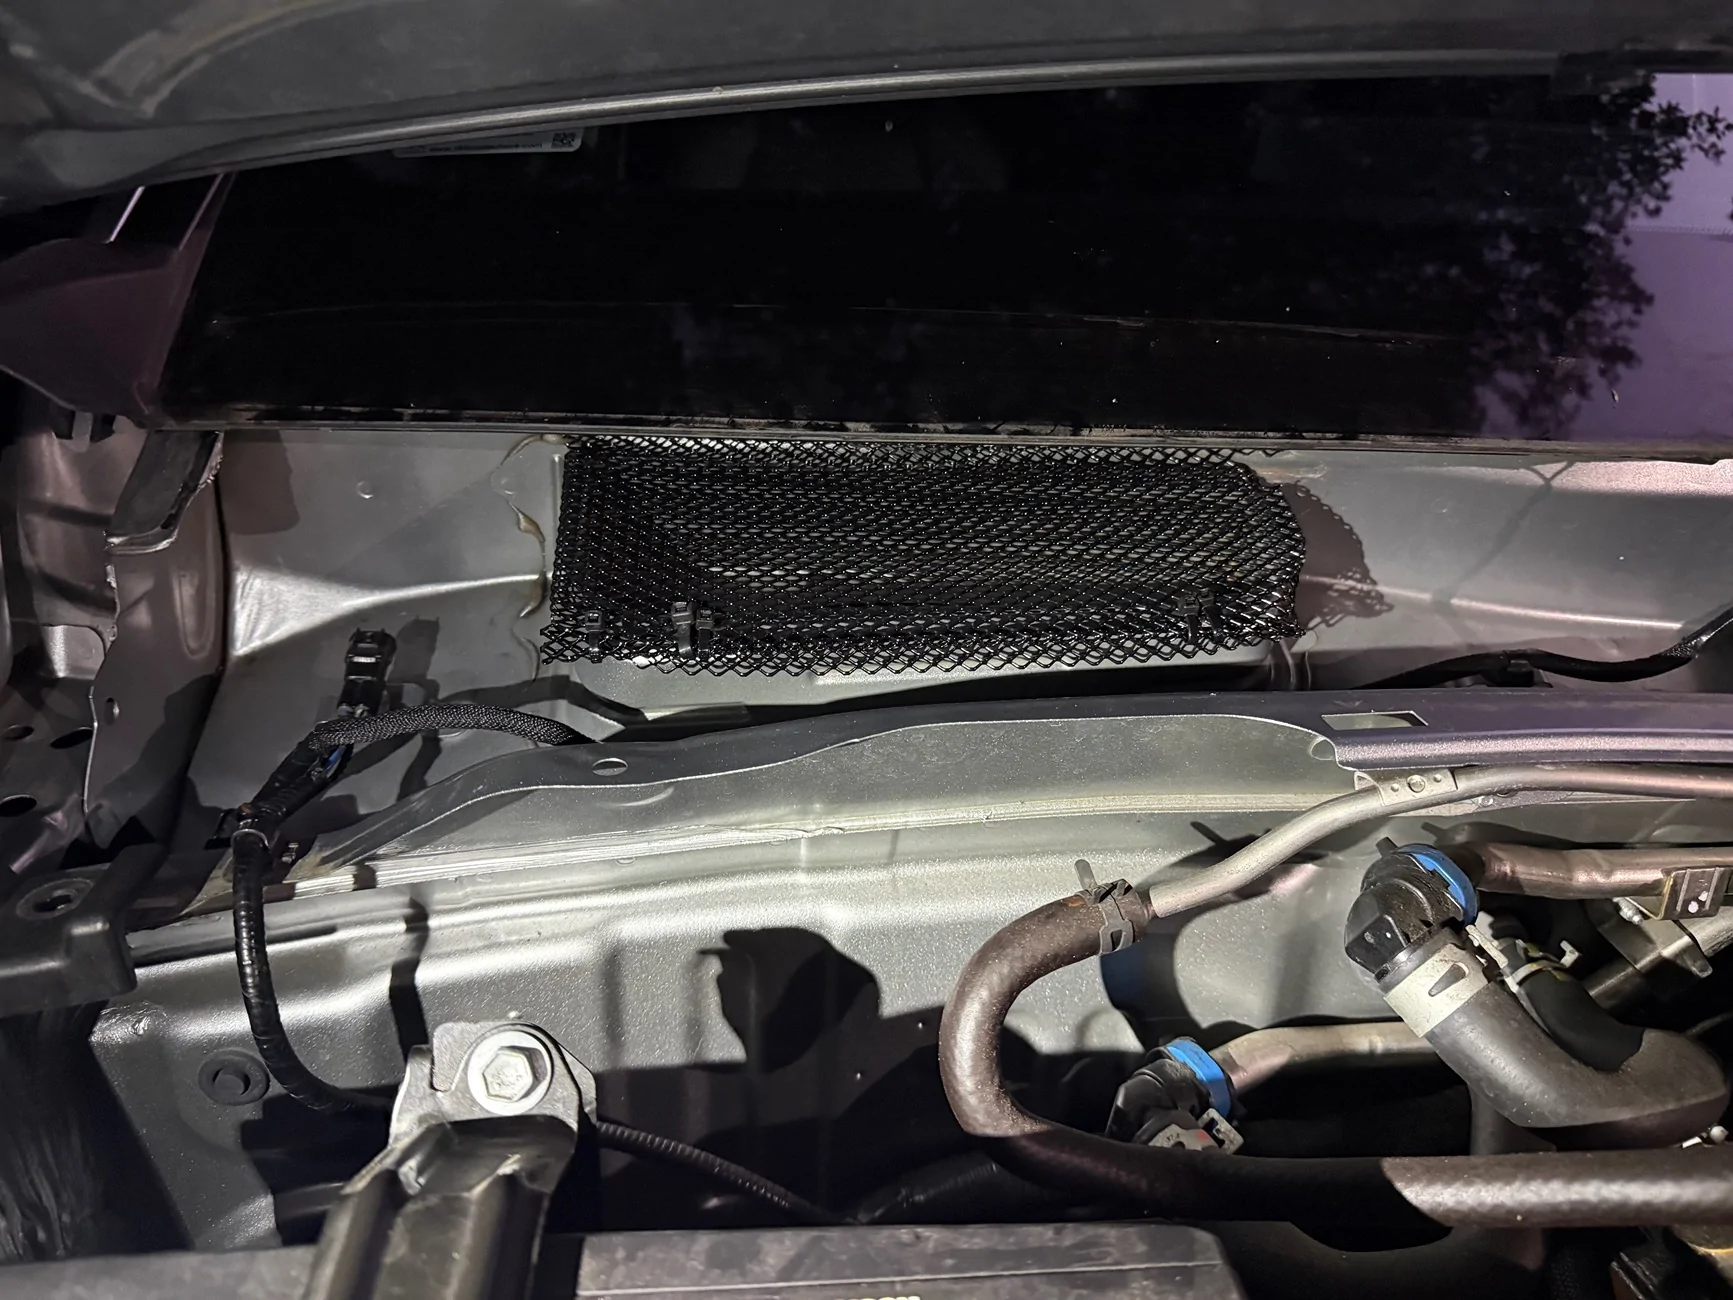
- Once I got it to approximate size, I put it on the HVAC intake and bent (used ball peen hammer, my hands, etc.) the remaining edges until snug around the flange. I double zip tied everything and that's that. Note there are also two holes on the upper firewall side that you can also thread zip ties thru in order to secure the rear, once again using the angled bit of mesh (kind of) shown above.
- To wrap up, I plugged the windshield wiper heater cable back in (Mine had been chewed thru ((image in step 4)) so I spliced them back together). I zip tied the cable to the new grate just along the front edge. The cowl cover is a pain to put back in. There is the rubber portion that seals on the windshield and a secondary plastic "shelf". That secondary plastic shelf has to go below the sheet metal on the firewall and inserted straight back in. Once that happens you can push the rubber seal up against the glass. There are also a few tabs that also go under the glass to keep the seal tight against the glass surface. Once again, no pictures of this because I ran out of hands. You'll get it. Be patient and don't force it. Once seated, pop all the vertical clips back in on the cowl cover. Reinsert your plastic rivets on the corners and pop the clips for the windshield corners in as well.
- For the wipers, you'll be able to see on the windshield where the defrosters are. Align the wiper center to the defroster lines center and then thread the nut by hand. This should hold it in place until you snug it down with your wrench. I don't have the torque spec but I did "good n tight" with a normal 14mm wrench. BTW, add some anti-seize to the splines if you have it.
Thanks for reading. Let me know if you have any questions.
Sponsored
Last edited: