

- Thread starter
- #46
Very cool, any chance you took pictures of the bed light parts or install you can share? The existing bed rail just snaps out, no tools needed? Is the plug for the bed lights closer to the front or back of bed?
Sponsored
no pics sorry. But here a couple of photos from the install package.Very cool, any chance you took pictures of the bed light parts or install you can share? The existing bed rail just snaps out, no tools needed? Is the plug for the bed lights closer to the front or back of bed?
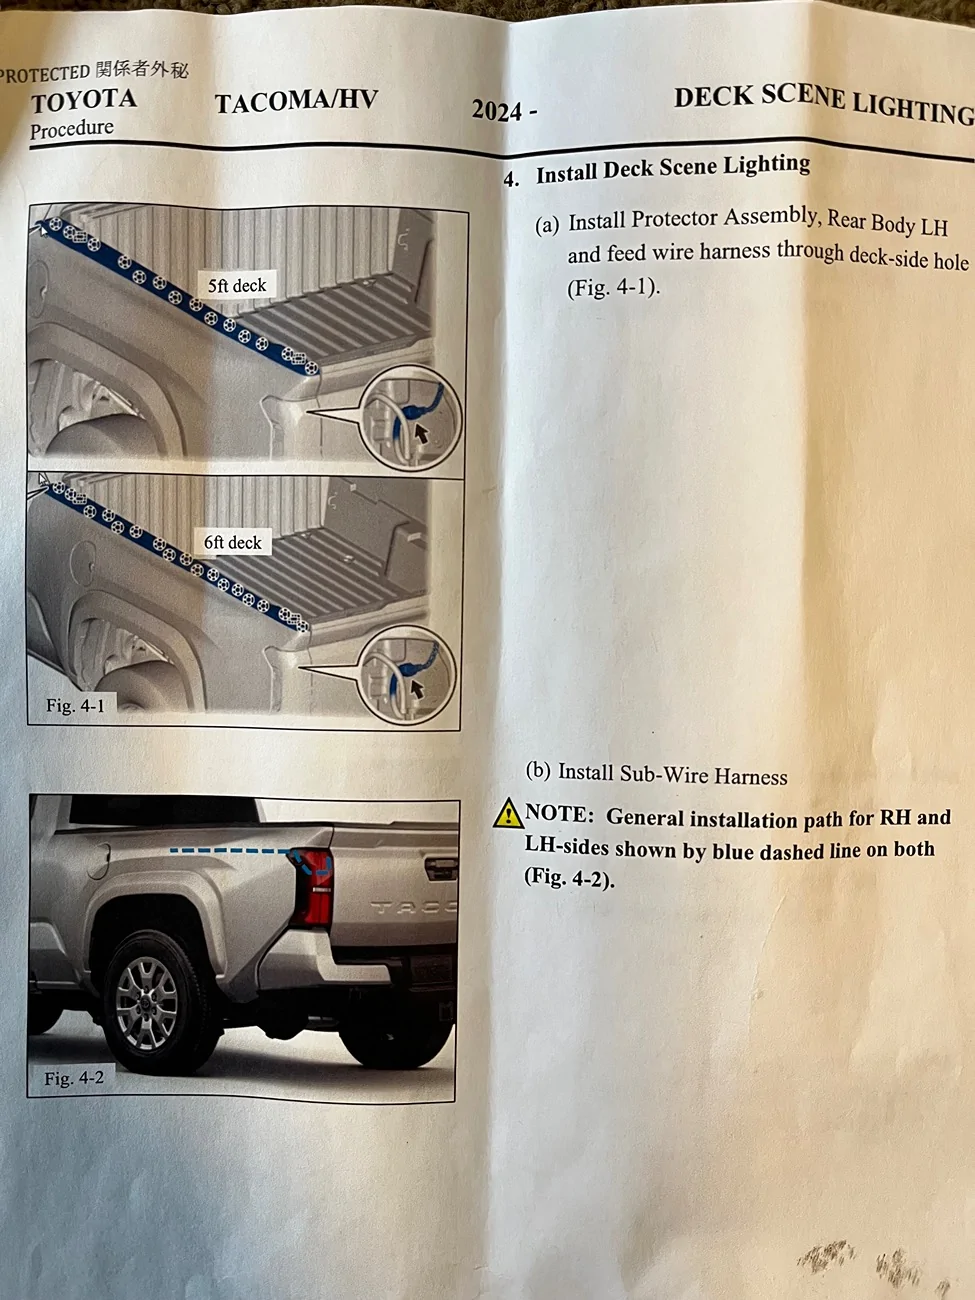
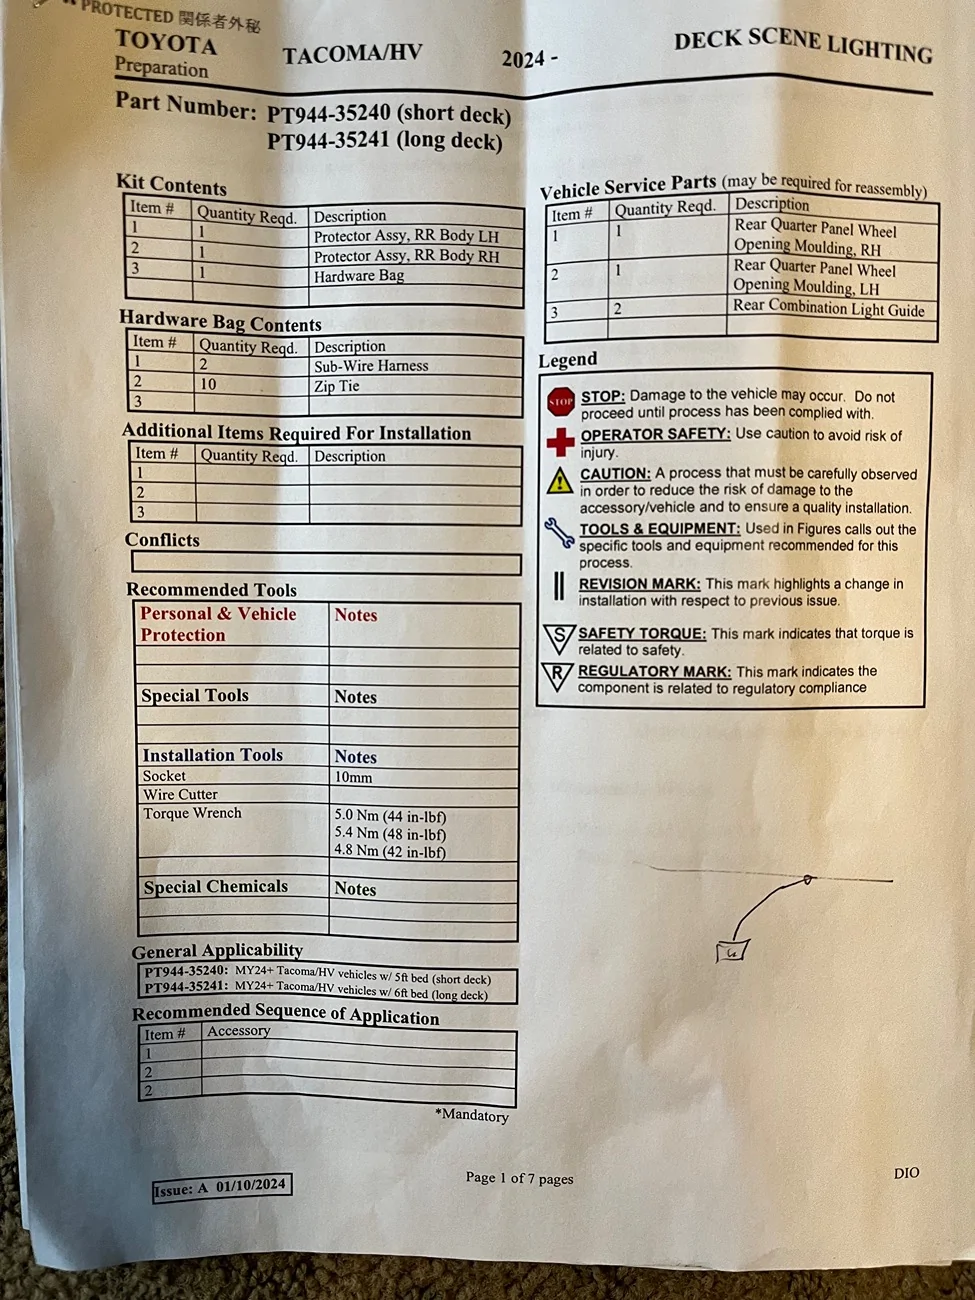
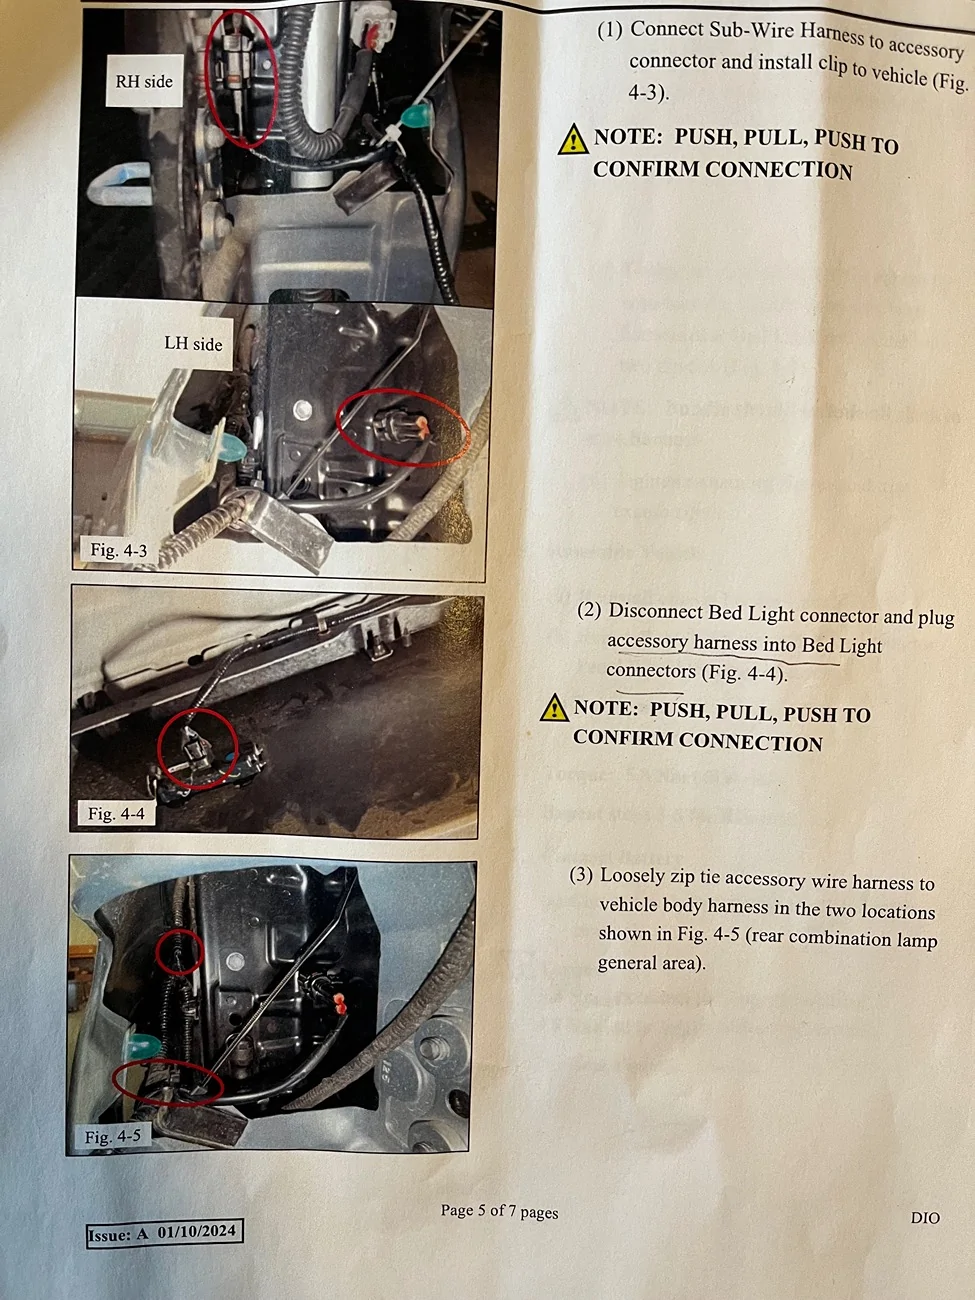
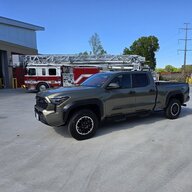
I just ordered the 6' bed scene light kit so I'll try to take some pics as I do the install if you want. Will take about 10 days to get and then I'm going to wait for nice weather before install.
Will start a new post (if one has not been done so already) so not to hijack this post.
no pics sorry. But here a couple of photos from the install package.
The wiring comes off the back of the bed & feeds behind the taillight then to the bed light, both sides.
You need to remove the taillight & the bed light.

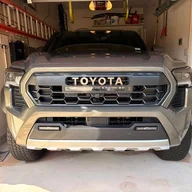
With the factory compressor, you have to have the ignition on and parking brake set. I’m trying to see if I can rewire it so none of that is necessary.Waking this up for a question. Still want to do this when the time is right.
Do you have to have the truck on to have power to the compressor? I'm curious if you can just turn on the compressor from the "on" switch if you want to pump up a bike tire or dose the truck have to be on first?
So the truck does not need to be running, just the ignition on like if you just want to listen to the radio. Cool.With the factory compressor, you have to have the ignition on and parking brake set. I’m trying to see if I can rewire it so none of that is necessary.
Ya, it’s just the whole process of Ebrake and acc… I’d rather just hit an aux buttonSo the truck does not need to be running, just the ignition on like if you just want to listen to the radio. Cool.
Good luck in finding a way to rewire it. That would be nice.

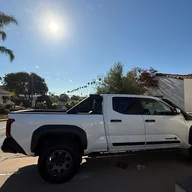
This video has brief shots of the back of the OEM compressor set. He’s retrofitting into an Offroad Premium. Also has a good walkthrough of the functions.As I contemplate either starting from scratch or moving my slide-in / pop-up camper over to my incoming Trailhunter, I am either looking at going with a new camper setup that does not block the air compressor control panel or my existing one that does. If I use my Four Wheel pop-up, there is simply no way I will have access to the panel and hose attachment area unless I figure out a way to re-locate the control panel.
So I am wondering, do you have any photos of the back of the control panel assembly? I am particularly interested in how the wiring to the compressor is setup? The SS air line looks like I could retrofit it with an extended one easily enough. The housing for the control and air connection is big though, not sure where else I could manage that in the bed or camper with the camper mount in the way...if it were all on the other side this would be a lot easier.
All this being said, do any of you know how tall the exterior dimension of that control panel faceplate is? I might have a spot for it in the camper...
He quickly mentioned that you can bypass the parking brake on the back of the controller. I want that video!!This video has brief shots of the back of the OEM compressor set. He’s retrofitting into an Offroad Premium. Also has a good walkthrough of the functions.